If you want to repair pilot valve for Kubota U48-4,you have to disassemble pilot valve components.So here chinaobd2.com show you guide on how to disassemble pilot valve components for Kubota U48-4 excavator.
Related Contents:
Takeuchi Excavator Workshop EPC+Service Manual 2018 PDF Files
2022 Kubota Takeuchi Diagmaster v22.08.01 v4.1.2 Software Free Download
Kubota EPC Spare Parts Catalogue 2021.06 Download
CAUTION
• All of the parts are precisely made, so be very careful in handling them and taking care not to drop or hit parts against each other.
• If you hit a part too hard while working on it, it may result in burrs or other damage, thus preventing installation as well as oil leaks and/or compromised performance, so be careful when handling parts.
• If parts are left disassembled or left partway disassembled, humidity or foreign matter may cause rust, so if interrupting the work is unavoidable, take precautions to protect the parts from rust and dust.
Procedures:
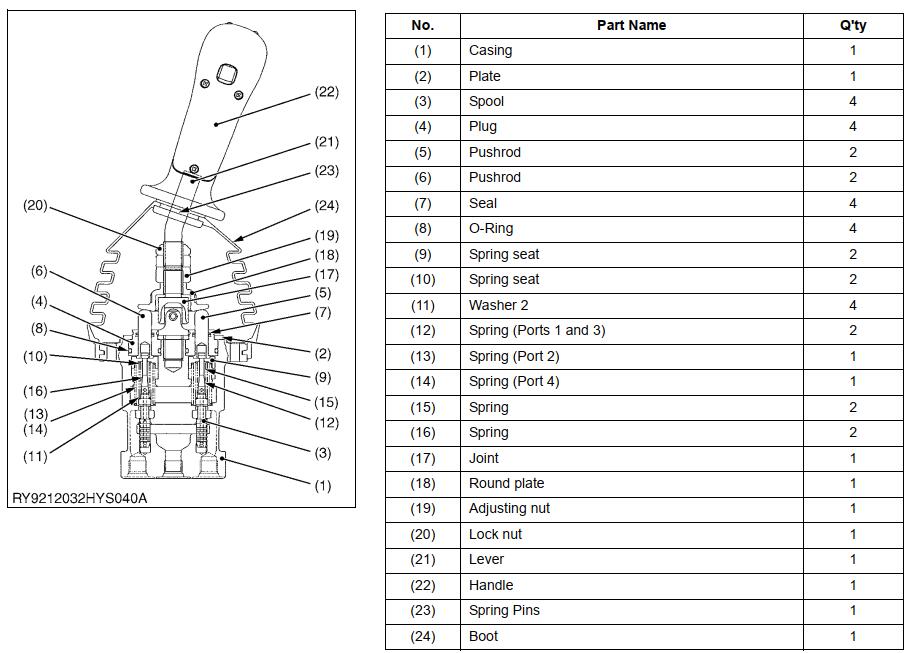
1.Clamp the pilot valve in a vise.
IMPORTANT
• When clamping it in a vise, use a sheet of copper to prevent scratching the pilot valve.
(1) Casing
(16) Nut (disc)
(17) Nut (adjustment)
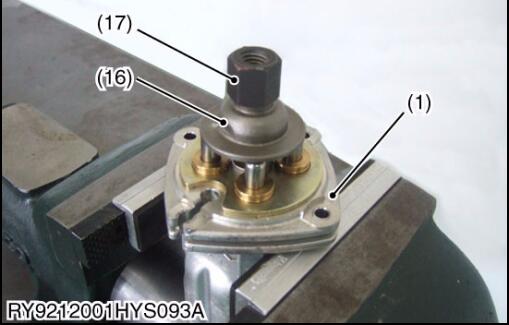
2.Use two wrenches on the nuts (adjustment 16 and disc 17) to remove them.
• Tools to use : 22 mm and 32 mm (0.87 in. and 1.3 in.) wrenches
(17) Nut (adjustment)
3.Mark the relationship of holes to the casing.
4.After mounting tool (B) on the U-joint (15), use tool (A) to turn the U-joint counterclockwise and loosen it.
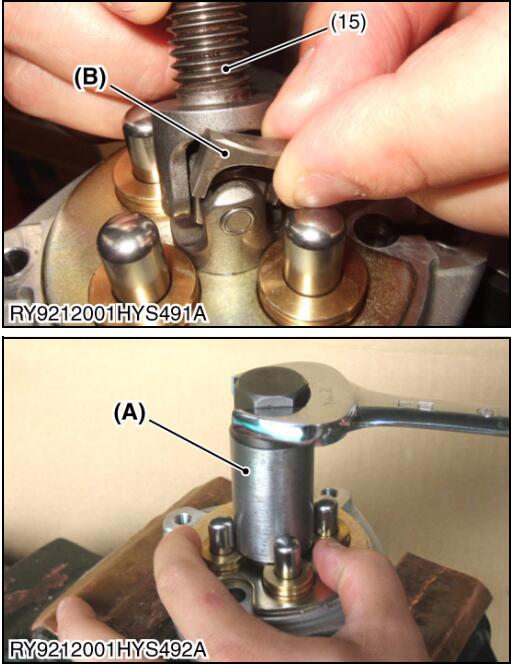
CAUTION
• When removing the U-joint, take care that it does not pop off
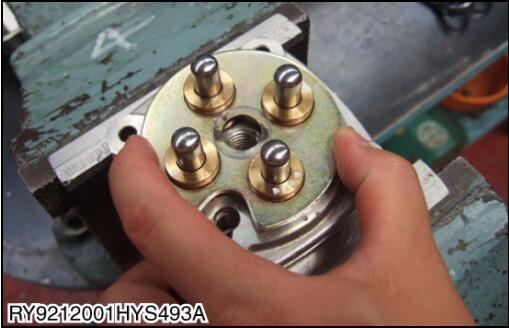
5.Remove the plate (2).

(2) Plate
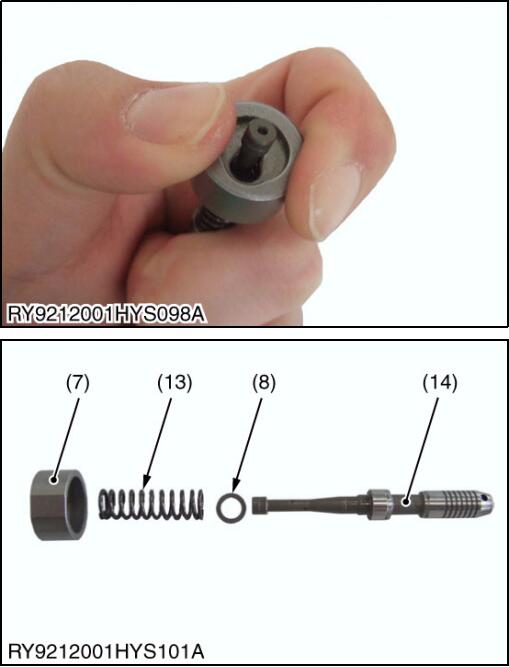
6.Slip a slotted screwdriver in the groove in the plug (3) to remove the plug.
CAUTION
• Take care so the plug does not go flying.
• Take care not to damage it by exerting force unevenly.
• If a burr is formed, use a whetstone to remove it.
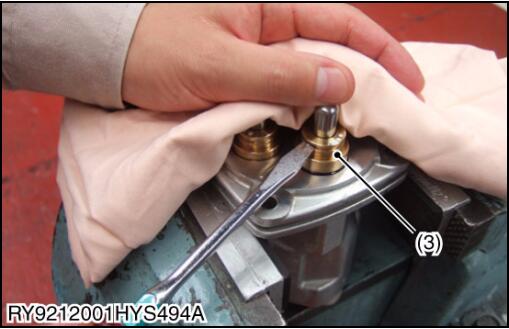
(3) Plug
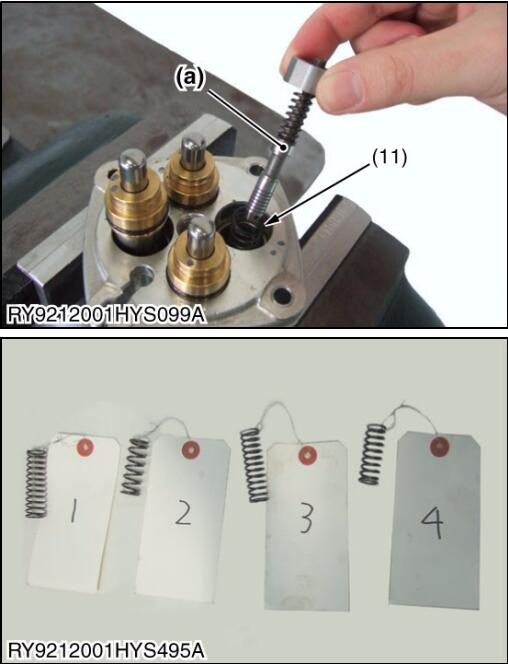
7.Remove the reducing valve ASSY (a) and the return spring (11).
IMPORTANT
• Tag the springs to positively ID which port they go to.
(11) Spring (a) Reducing valve ASSY
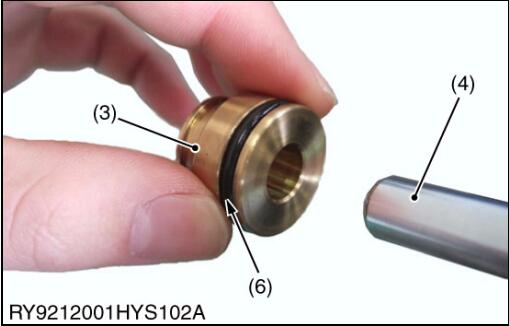
8.To disassemble the reducing valve, press the spring seat in and while compressing the secondary pressure spring, shift the spring seat to the side and remove it from the spool via the larger hole.
IMPORTANT
• Be careful not to scratch the surface of the spool.
• Do not depress the spring seat 6 mm (0.2 in.) ≤
• Do not disassemble the reducing valve unless there is a problem with it.
Components of the Reducing Valve
(7) Spring seat
(8) Metal washer 2
(13) Spring
(14) Spool
9.Remove the plug (3) from the pushrod (4).
(3) Plug
(4) Pushrod
(6) O-Ring
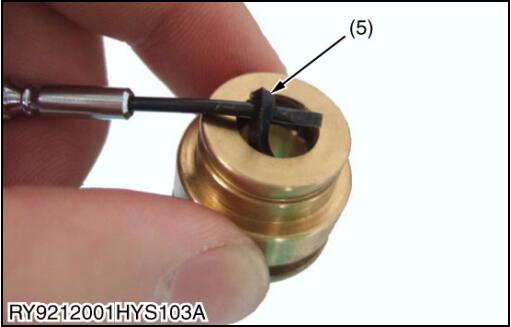
10.Remove the O-ring (6) and seal (5) from the plug (3).
IMPORTANT
• Use a mini slotted screwdriver.
• Be careful not to scratch the inside surface of the plug.
Components of the Plug
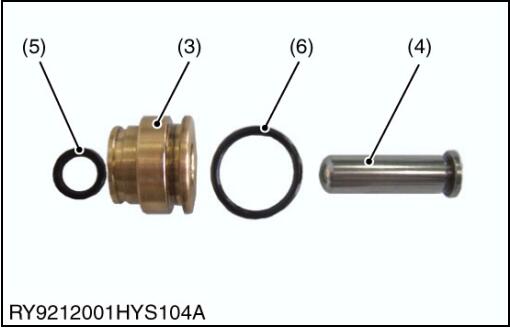
(3) Plug
(4) Pushrod
(5) Seal
(6) O-Ring
More repair case for Kubota,please refer to:Kubota Trouble Repair
How useful was this post?
Click on a star to rate it!
Average rating / 5. Vote count:
Please keep this link if you copy the post!
Tags: gm
Related Posts

Bosch ADS625 Read & Clear DTCs for Volkswagen Passet GLS 2004
2019.07.19

How to Use Zed-Full Program Keys for Fiat Egea by OBD
2019.08.7
How to marry ECM/ECU to Saab 9-3 Sedan
2020.05.27
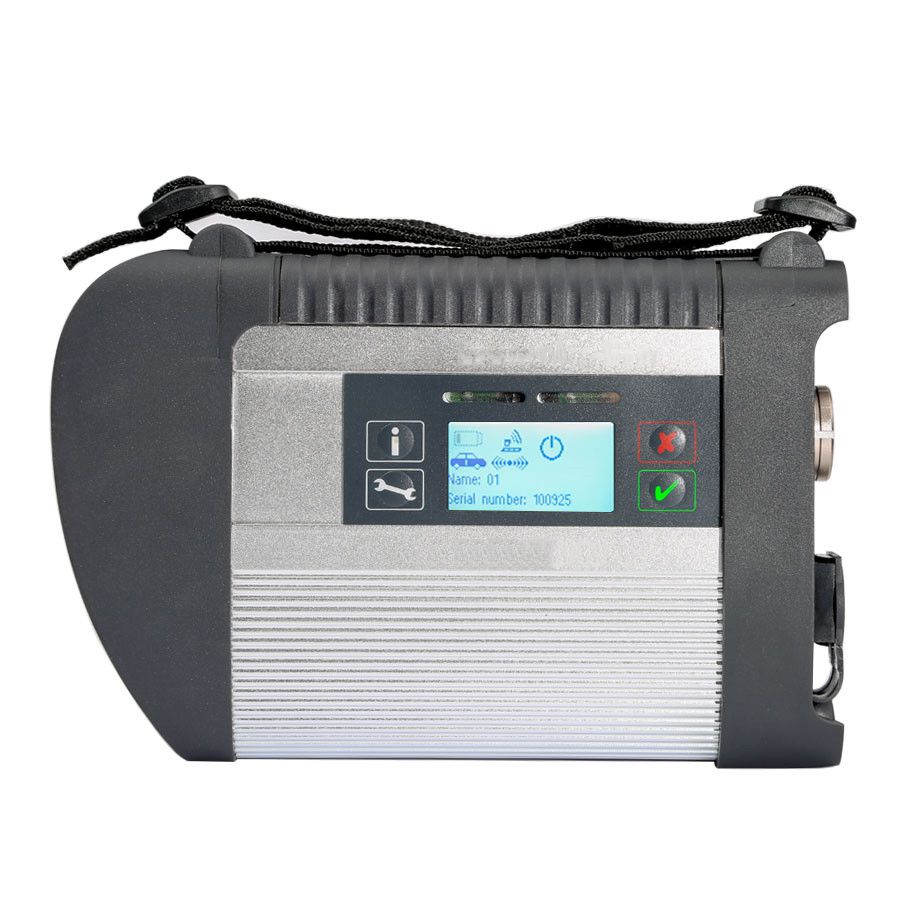
Promotion V2019.3 MB SD C4 Connect Compact 4 Star Diagnosis with WIFI for Cars a...
2019.02.17
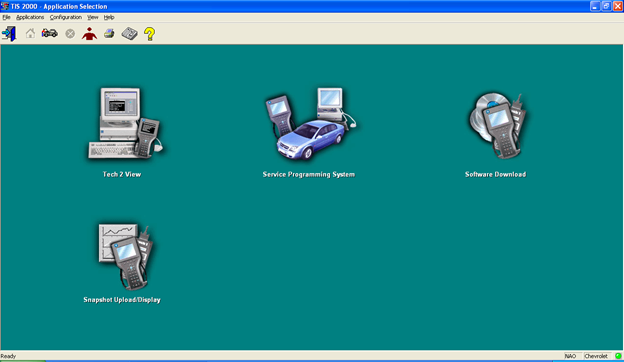
How to install TIS2000 on Windows XP/7/8 64bit or 32bit
2022.03.22
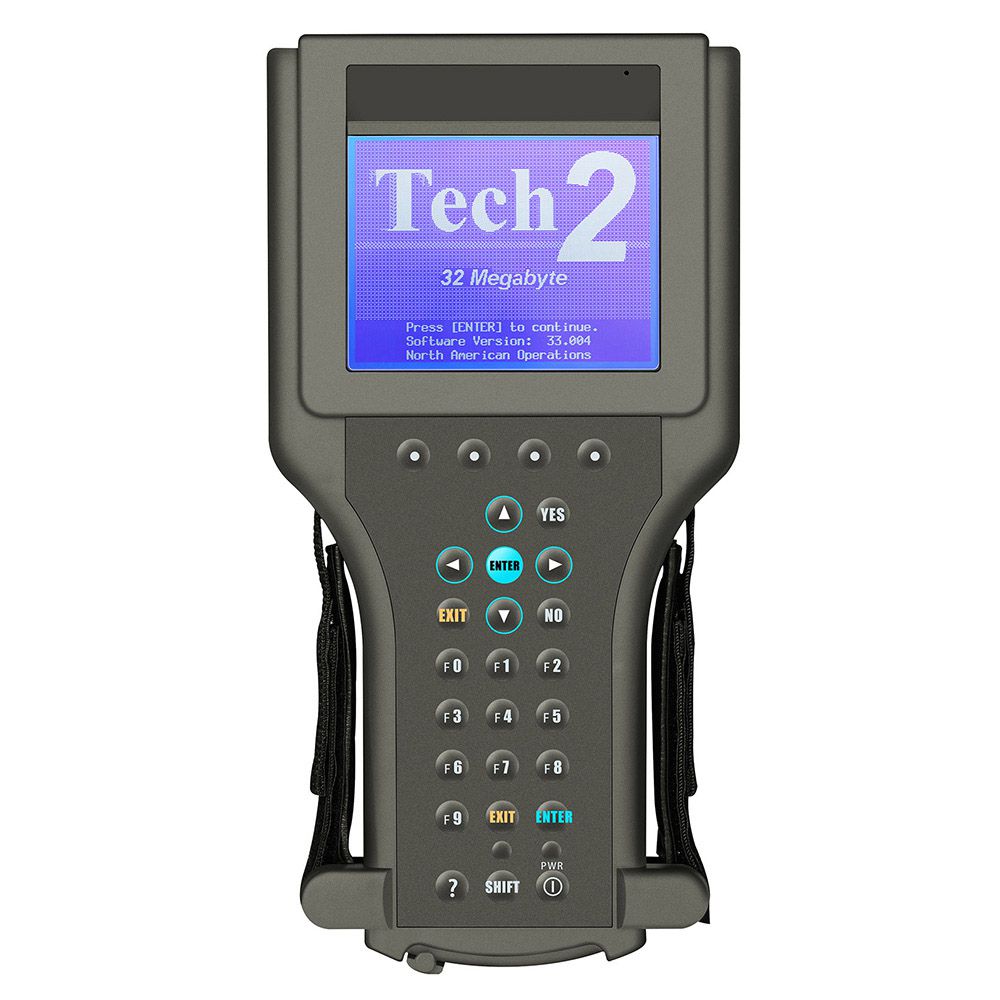
Review on testing GM Tech2 and TIS 2000 Program
2019.05.12
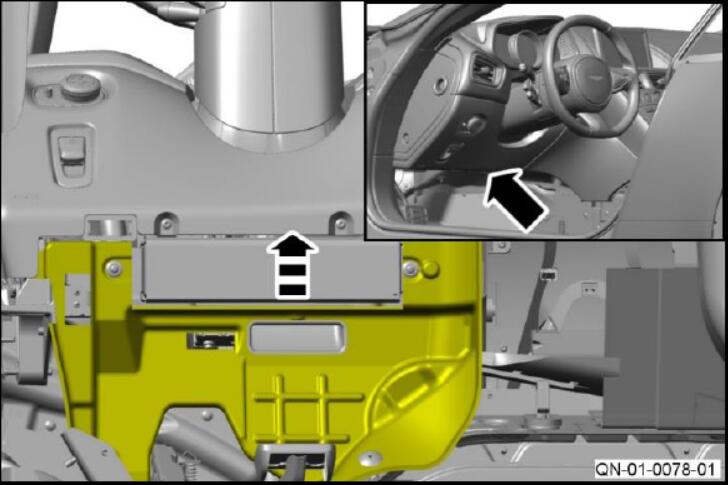
How to Install Steering Column Grounds for Aston Martin DB11
2019.07.19

2019 Latest Version OBDII Protocol Detector Car OBD Break Out Box Breakout Tool ...
2019.03.6
GM Tech2 Scanner VCI, Keypad, CANdi and RS232 Self Test Instructions
2019.03.8
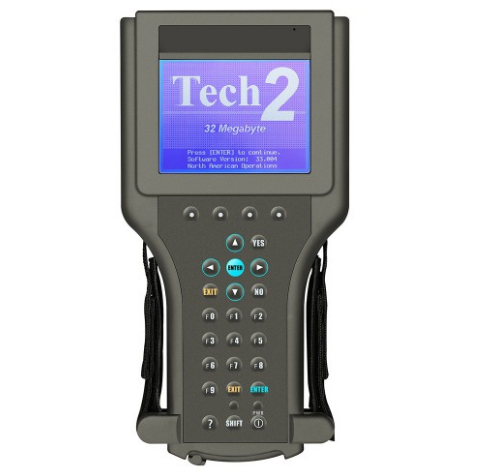
How to use GM Tech2 Scanner GM Diagnostic Tool
2024.01.28