Diagzone Xdiag Subscription Renew, LAUNCH LTR-01 RF Sensor, Thinkdiag Renew , Scania SDP3 Installation
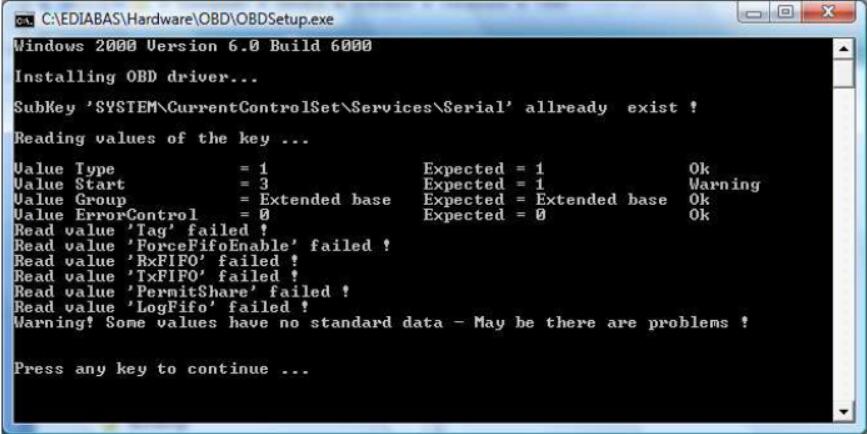
One of my blog readers sent the e-mail to ask how to install BMW INPA software on win7/win 8/win10.I searched and found the solution provided by forum members.
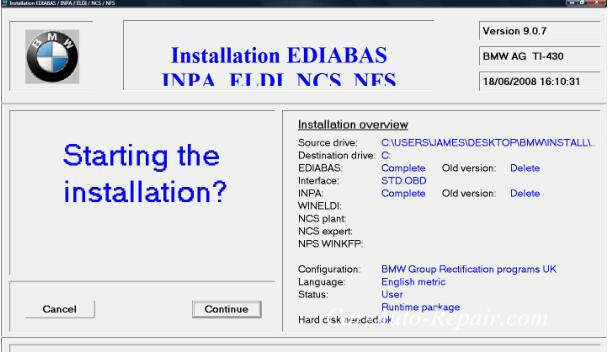
Some BMW INPA
How useful was this post?
Click on a star to rate it!
Average rating / 5. Vote count:
Please keep this link if you copy the post!