This article show a guide on how to use Diamond Logic® Builder diagnose vehicle and read & clear diagnostic fault codes.
Preparations:
Navistar Diamond Logic Builder (DLB) Free Download
How to Install Navistar Diamond Logic Builder (DLB) Software
Procedures:
The Diamond Logic® Builder software can be used to aid in diagnosing and troubleshooting electrical / electronic system problems. Before proceeding with diagnosing and troubleshooting, there are several important steps:
Verify the Problem – Operate the complete system and list all symptoms. Is the complaint due to misunderstood, customer-selected, programmed parameters?
Gather Information–What happened and when? Under what conditions? When did the symptoms begin? What else occurred at the time?
Check Diagnostic Trouble Codes – Do the logged codes correlate to the symptoms and probable causes? Were the codes logged repeatedly?
Perform Preliminary Checks – Perform a thorough visual inspection. Are any wires loose or corroded?
Are there damaged connectors or pins? Are all components installed and installed correctly? Check to make sure the vehicle batteries are at 75% state of charge or higher. Make sure indicator lights are not simply burned out.
Check References – Check all relevant service information including circuit diagrams and diagnostic charts.
ENTERING DIAGNOSTIC MODE
When diagnosing a vehicle using the Diamond Logic®Builder software, the first step is to connect the system to the vehicle:

1.On the Select tab, select the vehicle to be diagnosed.
2.In the toolbar, click the Computer Link icon.
3.Verify that the connection is established by checking the icon in the lower-right corner of the window. This icon should show that the vehicle is connected.

4.In the toolbar, click the Diagnostic Mode icon

When Diagnostic Mode is ON, the icon appears indented in the toolbar
When DLB is in Diagnostic Mode, it will display fault codes generated by most modules communicating on the J1939 (CAN) Data Link.
To enter Diagnostic Mode, click the Diagnostic Mode icon in the toolbar.

Erasing Faults

To erase faults:
1.Click the Clear Faults icon in the toolbar. A window like the one shown below will appear.
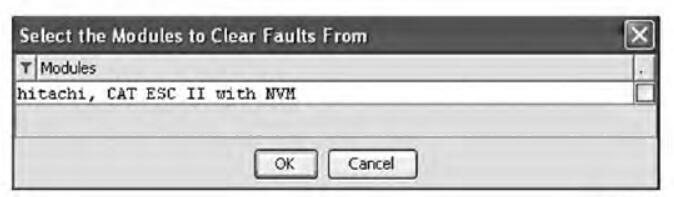
2.Check the box next to each module that you wish to clear faults from.
3.Click OK to clear the faults from the selected modules.
If fault codes are still active, they will repopulate the Faults tab.
Decoding Diagnostic Fault Codes
The user can decode diagnostic fault codes directly by selecting the Faults tab.
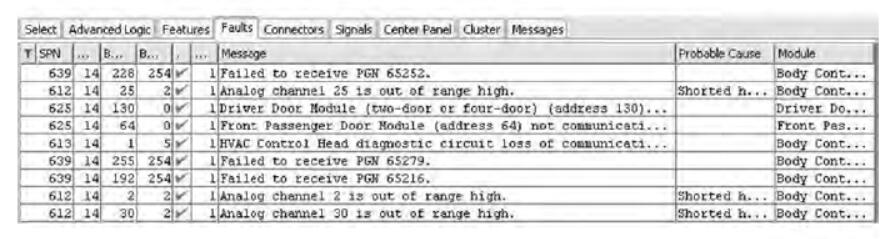
The Faults tab provides a very comprehensive description of a diagnostic fault for the Body Controller / ESC including text description, probable cause, connector pin associated with the fault, and the module associated with the fault. Note these faults are only associated with modules communicating on the J1939 (CAN) Data link.
Tips
- Diagnostic fault codes will only be viewable on the Faults tab while the ignition key is in the run position.
The engine does not need to be running to view the ESC / BC codes.
- Diagnostic programs provided by the power train component suppliers can still be used to diagnose
those systems.
- For all vehicles, the Diamond Logic® Builder program will show fault codes from the Body Controller. Formore recent vehicle models, DLB may also show fault codes from the instrument cluster, from the doorpod, and from the LCM. Diagnostic programs provided by the power train component suppliers can still be used to diagnose those systems.
- When diagnosing the gauge cluster with the Diamond Logic® Builder program, the pointers may not bestable. The pointers may be steered to 0 intermittently. This is normal. Do not replace the gauge clusterdue to this anomaly. It is important that the user can steer the gauge to a nominal value and that that the pointer does not stick or jump in the process.
Module Detection
The Diamond Logic® Builder program has a module detection function. The purpose of this function is to provide a quick look at which electrical system modules are communicating on a data link or should be communicating on a data link. Selecting the Detected Modules sub-tab will display the modules that are communicating on the Drivetrain J1939 Data Link. Selecting the Inferred Modules sub-tab will display all modules that are expected to be present in the configuration of the vehicle but are not communicating.
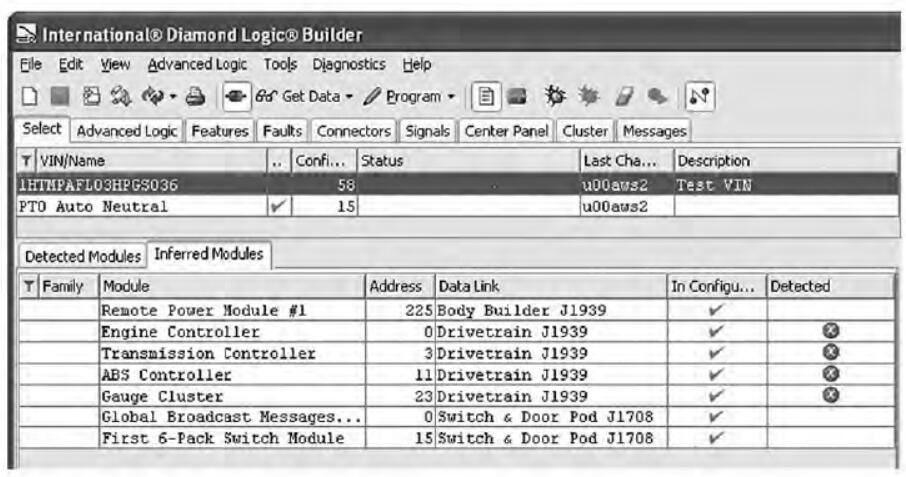
Modules that do not communicate on the Power Train J1939 Data Link (but do communicate on one of the other data links) will have a blank in the detected column. Currently the system accurately detects modules that are connected to the power train J1939 Data Link.
Modules that are not, but should be, communicating on the Power Train J1939 Data Link will have an X icon in the detected column. See the Inferred Modules figure above.
NOTE – The Sniffer function in ServiceMaxx™ is better than DLB for identifying items talking on the data link.
This post is from China OBD2, Chinaobd2 is a leading supplier of all kinds of Car Diagnostic Tool, Truck Diagnostic Tool, OBD2 Code Reader, Car Key Programmer,ECU Chip Tunning,etc. The main popular diagnostic tools for workshop are:Vag COM, VAS5054A, GM Tech2, iProg+ Programmer, Orange 5 programmer, Scania VCI3, etc.
How useful was this post?
Click on a star to rate it!
Average rating / 5. Vote count:
Please keep this link if you copy the post!
Tags: Car Key Programmer cat Code Reader ECU Chip Tunning gm iprog key Key Pro lish OBD2 original program Scania VCI vci wholesale
Related Posts
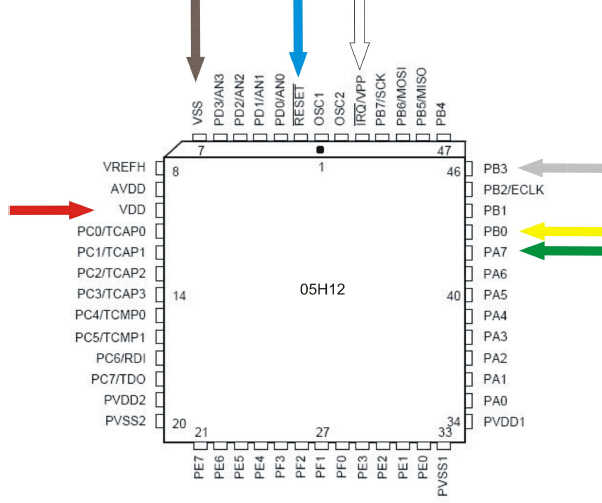
Carprog Read MC68HC05 Processor Guide
2019.02.24
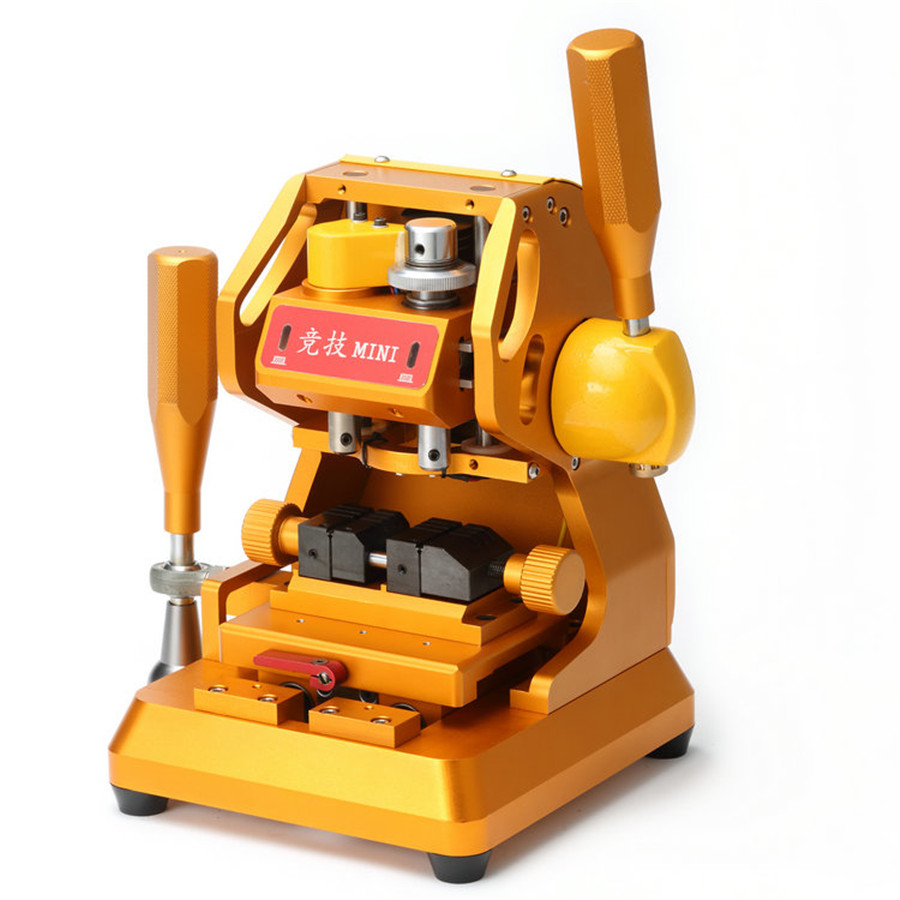
JINGJI Mini Vertical Key Cutting Machine Refined Version
2018.12.17
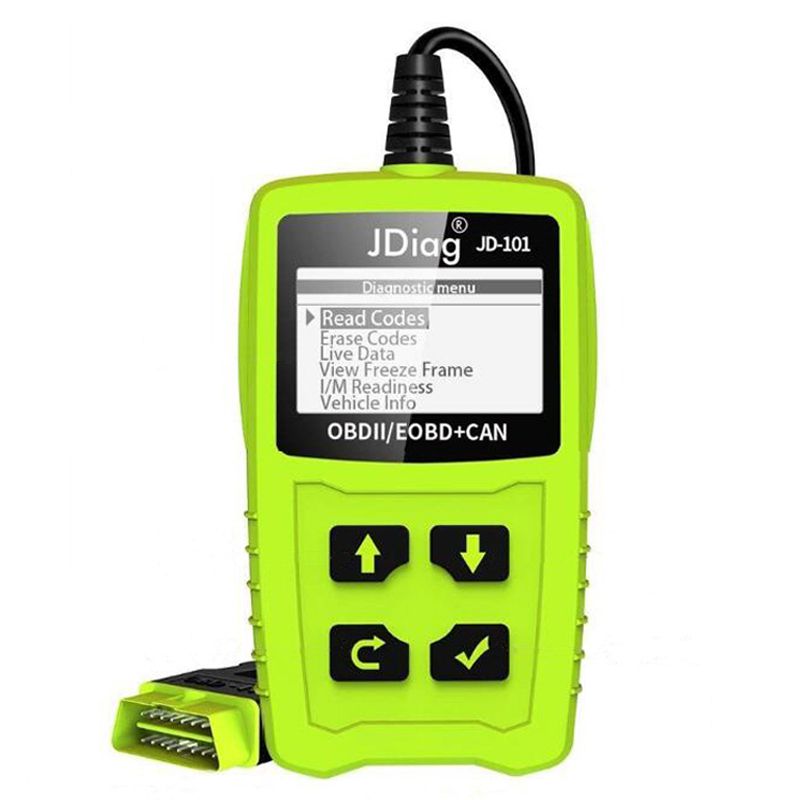
JDiag JD101 Code Readers Engine Scan Tool Check Engine Light Car Diagnostic Tool...
2018.12.26
Yanhua MB CAN Filter 18 in 1 Benz/BMW Universal Filter
2018.12.17
Bosch ADS625 Read & Clear DTCs for Volkswagen Passet GLS 2004
2019.07.19
How to Use Scania Sops File Encryptor/Decryptor Convert EURO5 to EURO3
2019.05.31
Toyota Techstream V14 reviews: failure or success?
2019.03.21
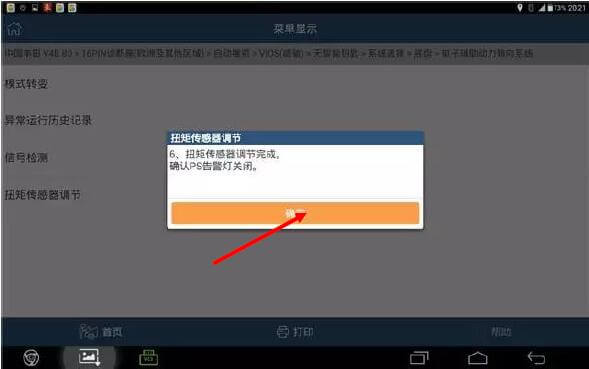
Toyota Vios 2014 C1515 Torque Sensor Adjustment by Launch X431
2023.04.4
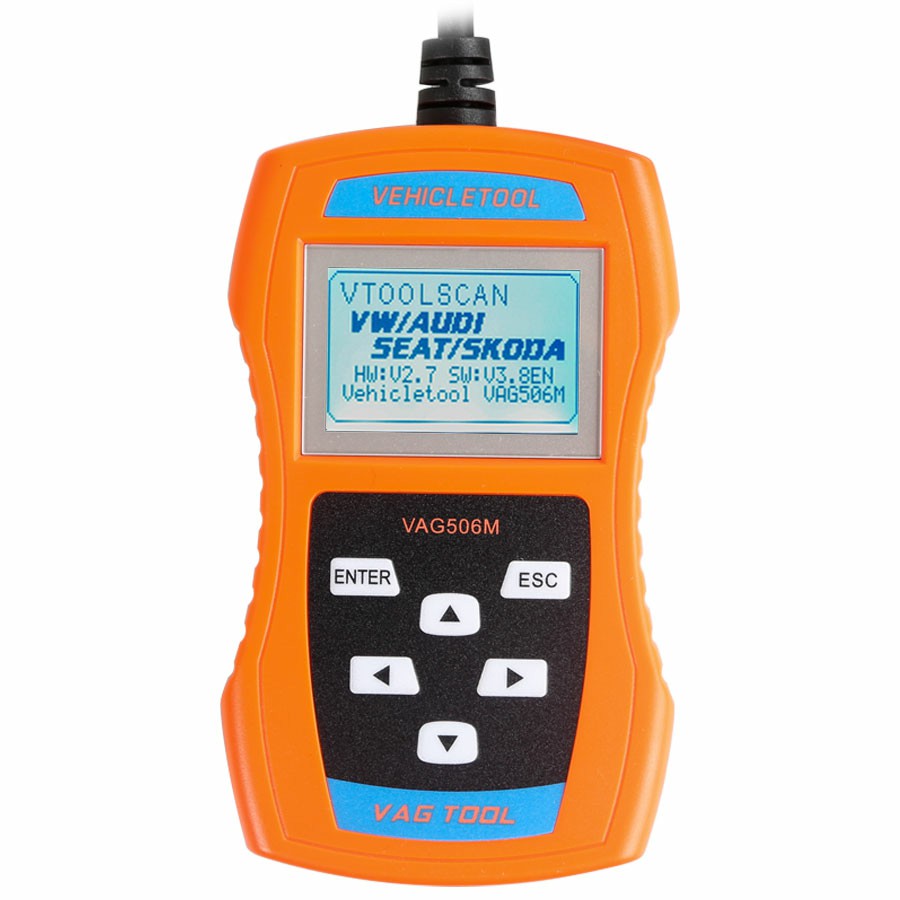
VAG506M Code Reader Support TP-CAN and New UDS Protocol
2018.12.17
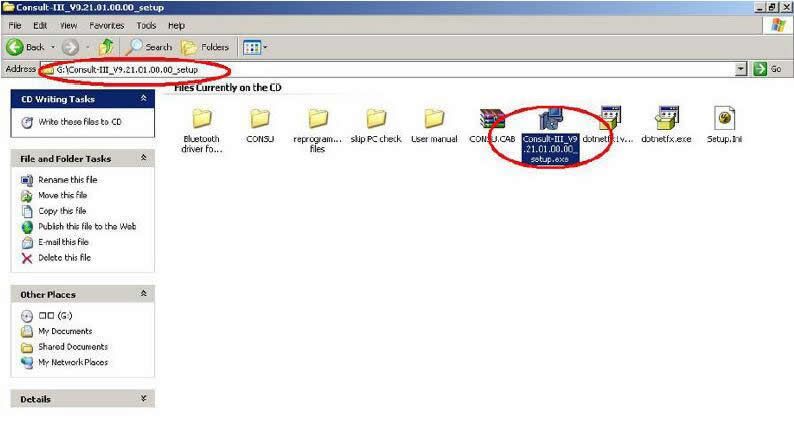
How to Install Nissan Consult 3 III Plus Diagnostic Software
2019.03.15