Diagzone Xdiag Subscription Renew, LAUNCH LTR-01 RF Sensor, Thinkdiag Renew , Scania SDP3 Installation
This guide share the detail of BMW stainless steel pedal plate retrofit.The installation time is approx. 0.5 hours, but may vary depending on the condition of the car and the equipment in it.
The vehicle must be updated to the latest I-stage status by flashing before installing the retrofit. Different programming times are necessary depending on the production age of the vehicle and the work already performed on the vehicle so that no time requirements can be specified here. The installation time does not include the time required for programming/encoding which depends on the vehicle’s age and equipment.
Note:Try it at your own risk,it need your are skillful.And for more BMM retrofit,check the collection here:BMW Retrofit Cases
Apply BMW Models:
BMW 1 Series (E 81, E 82, E 87, E 88)
BMW 3 Series (E 90, E 91, E 92, E 93)
BMW Z4 (E 85, E 86)
BMW 5 Series (E 60, E 61)
BMW 6 Series (E 63, E 64)
BMW 7 Series (E 65, E 66, E 67, E 68)
BMW X1 (E 84)
BMW X3 (E 83)
BMW X5 (E 70)
BMW X6 (E 71, E 72)
Retrofit kit No.:
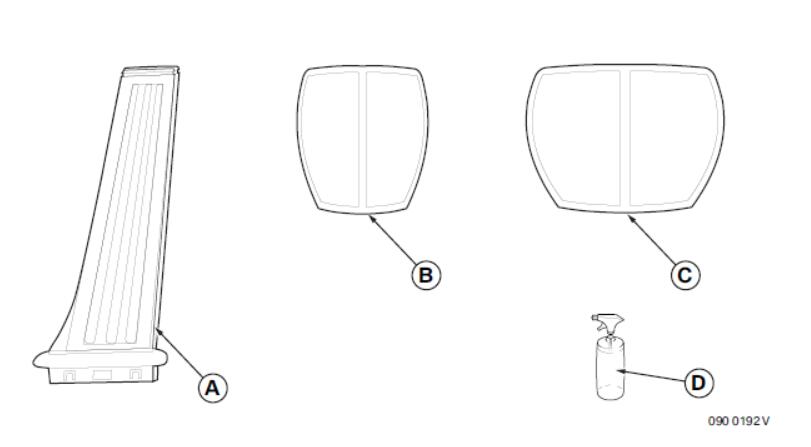
35 00 0 410 099 Set of stainless steel pedals for LHD manual transmission vehicles
35 00 0 410 100 Set of stainless steel pedals for automatic transmission vehicles
These installation instructions are not valid for RHD manual transmission vehicles.
Observe warning information.
Make sure the interior of the vehicle is adequately ventilated after installation! The following is not included in the retrofit kit and must be sourced separately:
How useful was this post?
Click on a star to rate it!
Average rating / 5. Vote count:
Please keep this link if you copy the post!
Tags: program
Related Posts
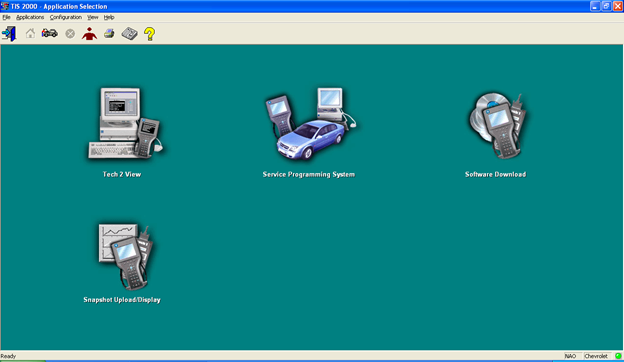
Review on testing GM Tech2 and TIS 2000 Program
2019.05.12
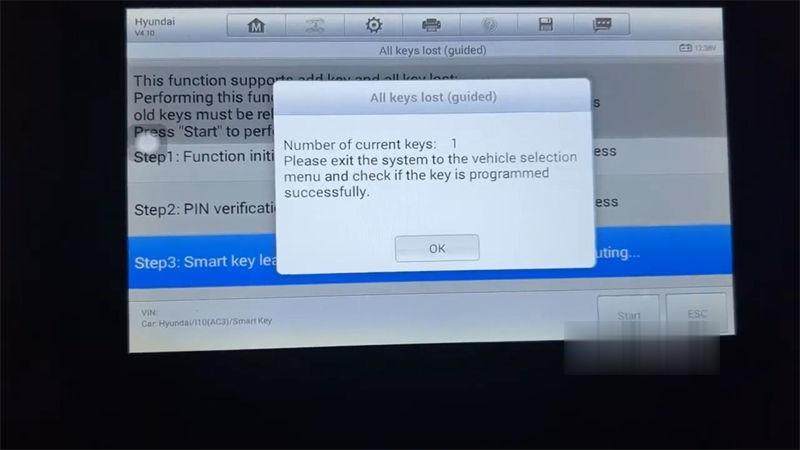
Program 2020-2022 Hyundai i10 ID4A All Keys Lost By Autel IM508
2024.01.28
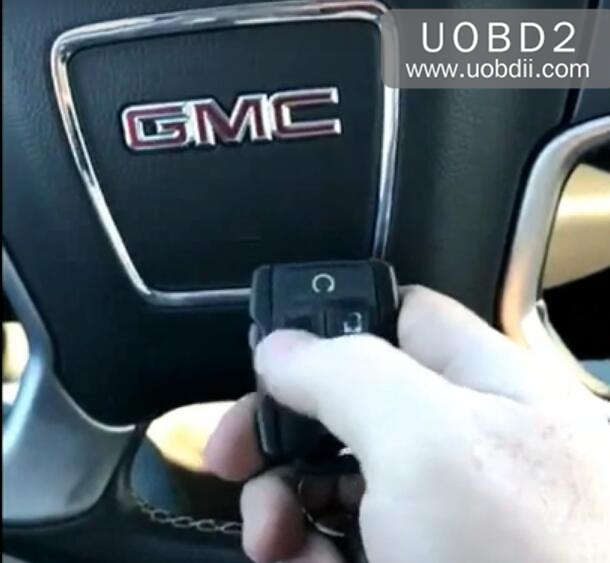
GMC Sierra 2015 Remote Key Programming by Autek iKey820
2023.06.10

How to add 2018 Dodge Challenger with Autel IM608 Pro
2024.01.28
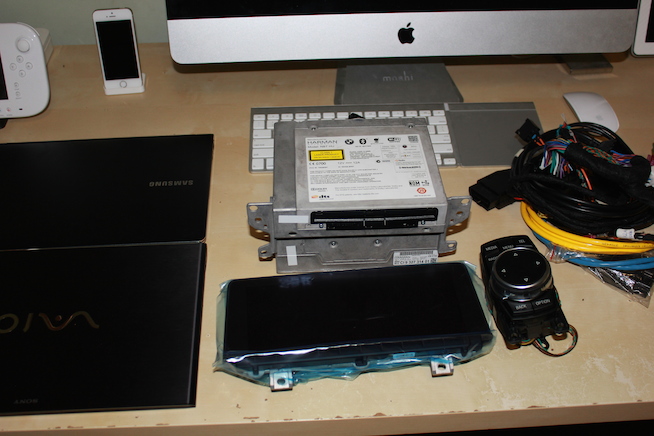
BMW F Series NBT iDrive Installation Guide
2019.07.19
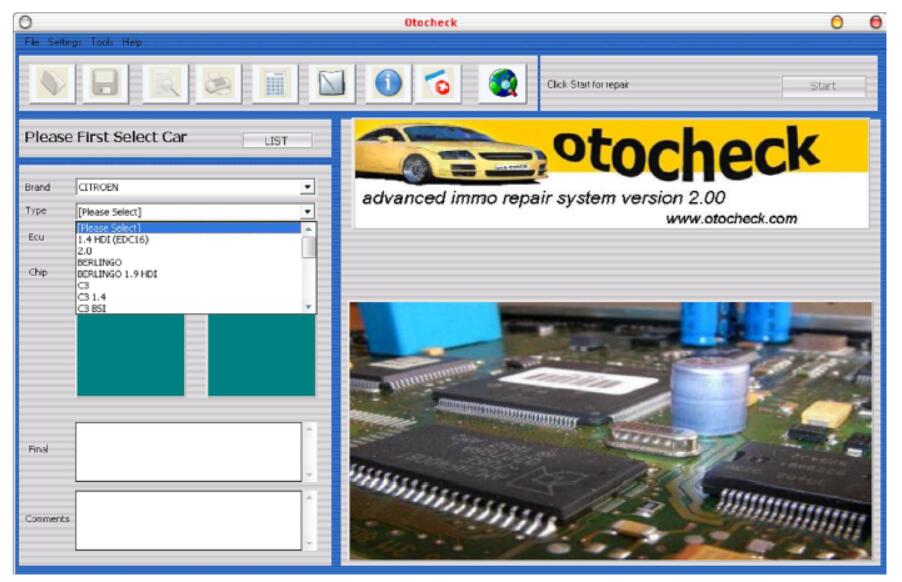
OtoCheck Immo Tool 2.0 Crack Free Download
2019.03.4
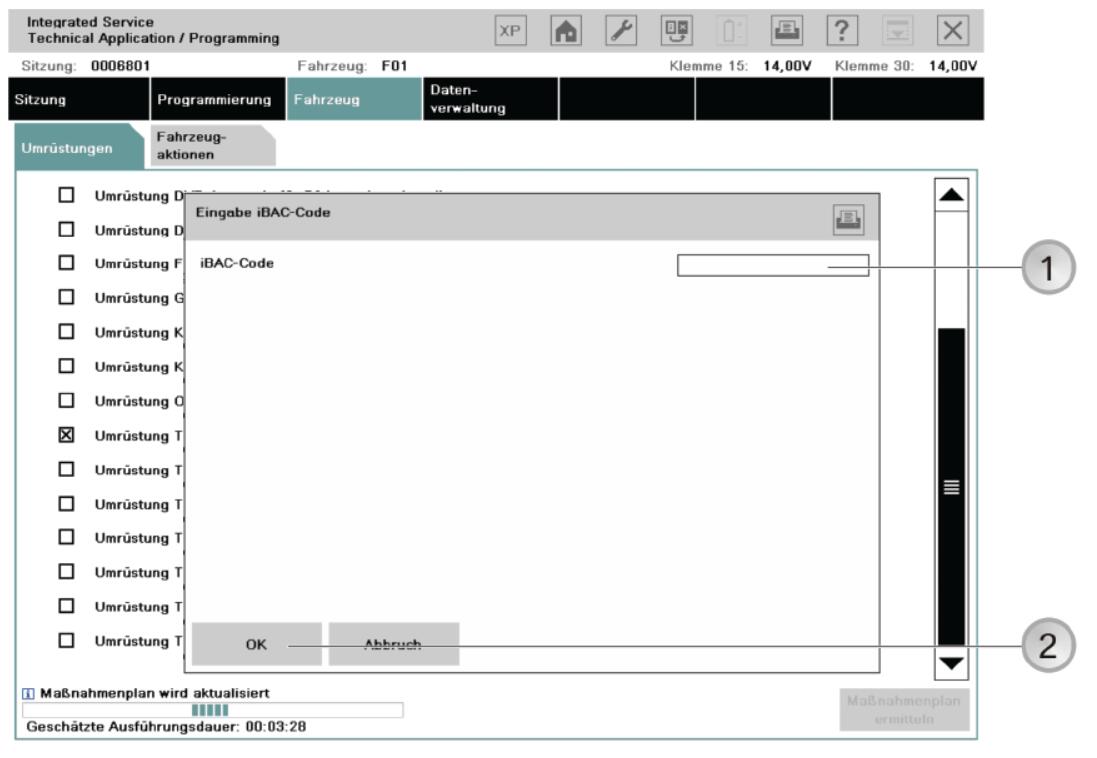
How Use BMW ISTA-P Generate BMW IBAC Enable Codes
2019.07.24
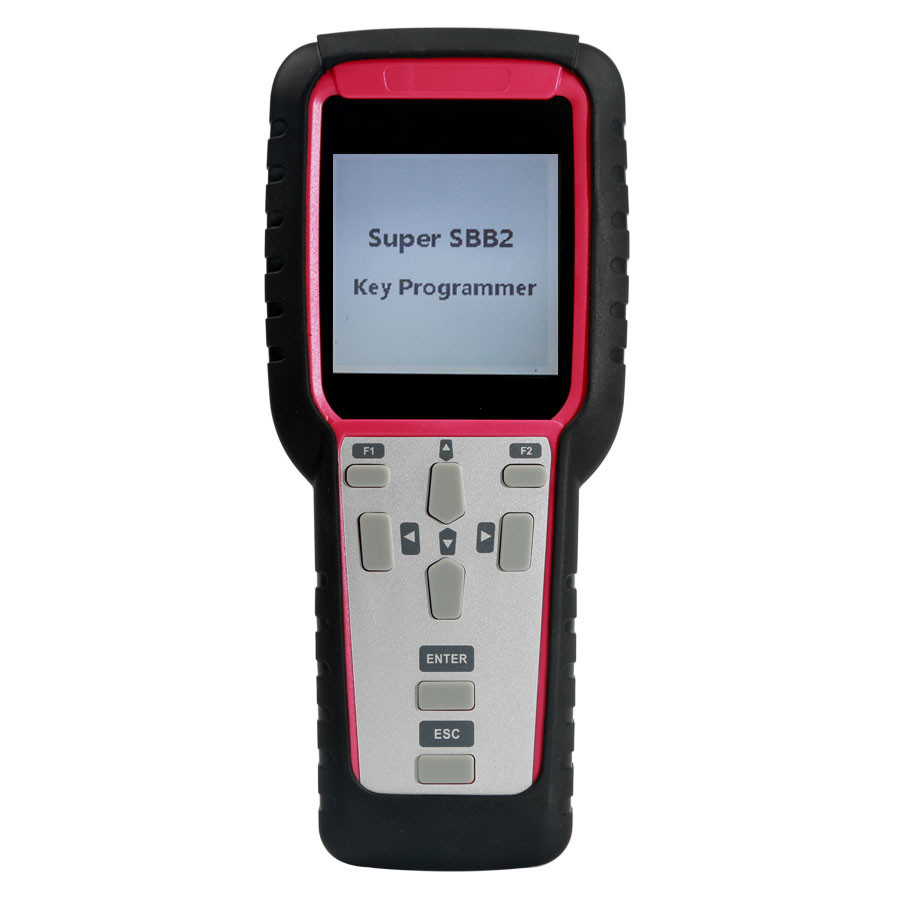
Newest Super SBB2 Key Programmer Oil/service Reset/TPMS/EPS/BMS Handheld Scanner
2018.12.17

Scania SDP3 V2.44.3 Scania Diagnos & Programmer 3 2.44.3 Free Download link
2020.08.19

3 Methods to Program ECU After Replacement
2023.04.4