Diagzone Xdiag Subscription Renew, LAUNCH LTR-01 RF Sensor, Thinkdiag Renew , Scania SDP3 Installation

DiaSys v2.74
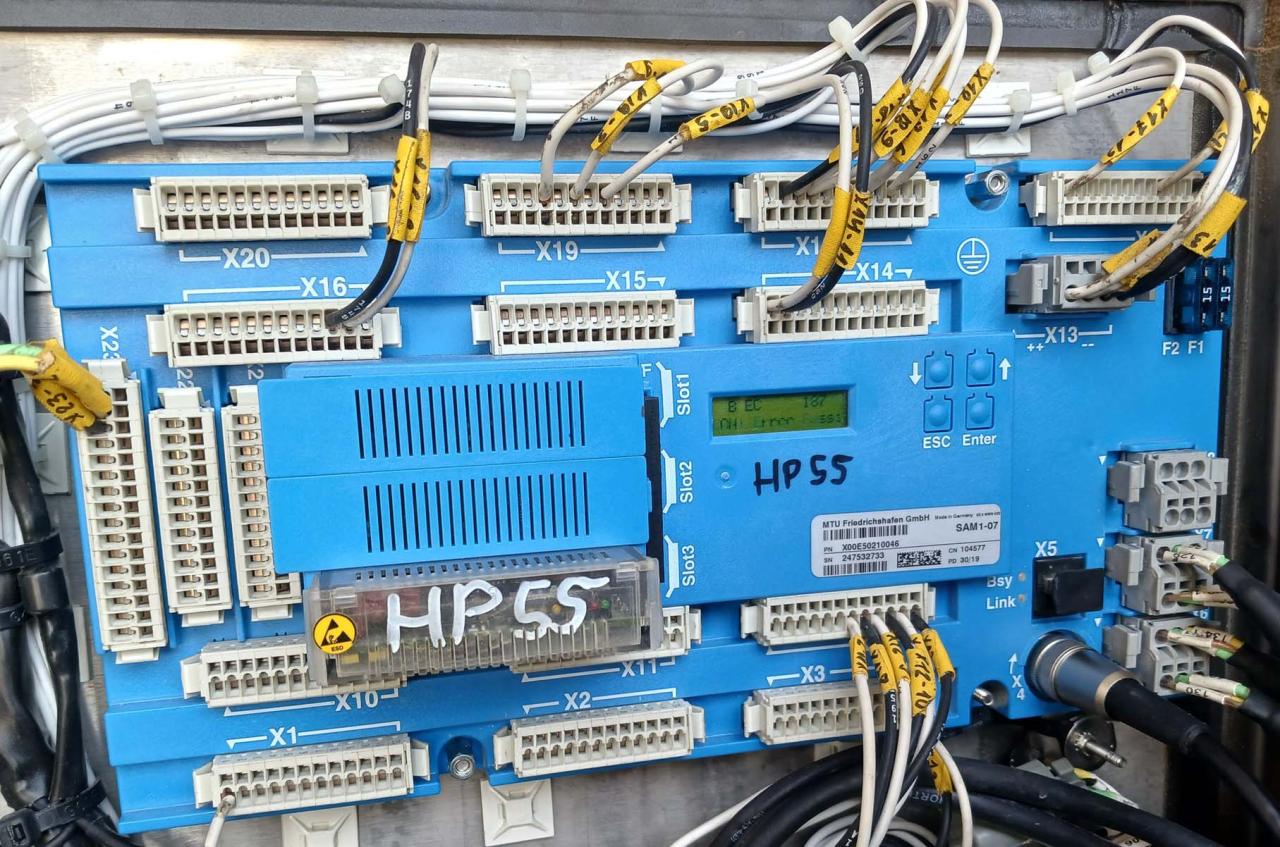
To configure the MTU electronic engine controller or read engine data, you need the DiaSys dialog system. The setup requires:
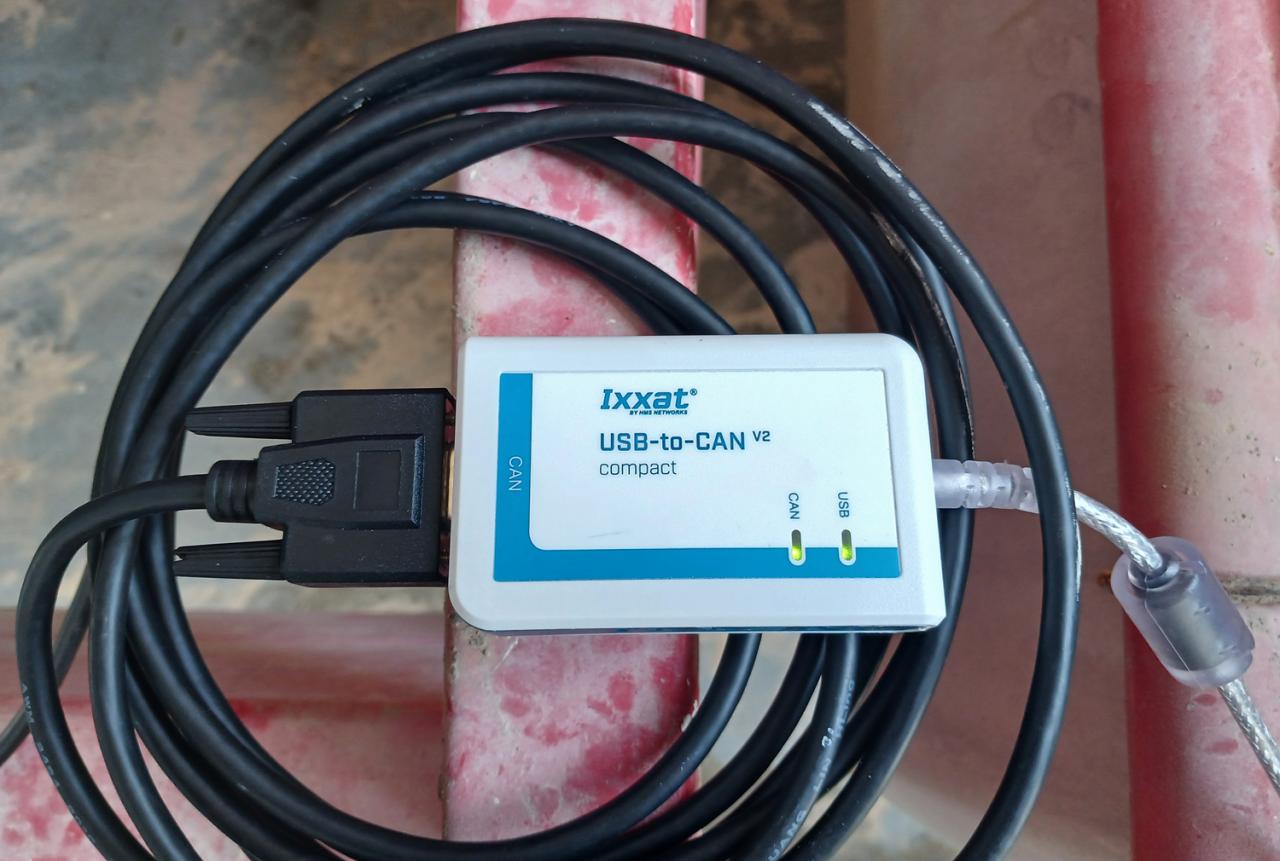
A laptop with DiaSys software and a CAN controller (Ixxat USB-to-CAN v2).
A connection cable to link the engine controller to the system (connected to the SAM dialog plug).
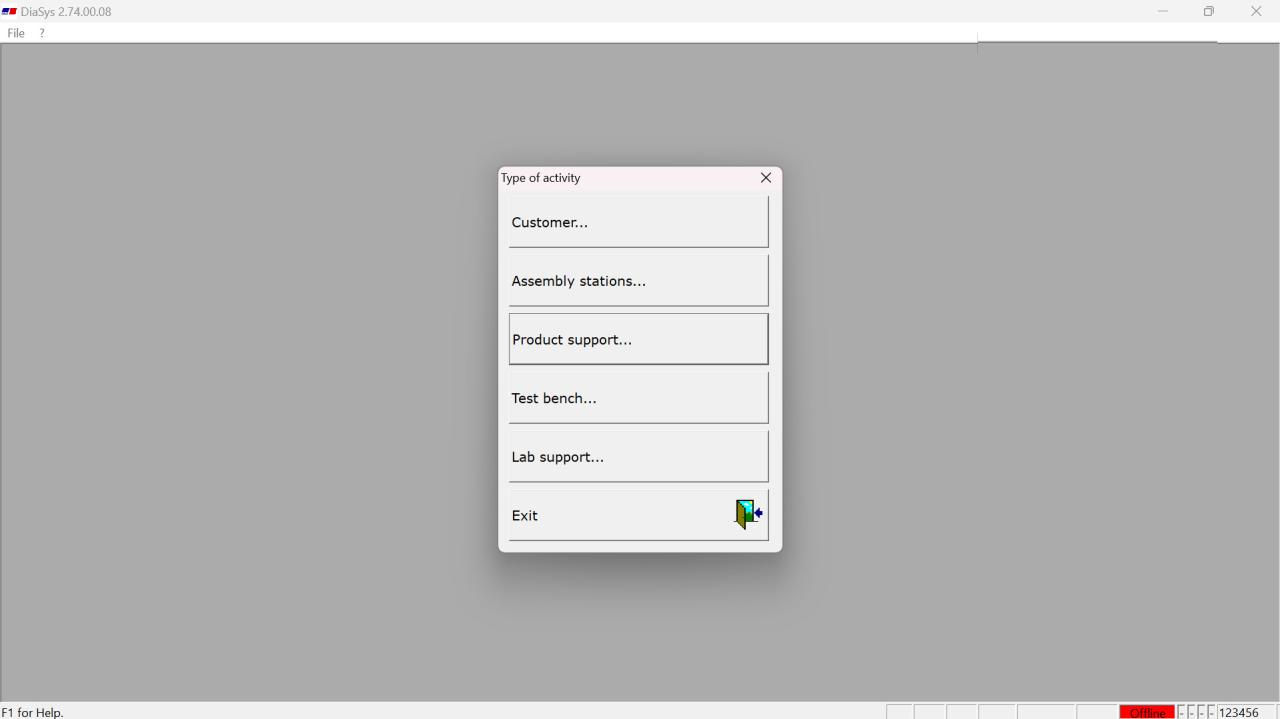
1) Select Activity Type
Choose the type of activity (user group). Available options may vary depending on the hardware key level in use. The features accessible in DiaSys are determined by the selected activity type.
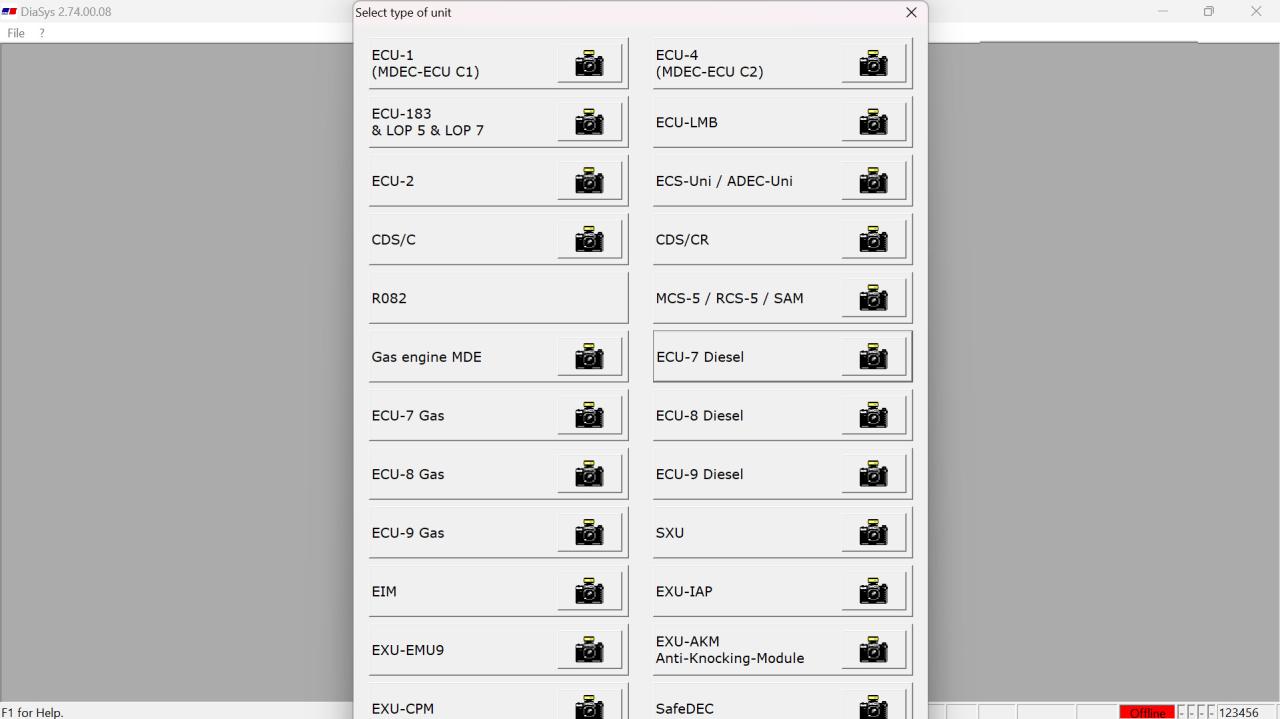
2) Select Device Type
Choose the appropriate device type. This option appears only if “No device type preset” is selected in the settings. To help identify the correct device type, press the button marked with a camera icon to display an image of the device. The image will automatically hide after 10 seconds or when the mouse pointer moves over it.
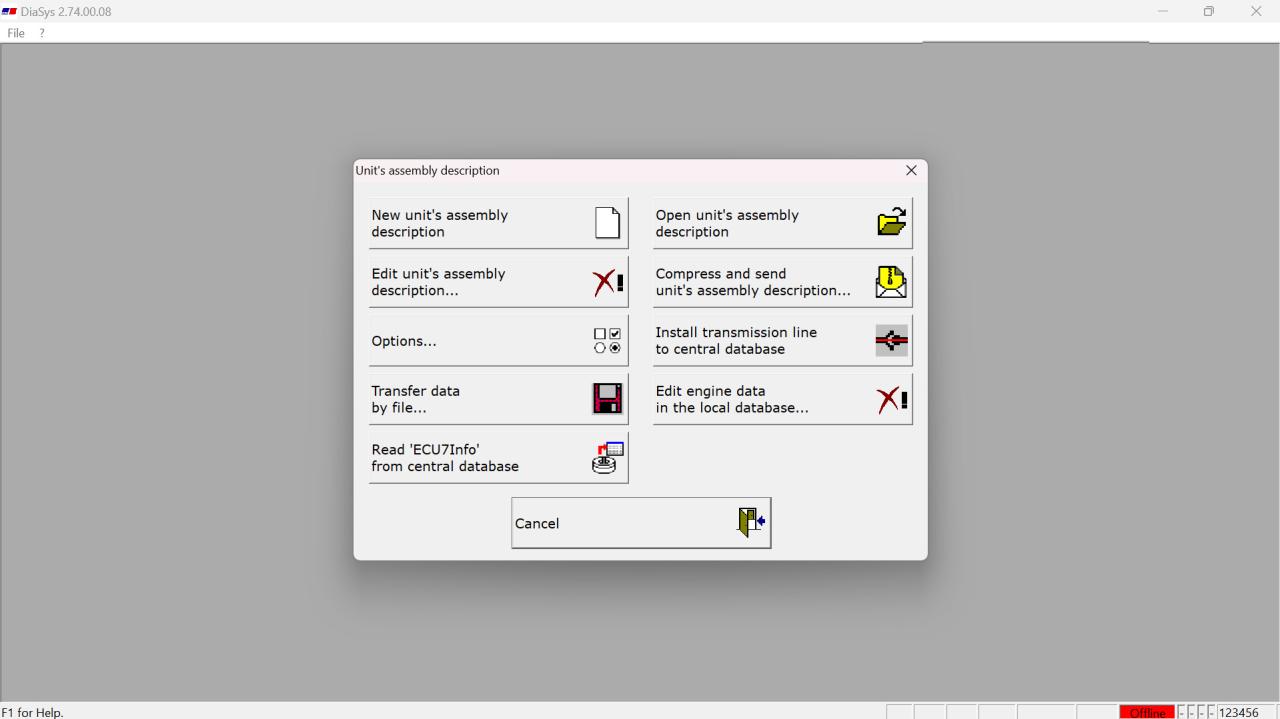
3) Edit or Create an Assembly Description
Assembly descriptions are essential for using DiaSys. You can create new descriptions or open and edit (e.g., delete) existing ones.
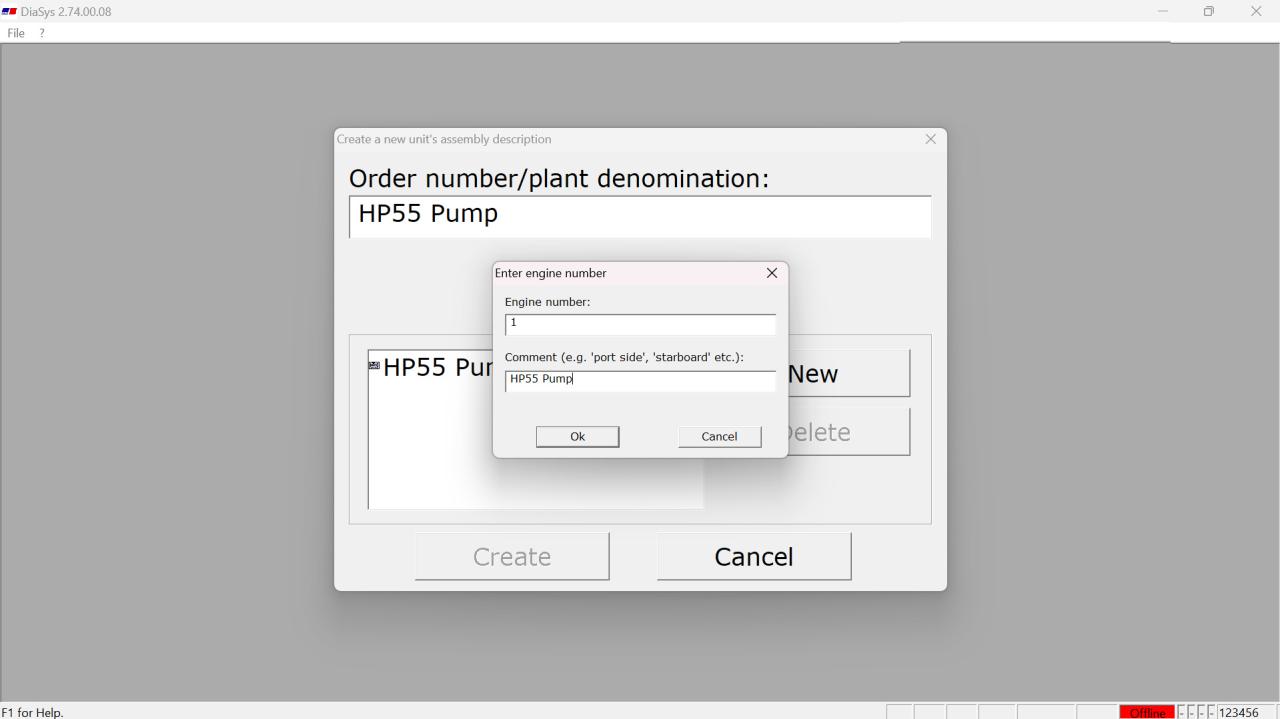
New Assembly Description: Creating a new assembly description associates one or more engine numbers with an order number. DiaSys will automatically create a directory for saving this data. Click the “New” button to open a window where you can enter the engine number.
Language Settings: Use the “Options” button to switch DiaSys language between German and English.
4) Working in Online Mode
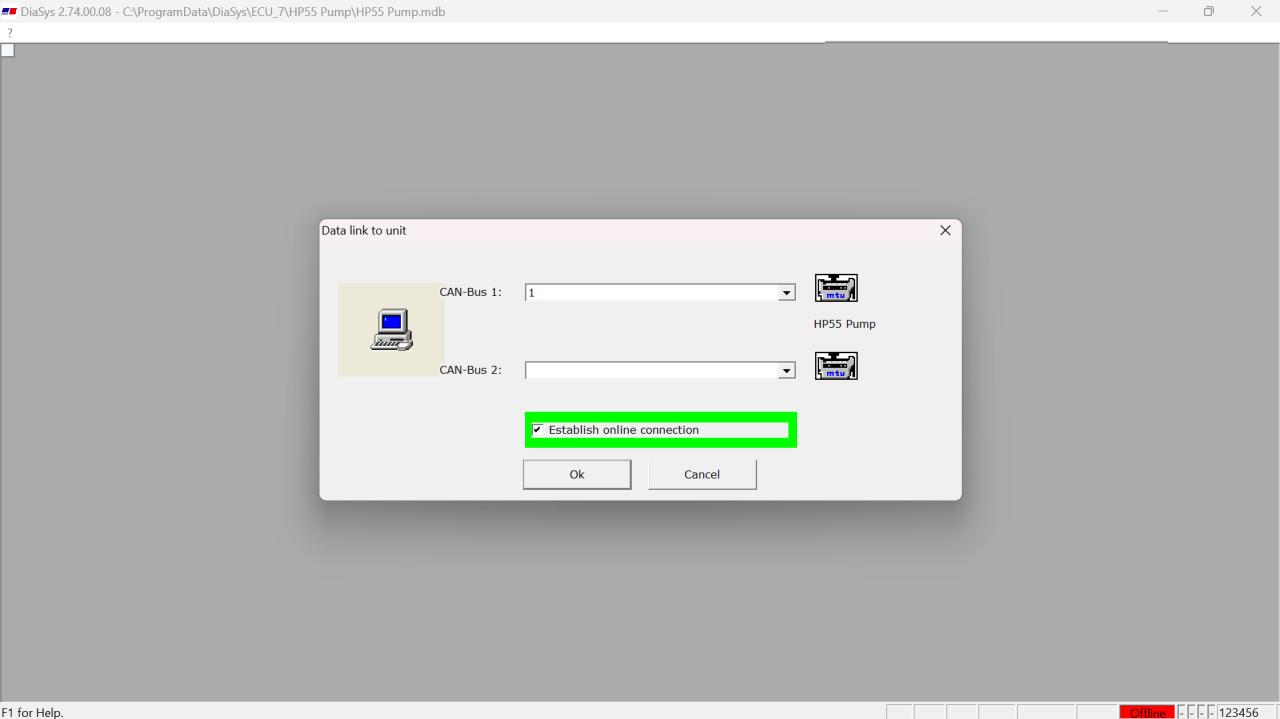
Creating a Data Link to the Controller
a) Select “Establish data link to controller…” to start the connection.

b) Once connected, the controller is accessed via CAN bus 1 and linked to the engine number. Select “Connect online” and confirm by clicking “OK.”
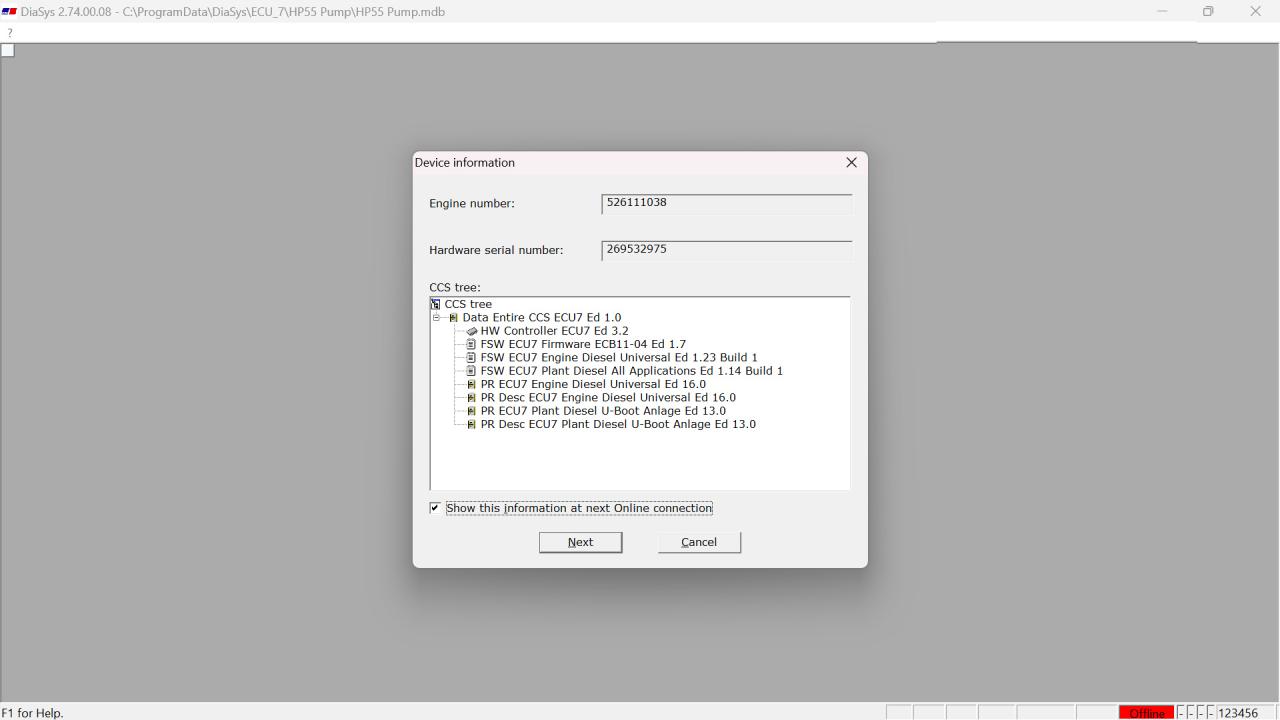
A device information message with engine number, hardware serial number, and CCS tree will appear. Click “Next.”
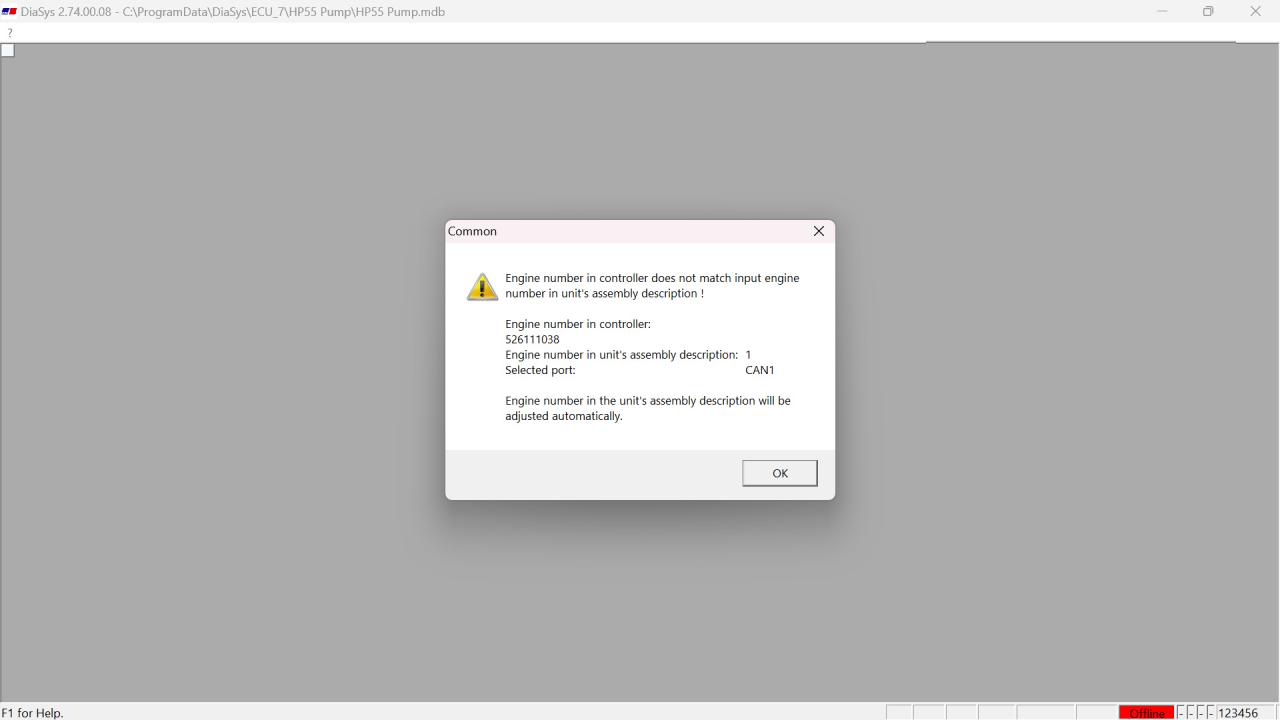
If there is a mismatch between the engine number in the controller and the assembly description, a general message will display. Confirm by selecting “OK.”
Enter the engine serial number, then click “Next.”
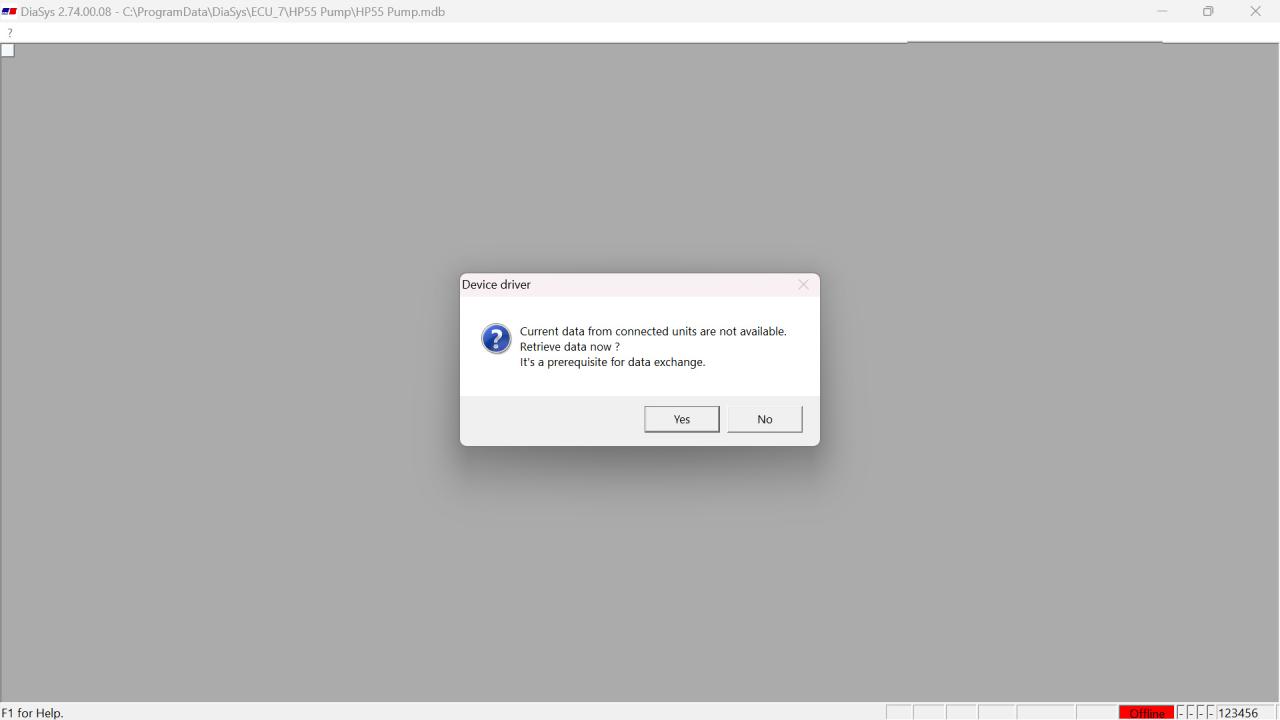
When prompted to retrieve data, select “Yes.”

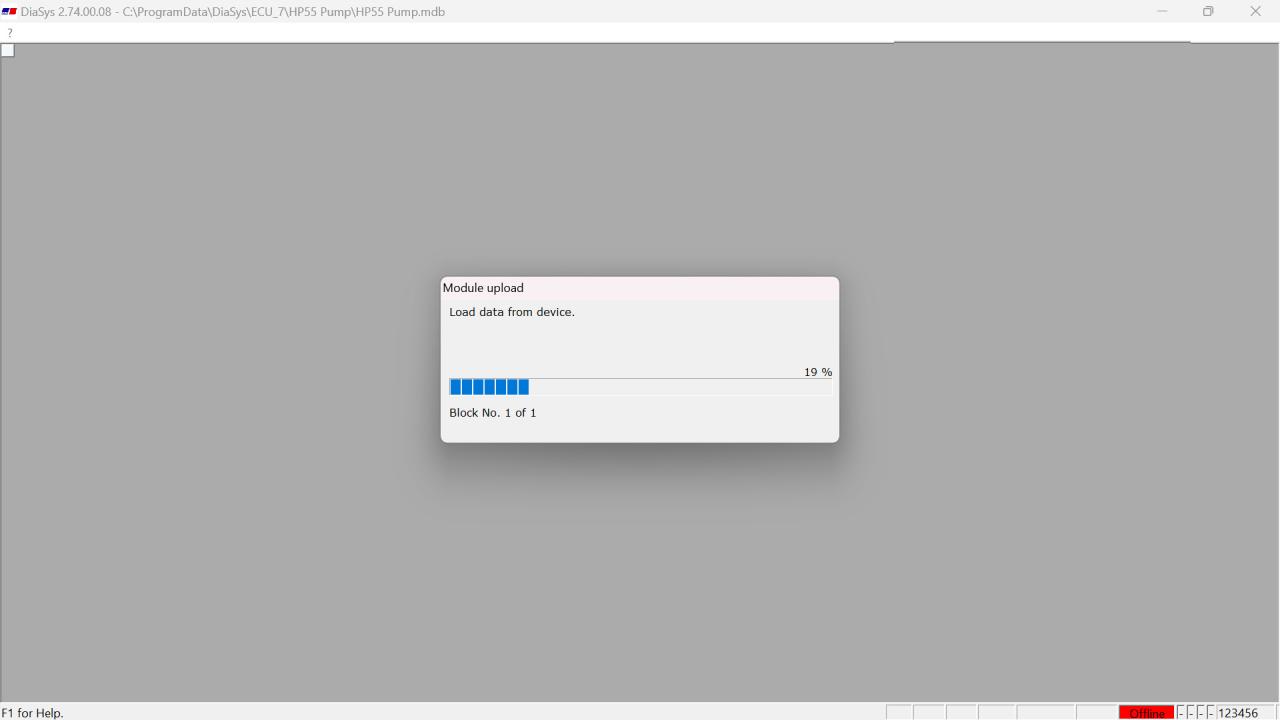
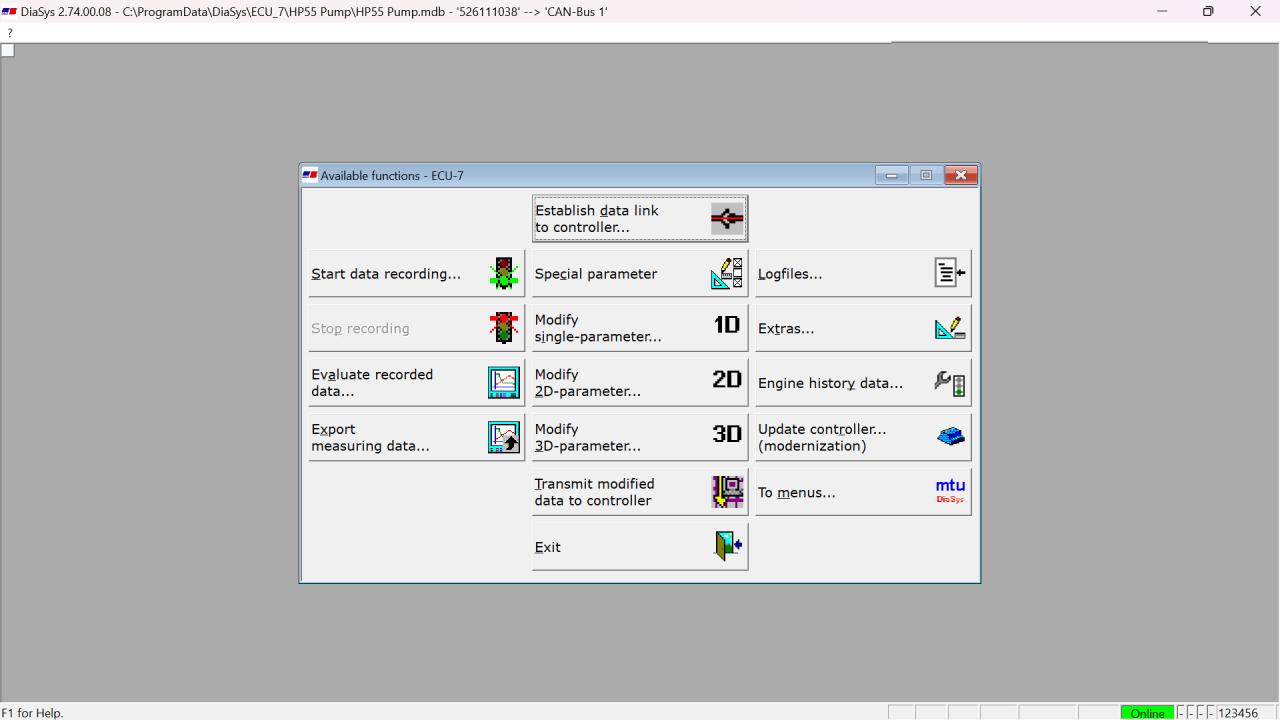
c) After a successful connection, the controller data will be loaded, and you’ll be ready to work in online mode.
Related posts:
How to Solve NEXIQ USB Link 2 Driver “A digitally signed driver is required”
How to Solve Excessive Blue Smoke in Detroit EPA07 GHG14 Engine
NEXIQ USB LINK 3 Clone VS ORIGINAL
Detroit DDEC16 DD15 GHG17 Engine Performance Test (Low Temperature ATD)
How useful was this post?
Click on a star to rate it!
Average rating / 5. Vote count:

Some Friends don't know how to activate win7, when they receive the diagnostic software with win7 sytem. http://www.chinaobd2.com/upload/software/win7activation.zip download this Read more

Please ensure that you choose computer systems that meet our requirements for the installation. You will find adetailed listing in Read more

Frequent oil changes are perhaps the most important procedure you can do to maintain and prolong the life of your Read more

Please keep this link if you copy the post!