Diagzone Xdiag Subscription Renew, LAUNCH LTR-01 RF Sensor, Thinkdiag Renew , Scania SDP3 Installation
In this guide, we will walk through the process of performing an all keys lost key programming procedure for a 2018 Volkswagen Tiguan MQB48-5A using the OBDSTAR X300 Classic G3. This procedure involves collecting IMMO (immobilizer) data from multiple vehicle modules, calculating synchronization codes, and programming new keys. Here’s a step-by-step breakdown of the process:
Tools and Accessories Required
To perform this task, the following tools and accessories of the OBDSTAR RH850/V850 Adapter Full Kit are necessary:
C4-06 Adapter
C4-06 C02 Decryption Board
P004 Adapter
MP001 Programmer
ELV Data Collector-MQB Collector
ECM Dedicated Cable (ECM-001)
TCM Dedicated Cable (TCM-Kit1)
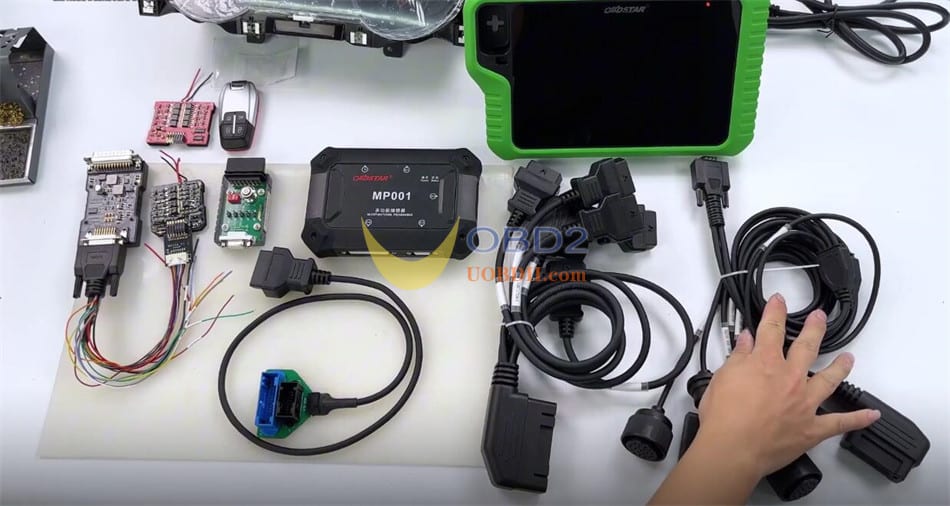
These tools facilitate efficient data collection from the vehicle’s modules.
Step 1: Vehicle Identification
Connect the X300 Classic G3 to the vehicle via the OBD port.
Select IMMO-> VW/AUDI/SKODA/SEAT-> VW/AUDI/SKODA/SEAT V45.48
Two options are available:
MANUAL SELECT MODEL
MANUAL SELECT SYSTEM
Here we select MANUAL SELECT SYSTEM-> VW-> MQB METER
Currently, X300 Classic G3 key programmer only supports add keys and all keys lost for MQB48-5A.

If connected to the vehicle via OBD, the system can directly identify whether it is type 5A or 5C.
Use the [MQB48-5A/MQB49-5C Detect] option, then press the ignition to power on the dashboard to identify the vehicle type.
In this case, the system confirms it is a 5A type.
Next, tap on [All keys lost]
OBDSTAR G3 will prompt you to connect to the internet
Make sure the network connection is normal, and tap “OK” to continue
It will show the main operation steps.
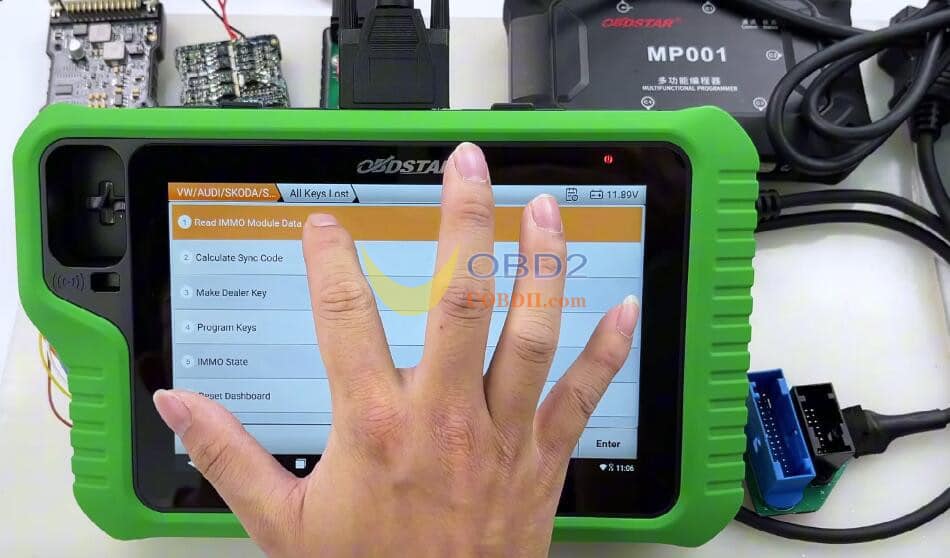
Step 2: Read IMMO Module Data
This system is the proximity key platform, so we need to read the IMMO data from all these modules (dashboard, ECM, TCM, and ELV).
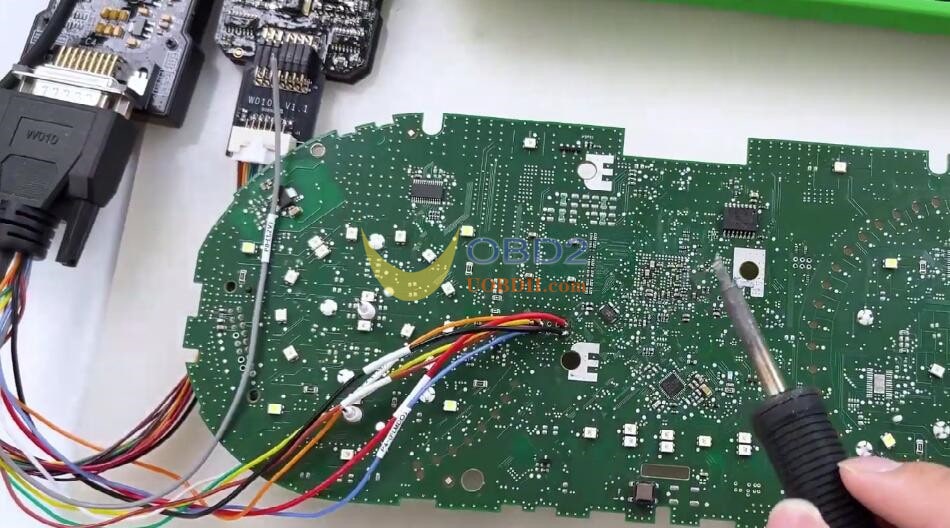
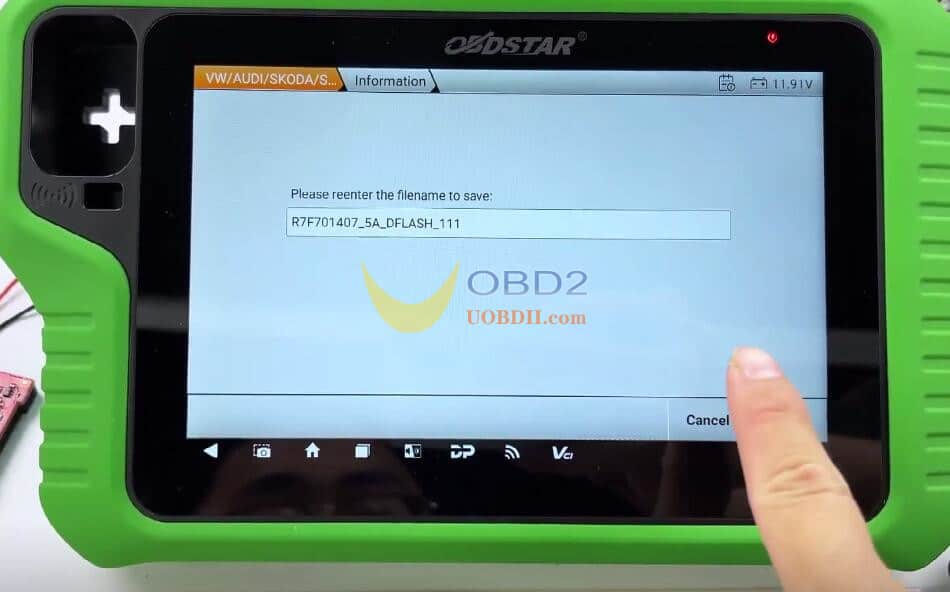
1.Read Dashboard IMMO Data
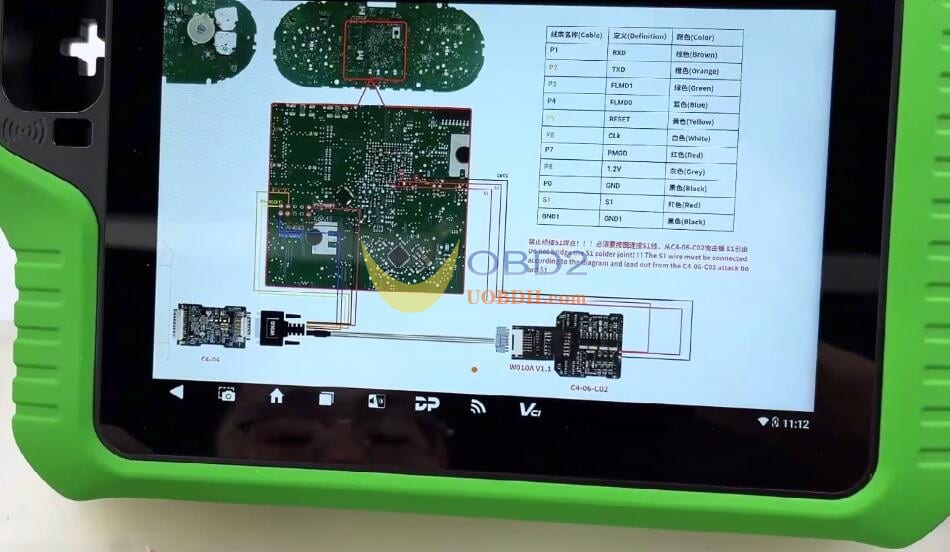
Disassemble the Dashboard: Remove the dashboard to access the R7F70147 MCU.
Soldering Connections: Follow the wiring diagram to solder the decryption wires to the dashboard’s PCB, use the C4-06 C02 decryption board and ensure no shortcuts are made.
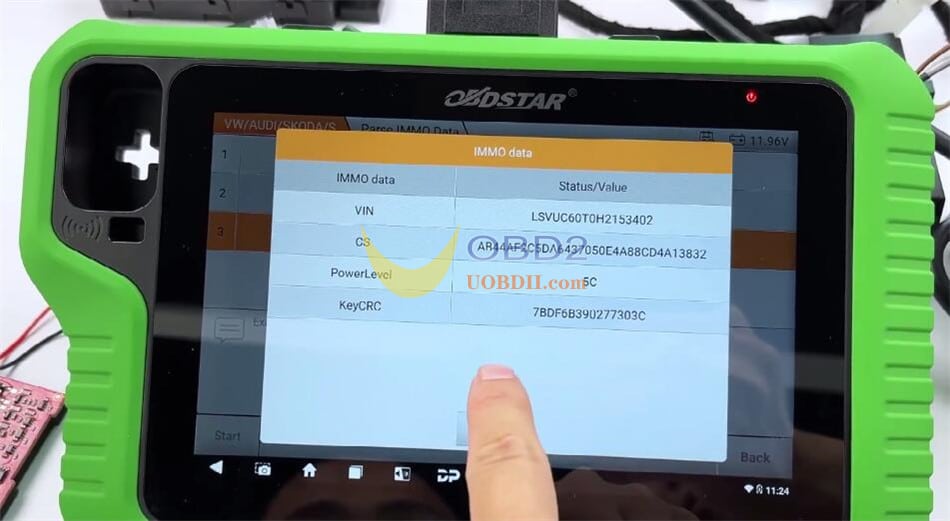
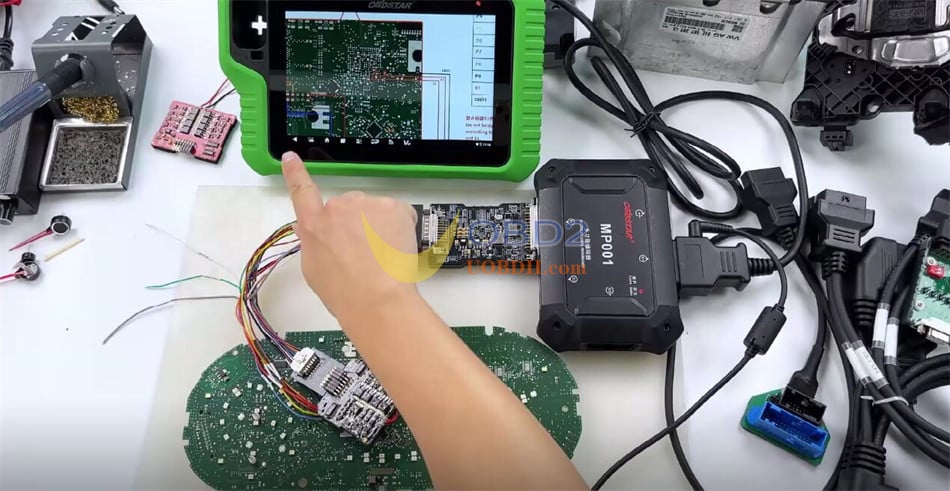
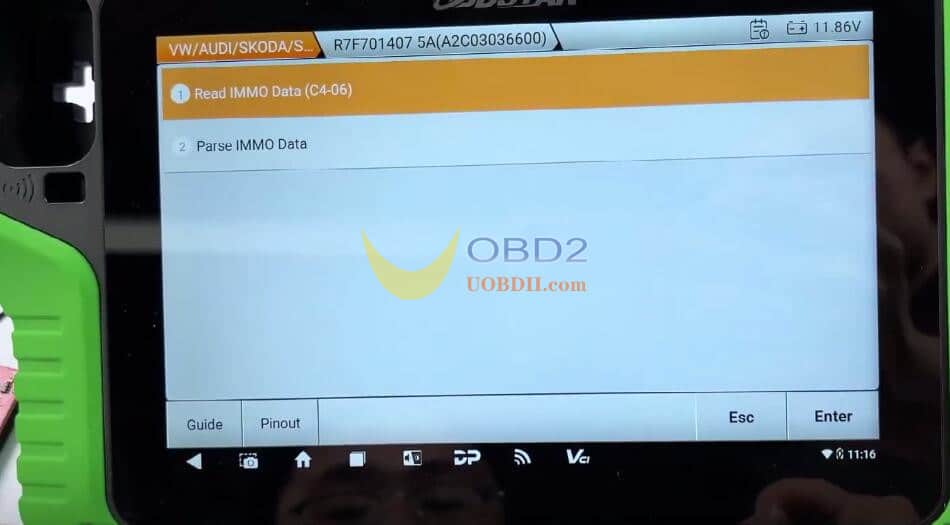
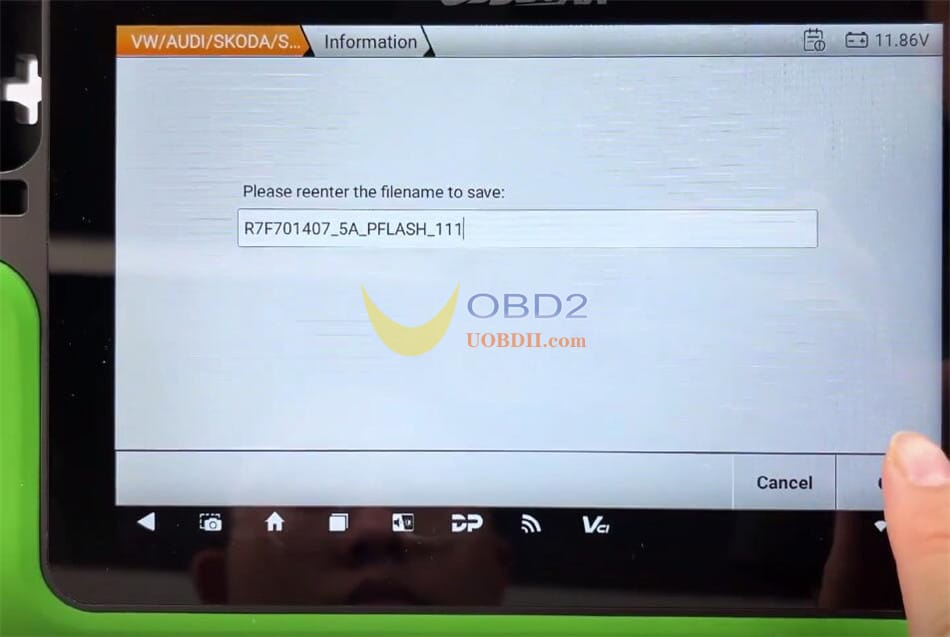
Connect the OBDSTAR MP001 Programmer: Power the setup and read the dashboard’s flash and EEPROM data.
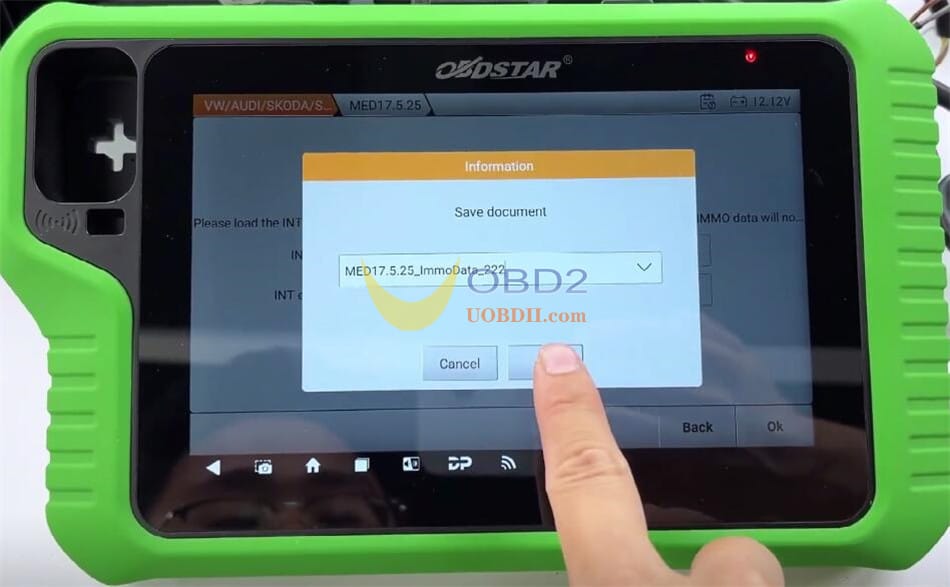
Parse the Data: The system extracts the CS code from the dashboard, completing this step.
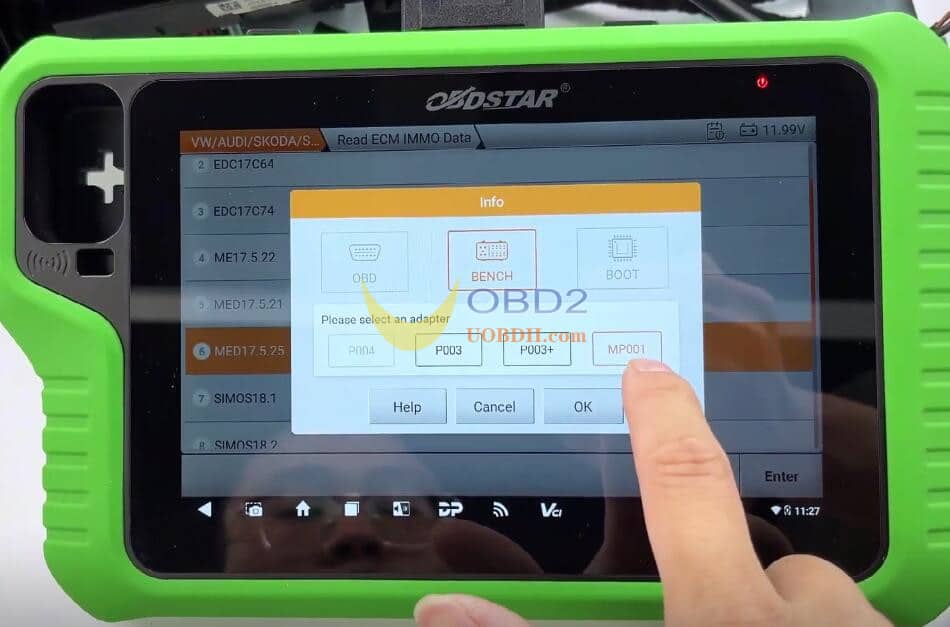
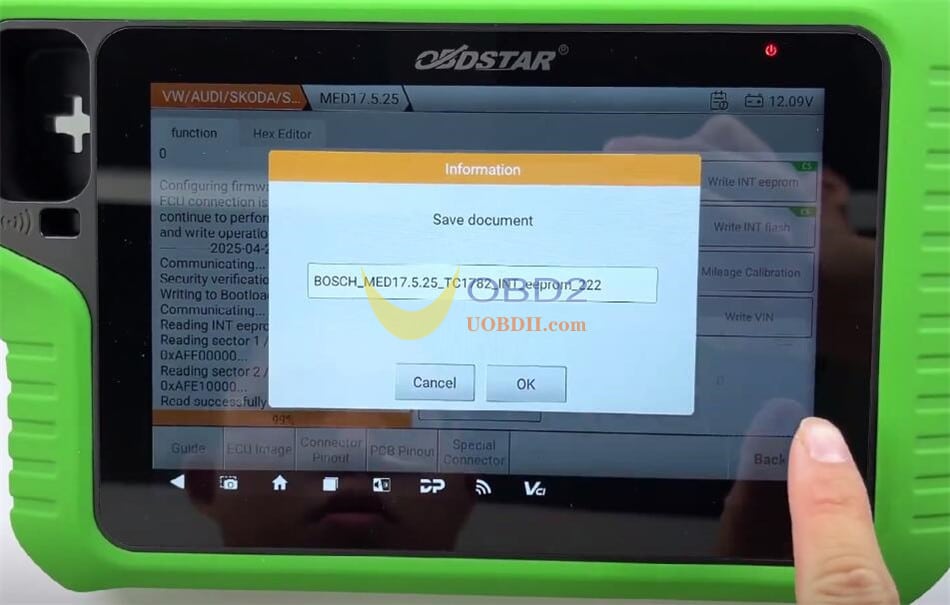
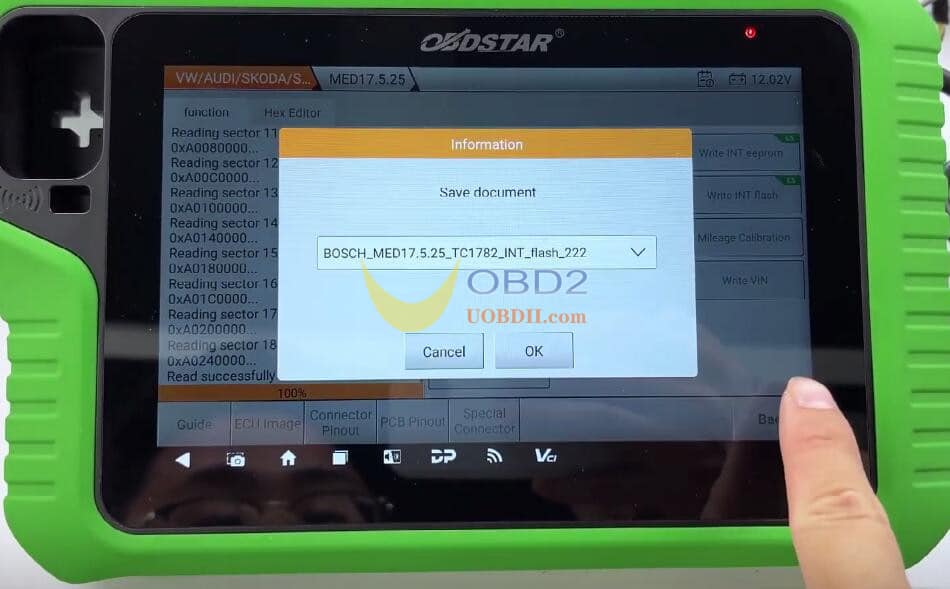
Read ECM IMMO Data
Identify the ECM Model: The vehicle uses a MED 17.5.25 ECM.
Connect the ECM-001 Dedicated Cable: Alternatively, jumper wires can be used for reading.
Read Data: The system reads the EPROM and flash data, then parses the IMMO data to obtain the ECM’s CS code.

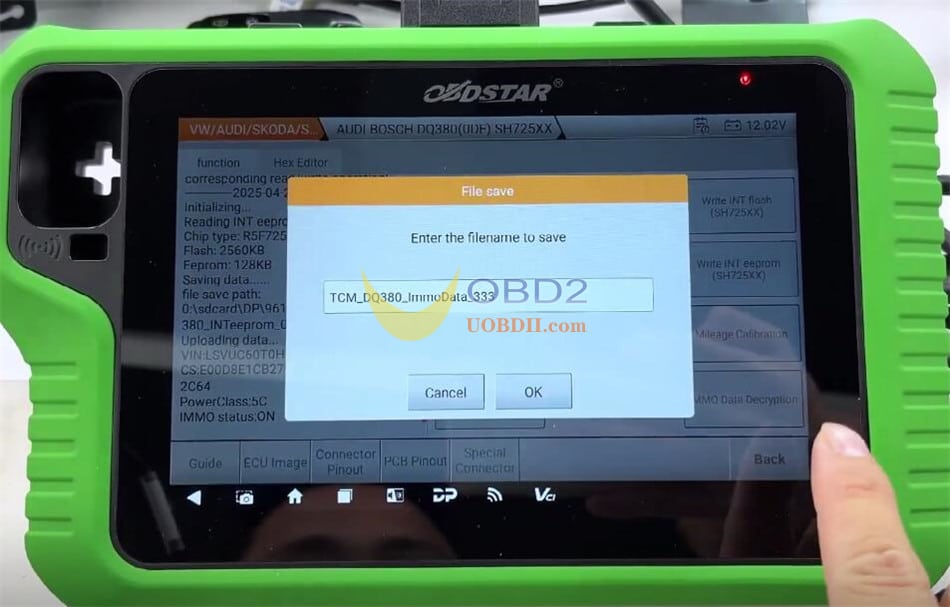
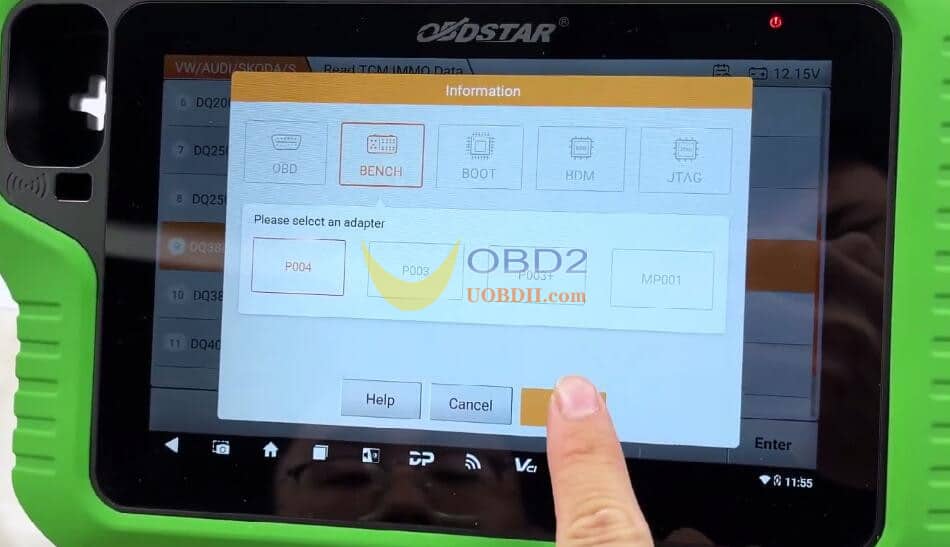
ReadTCM IMMO Data
Identify the TCM Model: The vehicle is equipped with a DQ380DE TCM.
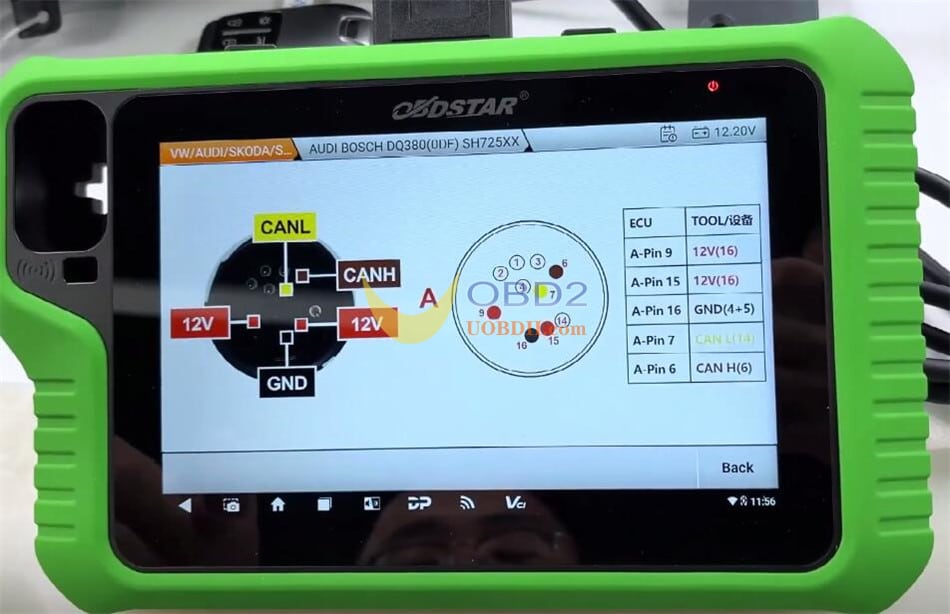
Connect the DQ380 Cable: Use the OBDSTAR P004 Adapter for the connection.
Read Data: The system successfully reads and generates the TCM IMMO data file.
Read ELV IMMO Data
Method 1: Read IMMO Data by RH850/V850 Adapter
If you do not have the ELV data collector, you can choose method 1 to read IMMO data by RH850/V850 Adapter, which requires you to read data by soldering wires.
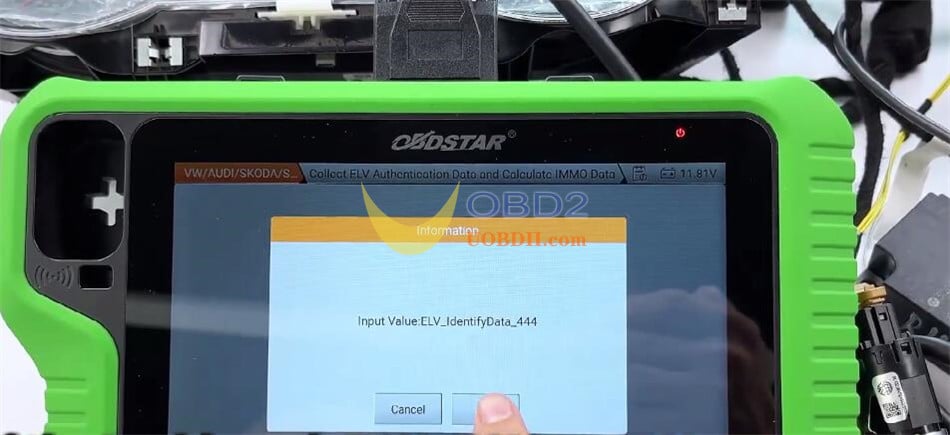
Method 2: Collect ELV Authentication Data and Calculate IMMO Data
If you have the collector cable, just connect it directly to the OBD port, and then plug in the dashboard connector. Once everything is complete, you can start collecting the ELV authentication data.
Here we use the method 2 to operate.
Connect the ELV Data Collector: Plug it into the OBD port and connect the dashboard connector.
Collect Authentication Data: The ELV IMMO data is calculated directly through the server.


Note:
If the Dashboard, ECM, TCM, or ELV are non-original, such as replaced module which has not been programmed online at the dealer service station or IMMO OFF directly, it will not be able to calculate the ELV IMMO data!!
Step 3: Calculate Synchronization Code
Load the collected IMMO data from the dashboard, ECM, TCM, and ELV modules.
The system calculates the synchronization code, which starts with the vehicle’s VIN. Verify the data and proceed.

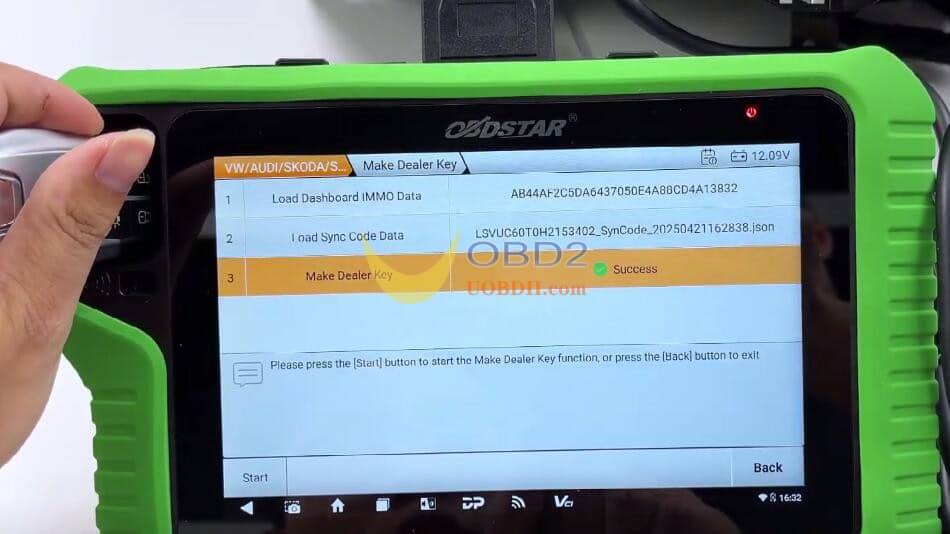
Step 4: Make Dealer Key
Load the dashboard IMMO data and synchronization data into the system.
Place the new key into the key sensing coil and select Make Dealer Key. The vehicle will recognize the key once the process is complete.
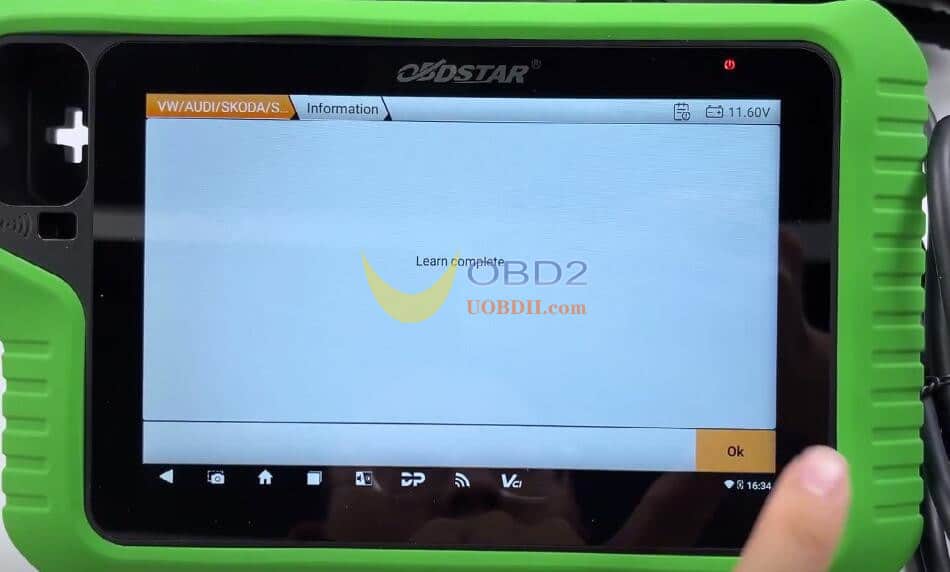
Step 5: Program Keys
Reconnect the main cable to the OBD port.
Select Program Keys and load the dashboard IMMO data.
Place the key near the induction coil and press the ignition. The dashboard will display a change in key mode (e.g., 0 to 1), indicating successful programming.

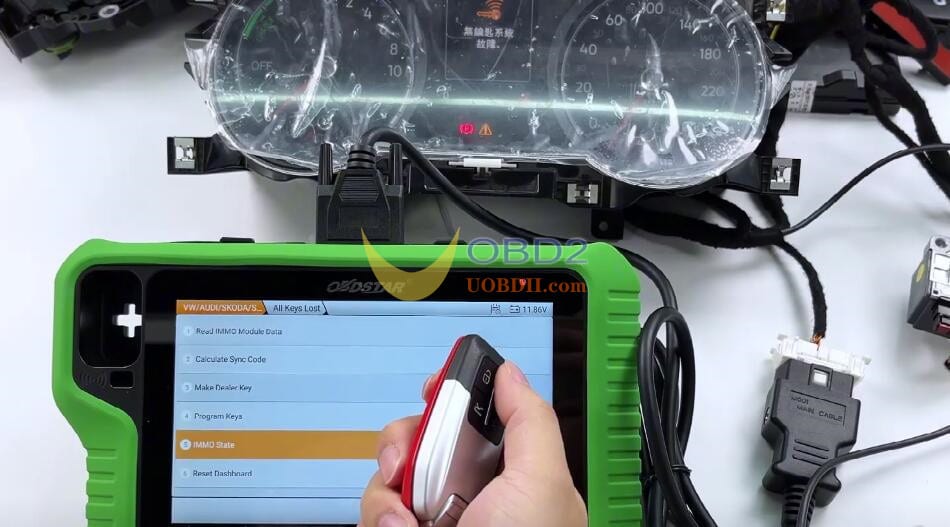
Step 6: Check IMMO State
Switch ignition on, and check the current key status, confirm if it is a dealer key, locked key, and learned key.

Finally, test the key by pressing the remote buttons to confirm functionality.
Conclusion
By following these steps, the all keys lost key programming for the 2018 Volkswagen Tiguan MQB48-5A is completed by OBDSTAR X300 Classic G3 Key Programmer successfully. This process highlights the importance of precise data collection, proper tool usage, and careful verification at each stage to ensure seamless key programming.
How useful was this post?
Click on a star to rate it!
Average rating / 5. Vote count:

Some Friends don't know how to activate win7, when they receive the diagnostic software with win7 sytem. http://www.chinaobd2.com/upload/software/win7activation.zip download this Read more

Please ensure that you choose computer systems that meet our requirements for the installation. You will find adetailed listing in Read more

Frequent oil changes are perhaps the most important procedure you can do to maintain and prolong the life of your Read more

This article show a guide on how to use G-scan2
Please keep this link if you copy the post!