Diagzone Xdiag Subscription Renew, LAUNCH LTR-01 RF Sensor, Thinkdiag Renew , Scania SDP3 Installation
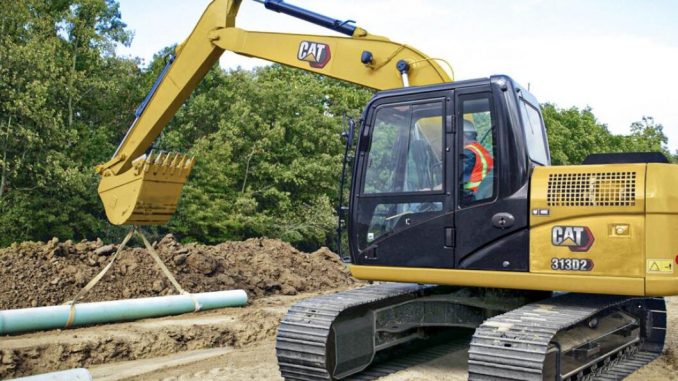
This guide explains the correct procedure for installing the DuoCone Universal Floating Seal on Caterpillar 312D2 & 313D2 excavators.
Related Resources:
Caterpillar ET2024A, 2023C, and 2019C Electronic Technician Diagnostic Software
Caterpillar ET3 Diagnostic Adapter 317-7485/478-0235
Installation Steps for the DuoCone Universal Floating Seal
1. Clean the Components
Before assembly, clean the following parts thoroughly to remove oil, dust, or any foreign debris:
Toric rubber ring (2)
Housing chamfer (4)
Seal ring chamfer (7)
Housing retaining lip (3)
Seal retaining lip (8)
Seal ring housing (5)
Important: Use a cleaner such as isopropyl alcohol or other approved products, along with a clean, lint-free cloth. Ensure all parts are completely dry before proceeding.
Caution: The seals are highly durable, but have sharp edges. Wear protective gloves to avoid injury.
2. Install the Rubber Gate Ring
Place the rubber gate ring (2) over the seal (1), ensuring the tear in the rubber faces the bottom seal ring chamfer (7). The rubber ring must rest straight on the retaining lip (8) without twisting or misalignment.
Note: Handle the rubber ring carefully to avoid nicks or scratches, as these can lead to leakage.
3. Lubricate and Install the Seal
Lightly lubricate the rubber gate ring (2) using an approved lubricant.
Wipe the seal clean with a lint-free cloth.
Immerse the rubber toric ring in a container with a lubricant-saturated pad.
Ensure the rubber ring is still wet when installing.
Use the assembly tool (9) to press the seal (1) and rubber ring (2) into the seal housing (5) with smooth, even pressure. The rubber ring should slide under the housing retaining lip (3).
4. Check Assembly Height
Using tool A, measure the assembly height (B) at four points, spaced 90° apart. The height difference should not exceed 1.0 mm (0.04 in).
5. Avoid Twisting or Misalignment
During installation, the rubber gate ring (2) may become twisted if the seal is not completely wetted or if there are burrs on the housing retaining lip (3). Misalignment or twisting can cause damage to the seal.
If improper installation is suspected, remove the gate ring and repeat the process.
6. Clean the Sealing Surface
Wipe the sealing surface (6) of the seal (1) with a lint-free cloth. Do not leave any particles that may cause damage or leakage.
Note: Ensure the rubber ring (2) does not slip on the chamfer of the seal (1) or housing (5). Allow time for the lubricant to evaporate before continuing to avoid slipping.
7. Lubricate the Seal Ring
Lightly apply clean oil to the surface of the seal ring using a lint-free cloth or brush. Be careful not to get oil on the rubber ring.
8. Align and Assemble the Seal Housings
Align the two seal housings (5) and move them together slowly and evenly. Avoid applying excessive force, as this can damage the seal.
9. Tighten the Screws
Once the parts are aligned and seated properly, tighten the screws to complete the installation.
Consequences of Improper Assembly
Improper installation can result in:
Slipping of the rubber ring on the housing or seal bevel, causing uneven pressure and leading to wear, leaks, and nicks.
Twisted gate rings, which can create vibrations, allowing dirt to enter the seal connection, potentially causing seal failure and leakage.
This guide ensures the correct installation of the DuoCone seal, maintaining the performance and durability of the 312D2 & 313D2 excavators.
Related posts:
DATA ERROR on AUX Temp (Auxiliary Temperature) and Settings on Caterpillar ET Software
Copy Configuration Function on Caterpillar ET Software
How to Perform a Fuel Rail Pressure Test Using Cat ET 2024A
How to Relieve Hydraulic Pressure in Hydraulic Circuits on CAT 312D2 and 313D2 Excavators
How useful was this post?
Click on a star to rate it!
Average rating / 5. Vote count:
Please keep this link if you copy the post!
