Diagzone Xdiag Subscription Renew, LAUNCH LTR-01 RF Sensor, Thinkdiag Renew , Scania SDP3 Installation
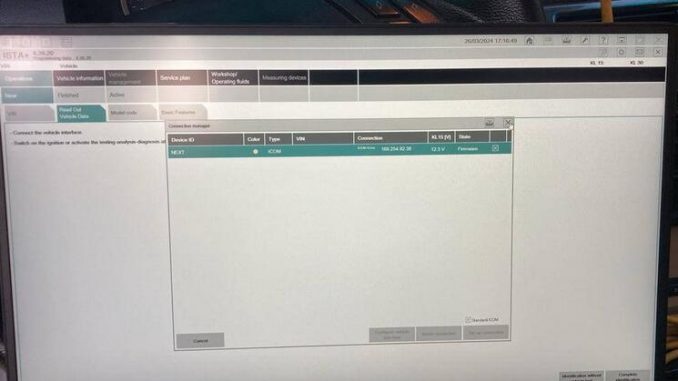
Step-by-Step Guide to Updating ICOM A/A2/Next via Web Interface
Prerequisites:
The latest ISTA version is installed on your PC and functioning.
ICOM A/A2/Next is connected to a power supply.
The LAN cable is connected.
Ensure you have the ICOM package, which contains the required files for the update. These are typically downloaded automatically with ISTA.
Finding the Boot Images:
ICOM A/A2 boot images: C:\ProgramData\BMW\ISPI\data\TRIC\ICOM\ICOM-Image-XX-XX-XX
ICOM Next boot images: C:\ProgramData\BMW\ISPI\data\TRIC\ICOMNext\ICOM-Image-XX-XX-XX
Use the file with the highest version number for the update.
Accessing the ICOM Web Interface:
Open a web browser and go to http://[IP address of the ICOM]:60080.
Login with the following credentials:
User: root
Password: NZY1150263
Updating the Firmware:
ICOM A/A2:
On the firmware page, click on “Browse” and select the file ICOM-BootImage-[Version].bin.
ICOM Next:
On the firmware page, click on “Browse” and select the file ICOM_Next-rootfs-XXXXX.tar.gz.
Setting the Image Type:
Set “Image type” to “SYSTEM”.
Click on “Send the file”.
Confirmation:
When asked “Write the image file to the flash memory?”, select “Yes”.
Waiting for Update:
Wait until you receive the message “The SYSTEM IMAGE update was successful”. During this process, the LEDs will blink red.
Updating the Application Image:
Click on “Update Firmware” again.
ICOM A/A2:
Select ICOM-ApplicationImage-[Version].bin.
ICOM Next:
Select ICOM_Next-app-YYYYYY.tar.gz.
Setting the Application Image Type:
Set the “Image type” option to “APPLICATION”.
Click on “Send the file”.
Confirmation:
When asked “Write the image file to the flash memory?”, select “Yes”.
Reboot:
After receiving the message “The APPLICATION IMAGE update was successful”, click on “Reboot”.
Final Steps:
Wait for the ICOM A/A2/Next to reboot with the new firmware.
The “SYSTEM” and “LAN” LEDs should light up green.
Additional Steps for ICOM Next:
If ICOM Next triggers an internal update, the “SYSTEM” and “LAN” LEDs will light up red. Do not disconnect the power supply.
The process takes about 2 minutes, and the LEDs will light up green once finished.
Verification:
Click on “Home” and then “Update Firmware”.
Verify that the “Current SYSTEM IMAGE version” matches the boot image selected.
Verify that the “Current APPLICATION IMAGE version” matches the application image selected.
Under “Last Update”, ensure both “SYSTEM IMAGE” and “APPLICATION IMAGE” show “Success” status.
Troubleshooting:
If any of the verification steps are incorrect, return to step 4 and perform the update again.
For errors like “Update of application image failed, status not clean”, refer to the documentation on how to resolve these issues.
By following these detailed steps, you should be able to successfully update your ICOM A/A2/Next firmware.
Related posts:
How to Solve BMW ICOM NEXT USB Device Not Recognized
How to active BMW ICOM Next ISTA-P successfully
How to Fix BMW ICOM Next IP Problem
BMW ICOM NEXT A+B+C FAQ
How useful was this post?
Click on a star to rate it!
Average rating / 5. Vote count:
Please keep this link if you copy the post!
