Diagzone Xdiag Subscription Renew, LAUNCH LTR-01 RF Sensor, Thinkdiag Renew , Scania SDP3 Installation

As vehicle technology advances, the complexity of vehicle systems increases, making diagnosing car issues more complicated than ever. Fortunately, an automotive diagnostic tool, specifically the OBD-II scanner, helps car owners and mechanics alike to swiftly identify problems with a vehicle’s critical systems such as the engine, transmission, and exhaust. OBD, which stands for On-Board Diagnostics, is a standardized system that has been mandatory in cars produced since 1996. In this article, we will guide you through the process of using an automotive diagnostic tool and provide insights into when and why you should use one.
**When to Use a Car Diagnostic Tool?**
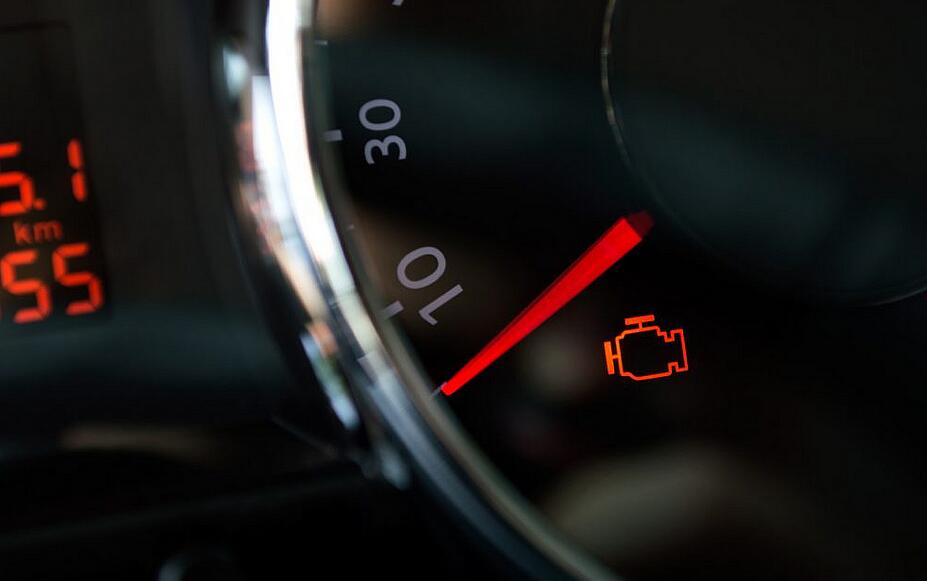
1. **Check Engine Light**: When the check engine light on your dashboard illuminates, it’s a signal that there might be an issue with your vehicle, even if the engine appears to be running smoothly. A diagnostic scan can help pinpoint the exact problem.
2. **Vehicle Performance**: Advanced diagnostic tools can record live data from your vehicle’s systems, providing valuable insights into your car’s performance and helping you optimize its settings.
**What Do You Need?**
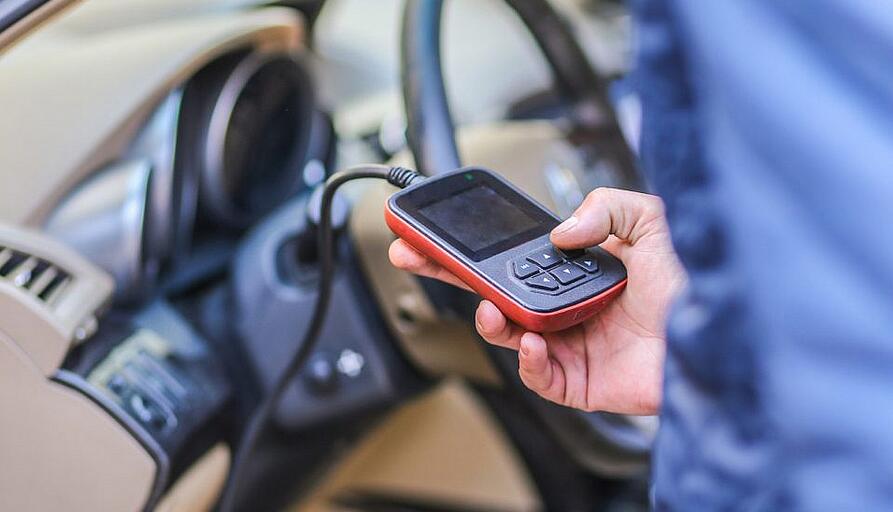
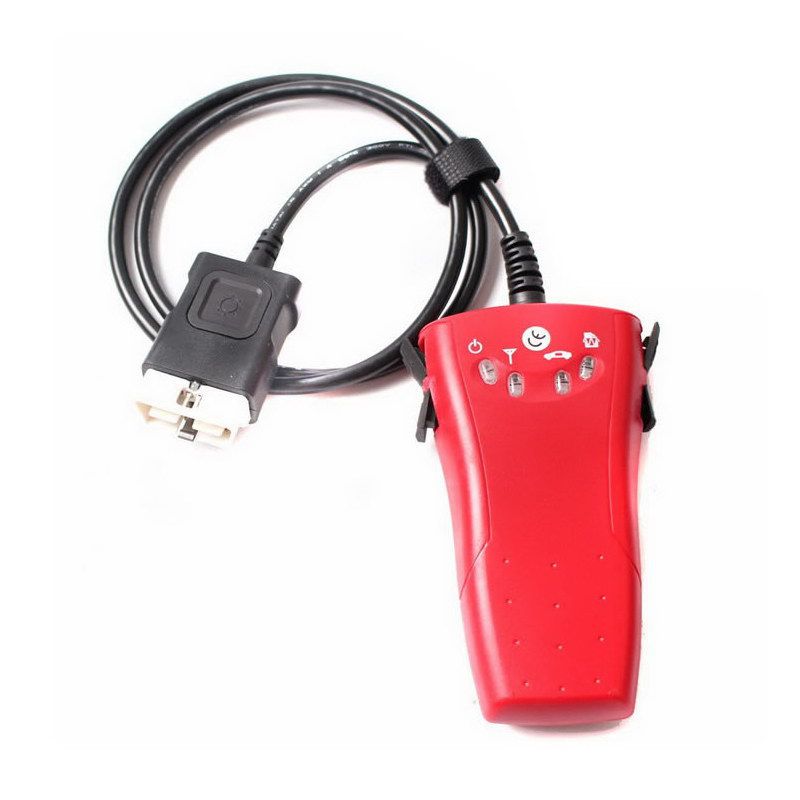
1. **OBD-II Diagnostic Tool**: This is the primary device you’ll need. It reads the diagnostic codes generated by your vehicle’s onboard computer when it detects a problem.
2. **OBD-II Port**: This port is built into all cars manufactured after 1996. It’s the interface for the diagnostic tool to communicate with the vehicle’s computer system.
3. **Port Location**: Typically found under the dashboard near the steering wheel, the port’s exact location can vary. Consult the vehicle’s user manual for precise details. Ensure the car is off before connecting the diagnostic tool.
**How to Use a Car Diagnostic Tool:**
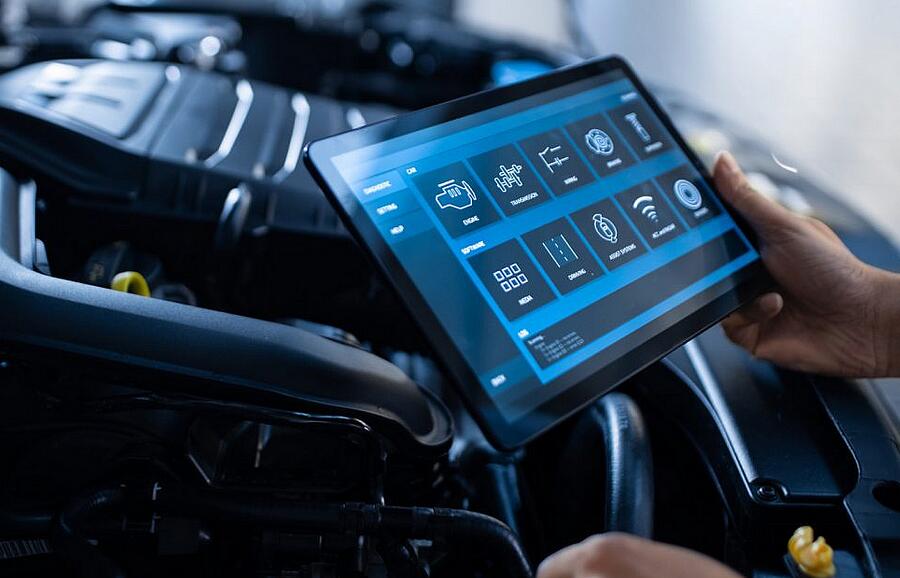
1. **Plug the Tool into the OBD-II Port**: Connect the diagnostic tool to the OBD-II port. Make sure the connection is secure for accurate communication between the tool and the vehicle’s computer. Turn the ignition on, but do not start the engine unless real-time data is required.
2. **Read the Car Codes**: Power up the diagnostic tool, which may begin scanning automatically or require you to press a “scan” button. For Bluetooth-enabled tools, an app may be needed. Enter the vehicle’s VIN if prompted. After the scan, note any displayed trouble codes.
3. **Interpret the Recorded Data**: Use an online database, specialized software, or the tool’s built-in features (if available) to translate the trouble codes into understandable terms.
4. **Fix the Problem**: Based on the diagnostic information, you can attempt a DIY fix if you’re experienced with car repairs, or take the vehicle to a professional mechanic who can accurately address the issues using more sophisticated tools.
**Price of Car Diagnostic Tools:**
Prices for OBD-II scanners vary based on features, from basic to AED 100. You can purchase these tools from automotive stores or online at websites like chinaobd2.com.
In conclusion, knowing how to use a car diagnostic tool can save you time and money by providing a clearer understanding of what’s happening under your vehicle’s hood. Whether you’re a car enthusiast or simply a cautious owner, an OBD-II scanner is a valuable addition to your automotive toolkit. Remember, if you’re unsure about interpreting the codes or addressing the issues, it’s always wise to consult a professional mechanic.
How useful was this post?
Click on a star to rate it!
Average rating / 5. Vote count:
Please keep this link if you copy the post!
Tags: cat
