Diagzone Xdiag Subscription Renew, LAUNCH LTR-01 RF Sensor, Thinkdiag Renew , Scania SDP3 Installation
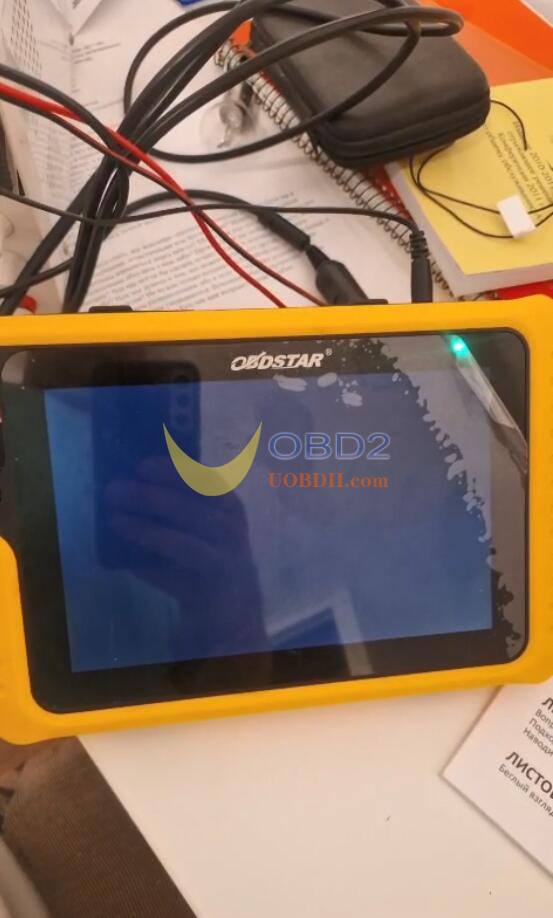
One customer reported that he failed to start up his OBDSTAR X300 Classic G3 Key Programmer normally, the device appeared blue screen after booting.
The solution:
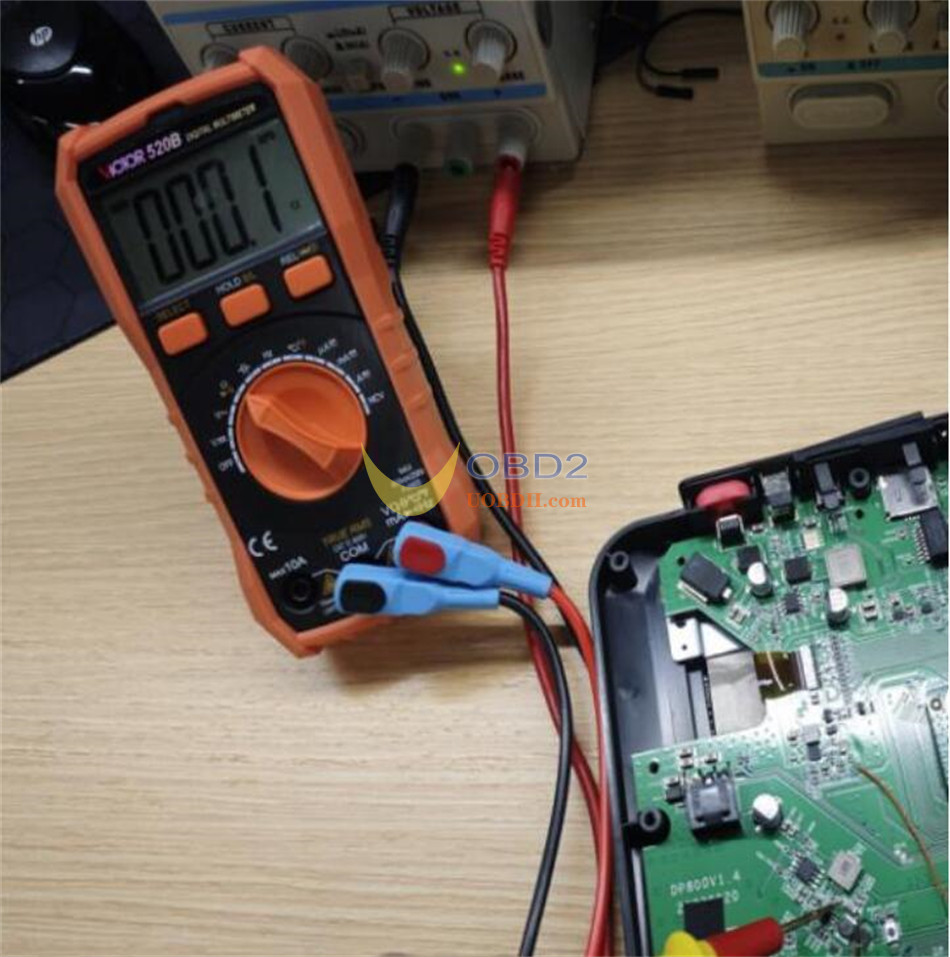
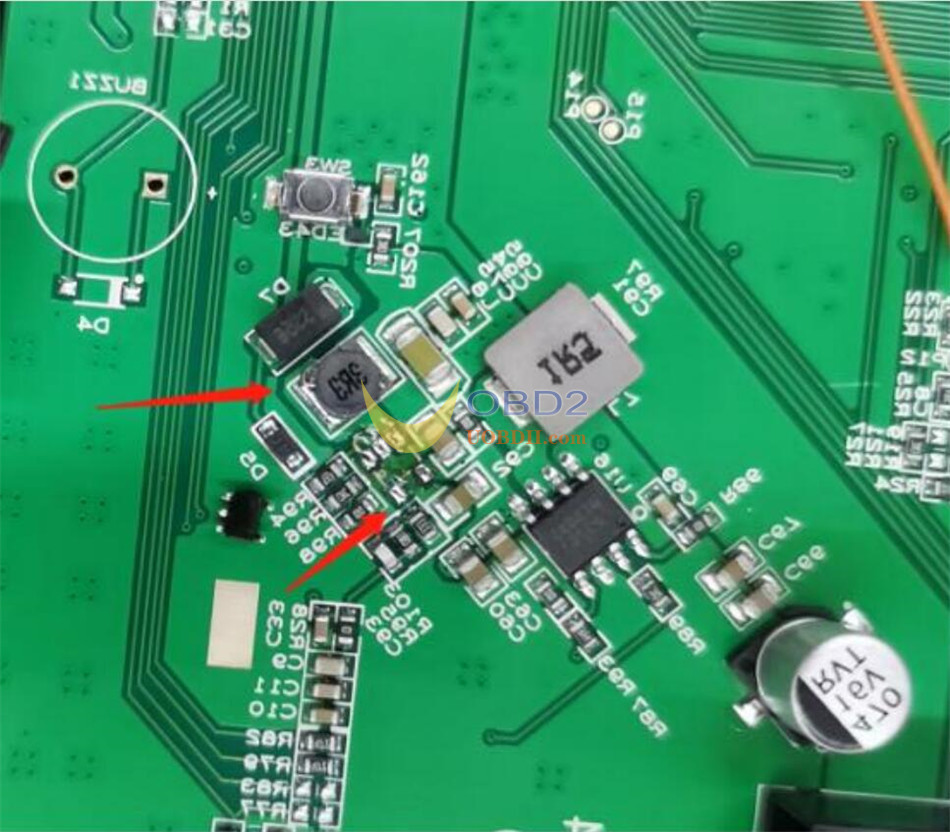
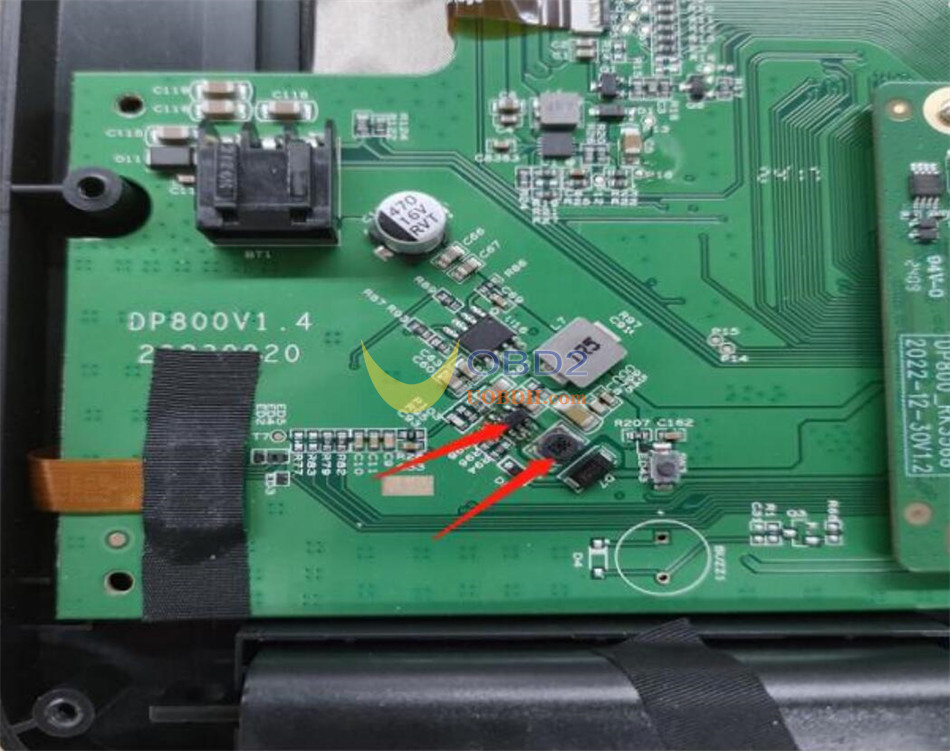
Use a multimeter set to the ohms range to test the two ends of device capacitor C75. If the resistance is around 0Ω, it indicates that U17 and L8 are damaged and causing a short circuit.
Need to replace U17 and L8.
Follow the steps below to detect and repair.
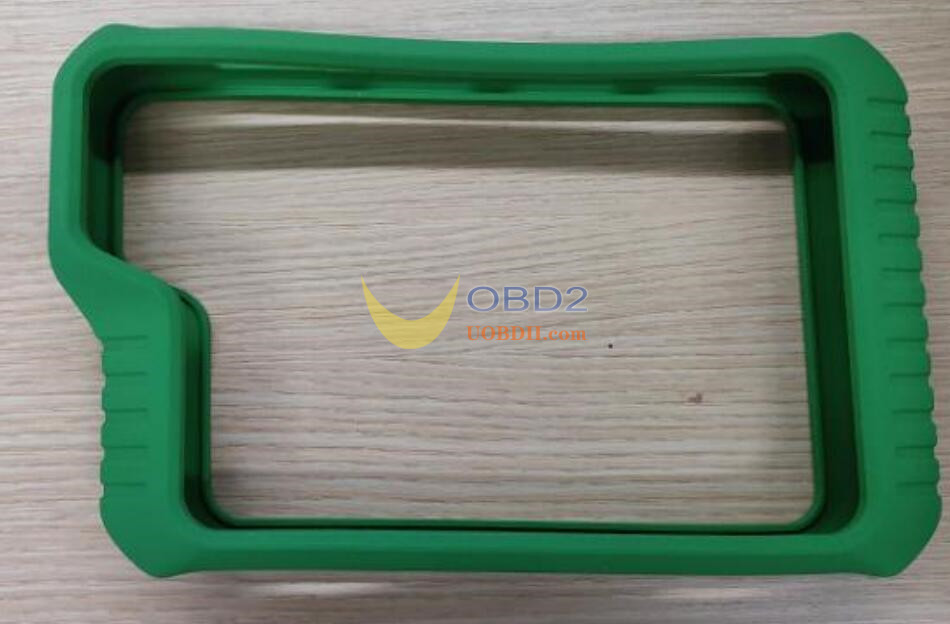
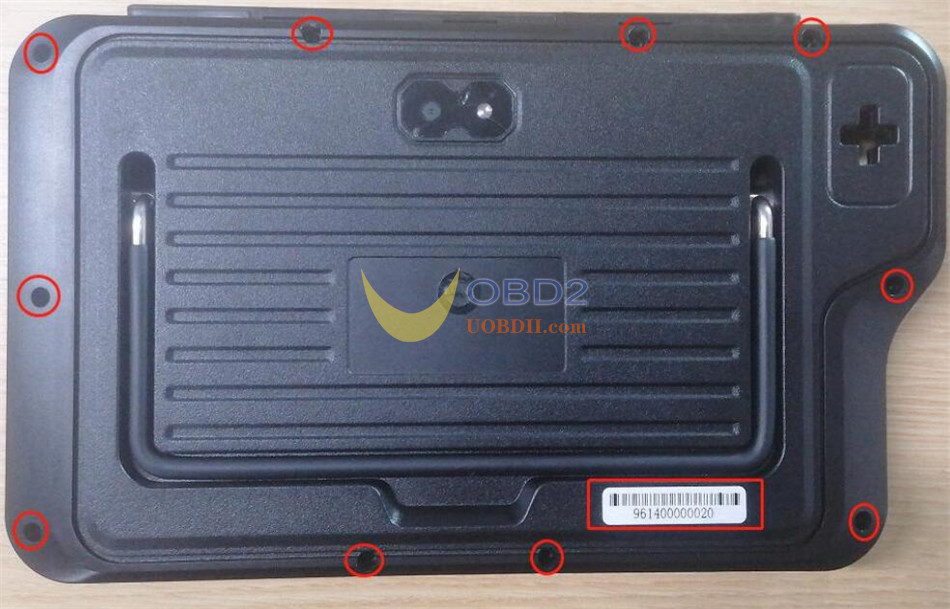
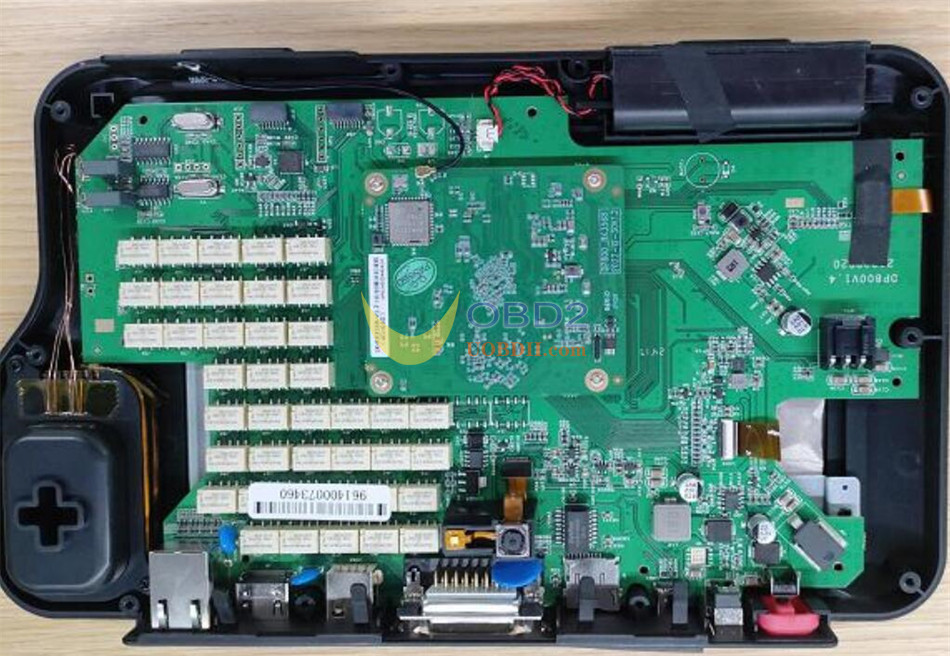
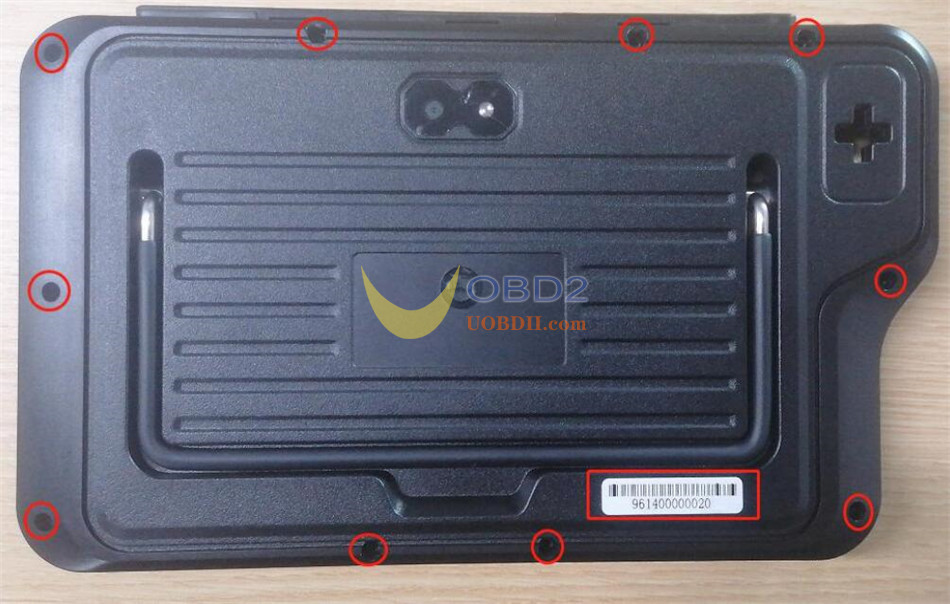
Step 1: Remove the Outer Shell
Carefully remove the rubber protective case of X300 Classic G3. Then use a screwdriver to loosen and remove the fixed hex screws securing the back cover.
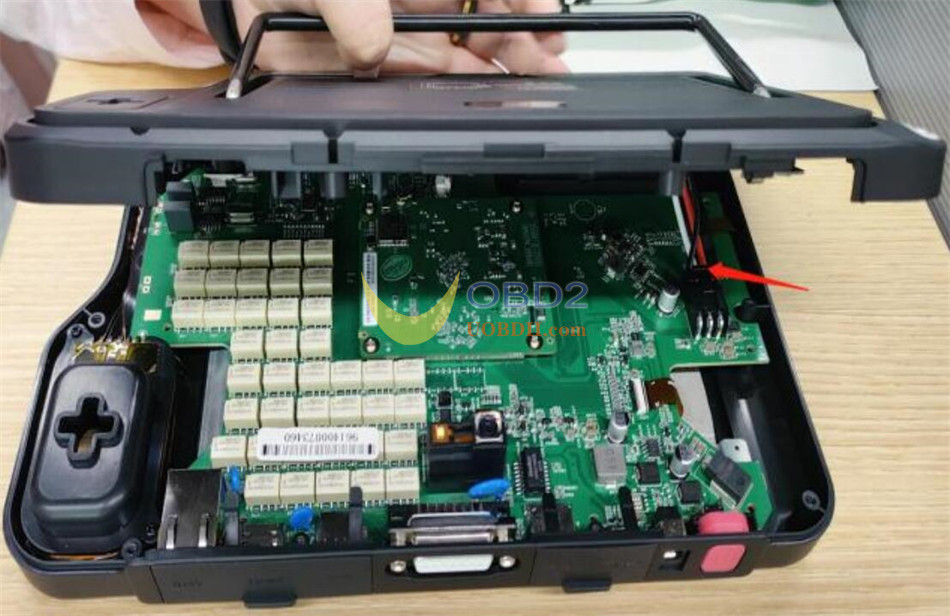
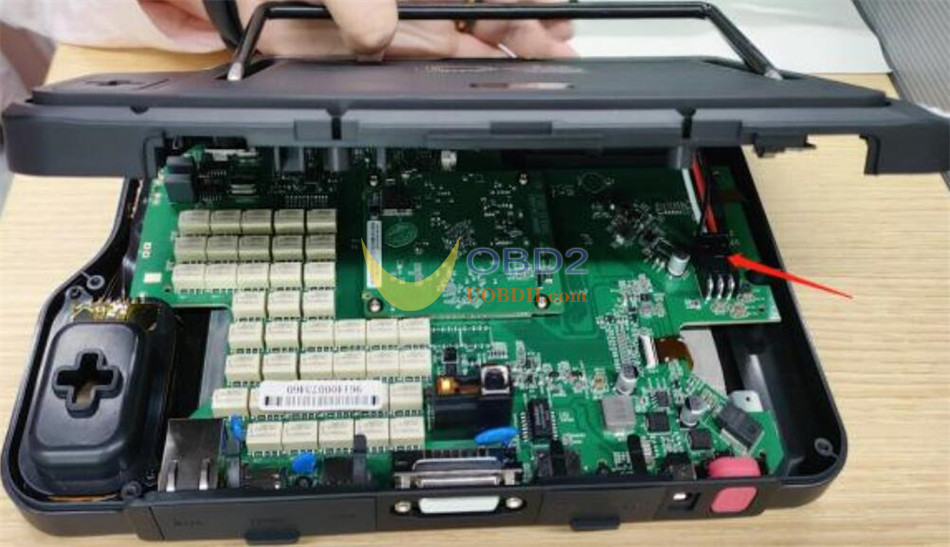
Step 2: Disconnect the Battery
Open the back cover. Gently press down on the battery connector clip and carefully pull out the battery connector to disconnect power.
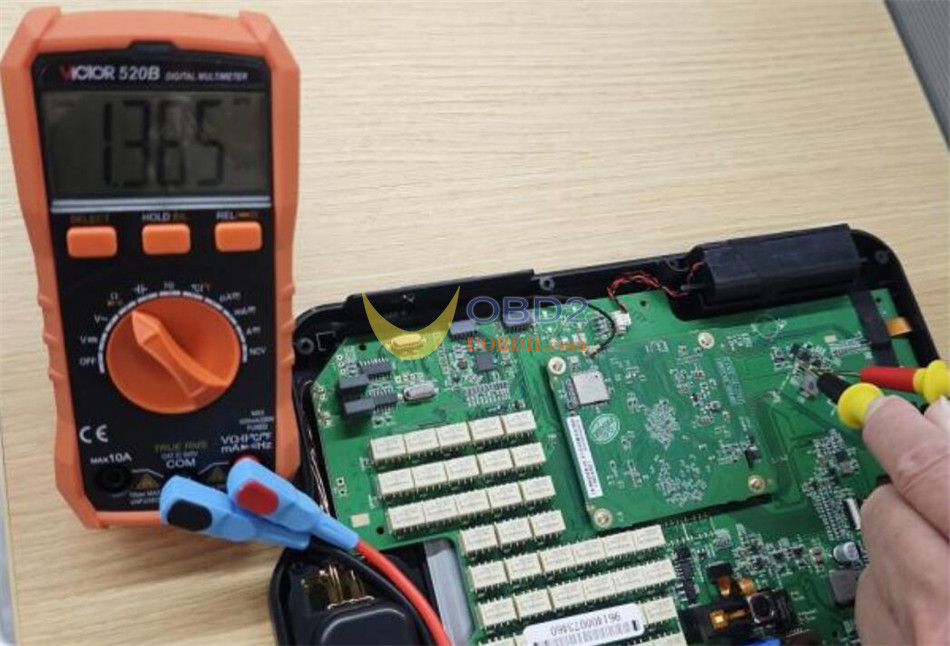
Step 3: Test for Short Circuit
Set your multimeter to the ohms (Ω) range. Measure the resistance across both terminals of capacitor C75.
If the reading is approximately 0Ω, it indicates a short circuit.
This suggests that components U17 and L8 are likely damaged and need replacement. 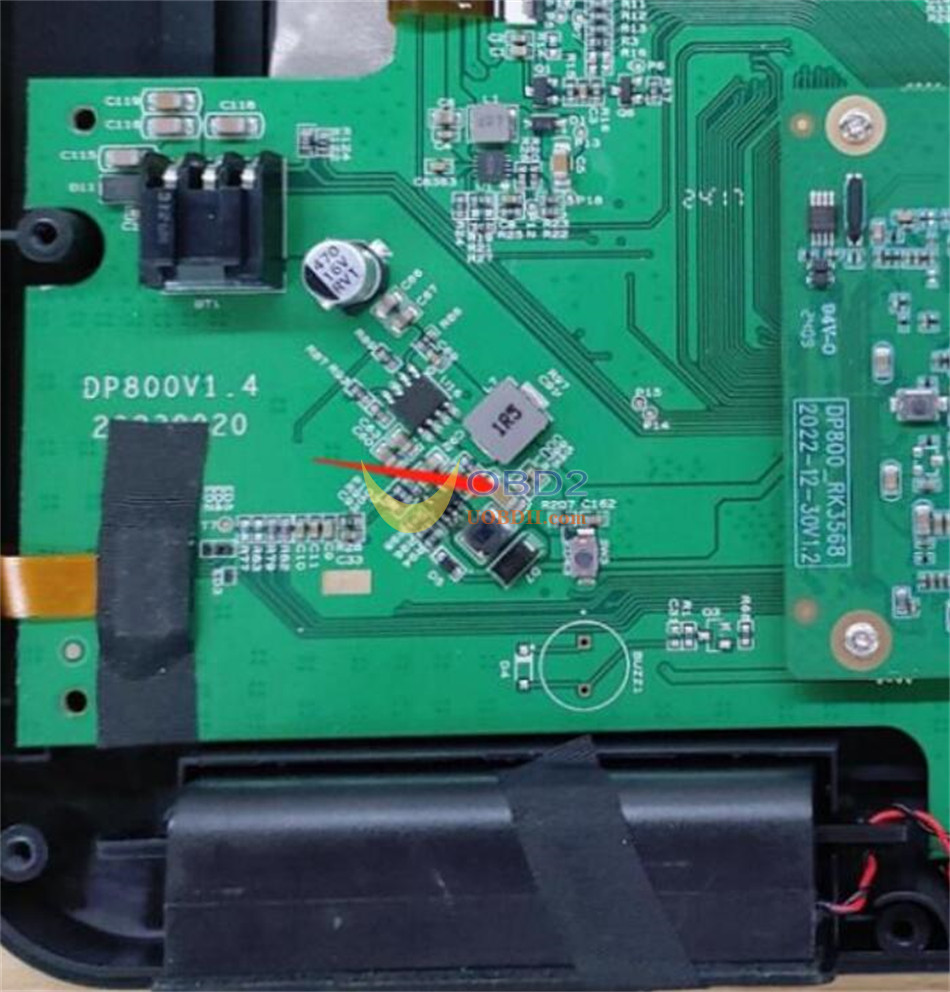
Step 4: Remove Damaged Components
Use a soldering iron or a hot air rework station set to 350 ± 10°C to desolder and remove U17 and L8.
Replace L8 with a 1μH inductor of suitable size and rating.
Step 5: Verify Repair
After installing the new components, re-test capacitor C75 with the multimeter.
A correct resistance reading should be approximately 1.36kΩ, indicating the short circuit is resolved.
Step 6: Reassemble and Test
Reconnect the battery connector. Reassemble the back cover and press the power button to test the OBDSTAR G3 device.
If the device powers on normally, the repair is successful.

Step 7: Final Assembly
Secure the back cover with the screws using a screwdriver. Reinstall the rubber protective case. The replacement process is complete.
Read also:
OBDSTAR X300 Classic G3 motherboard replacement guide:
How useful was this post?
Click on a star to rate it!
Average rating / 5. Vote count:

Some Friends don't know how to activate win7, when they receive the diagnostic software with win7 sytem. http://www.chinaobd2.com/upload/software/win7activation.zip download this Read more

Please ensure that you choose computer systems that meet our requirements for the installation. You will find adetailed listing in Read more

Frequent oil changes are perhaps the most important procedure you can do to maintain and prolong the life of your Read more
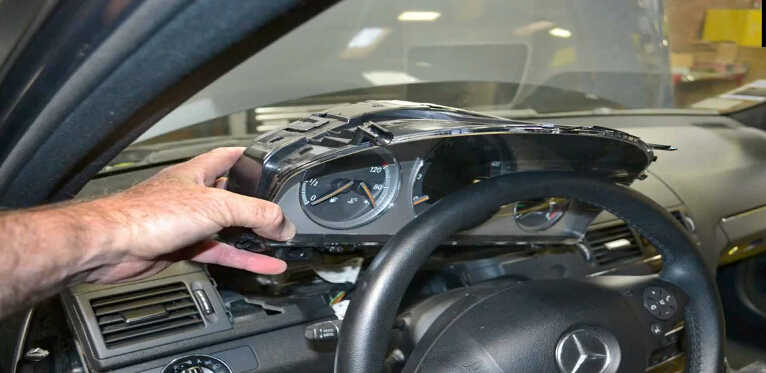
The instrument cluster on the Mercedes W204 is a single sealed unit with a single wiring connection on the back Read more
Please keep this link if you copy the post!