Diagzone Xdiag Subscription Renew, LAUNCH LTR-01 RF Sensor, Thinkdiag Renew , Scania SDP3 Installation
Follow this step-by-step guide to replace the motherboard of OBDSTAR X300 Classic G3 Key Programmer for repair.
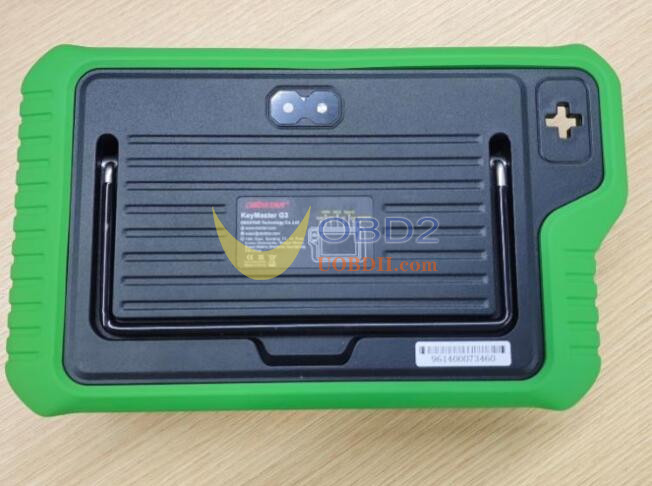
Disassembly
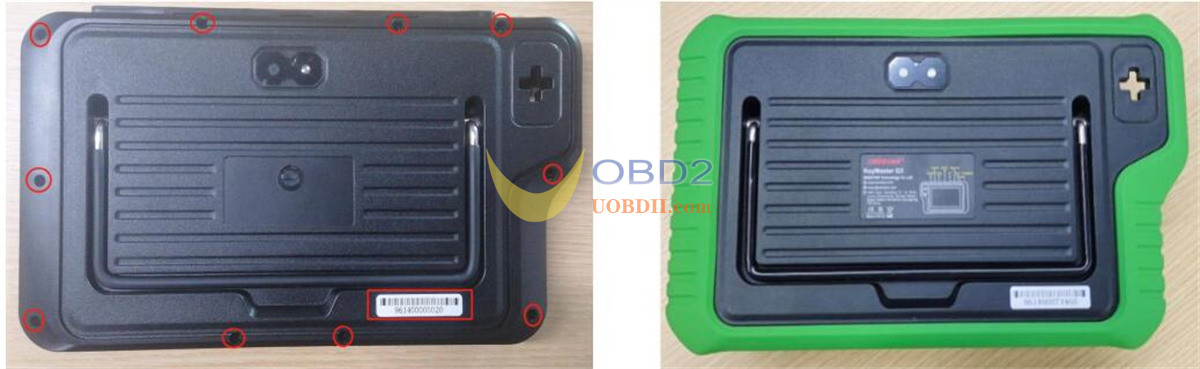
Step 1:
Remove the rubber case.
Loosen and remove the hex socket screwsusing a screwdriver
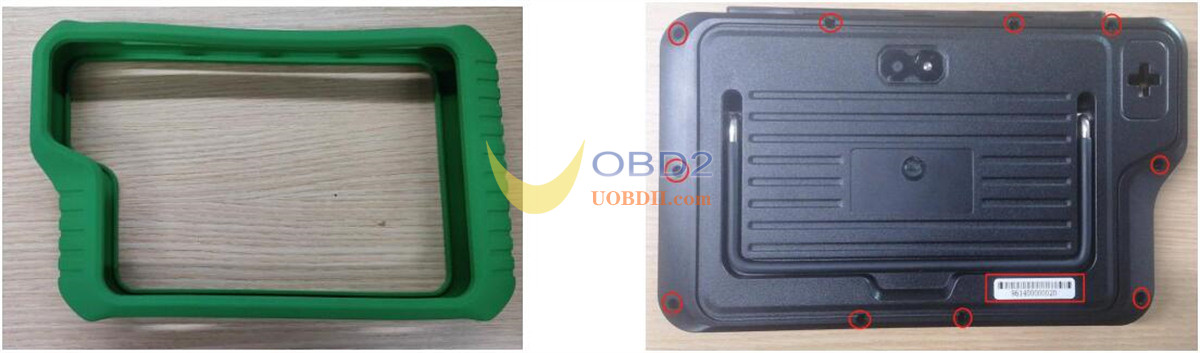
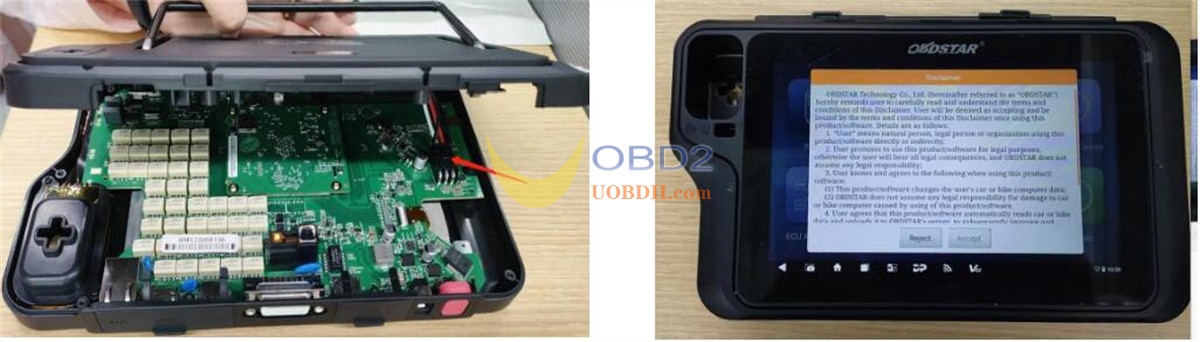
Step 2:
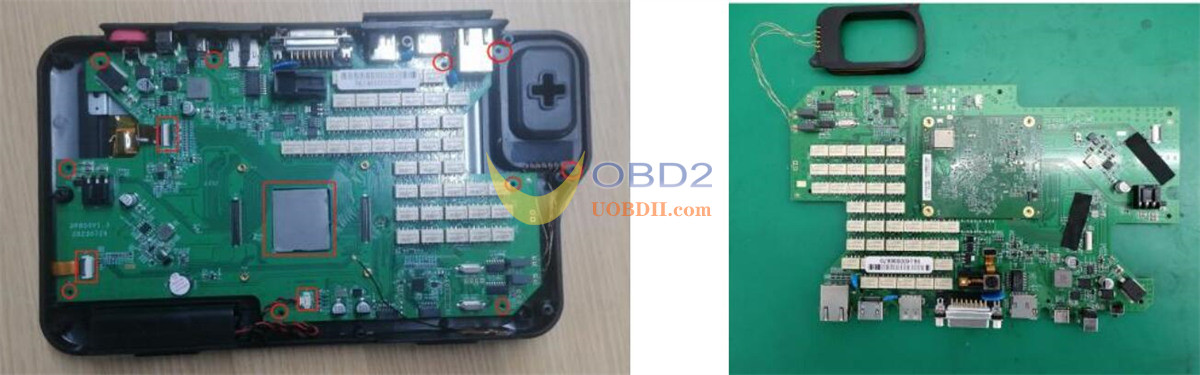
Open the back cover
Press down on the battery connector clip with your hand,and pull out the battery connector.
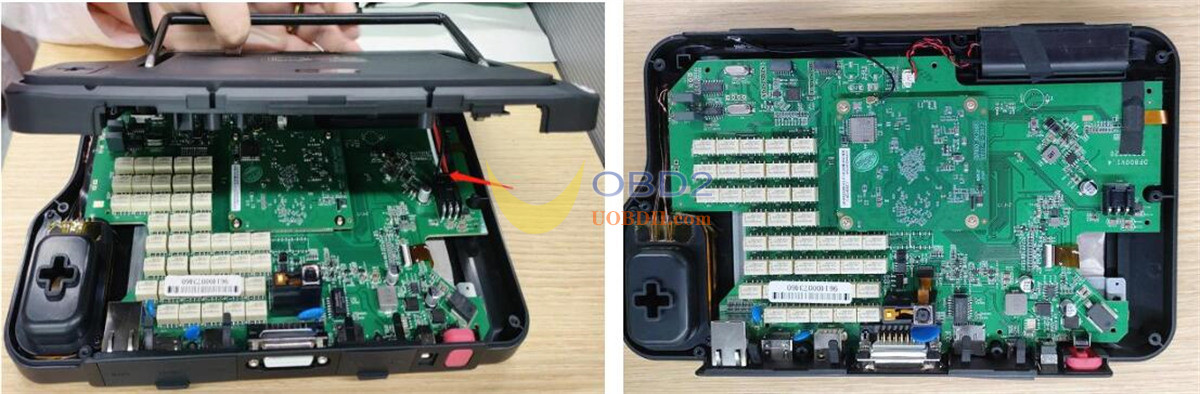
Step 3:
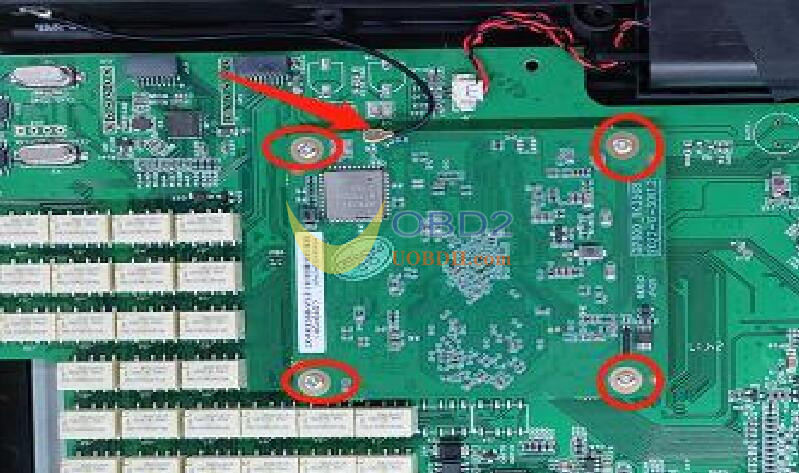
Remove the antenna marked by the arrow.
Use a screwdriver to loosen the screwssecuring the Android board and remove the Android board.
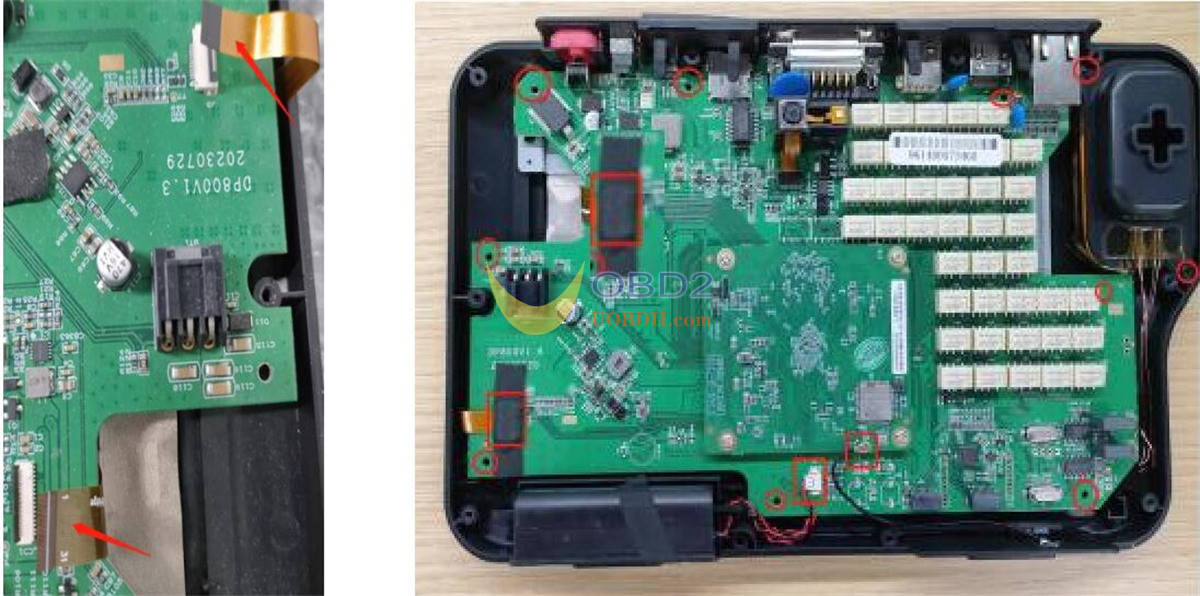
Step 4:
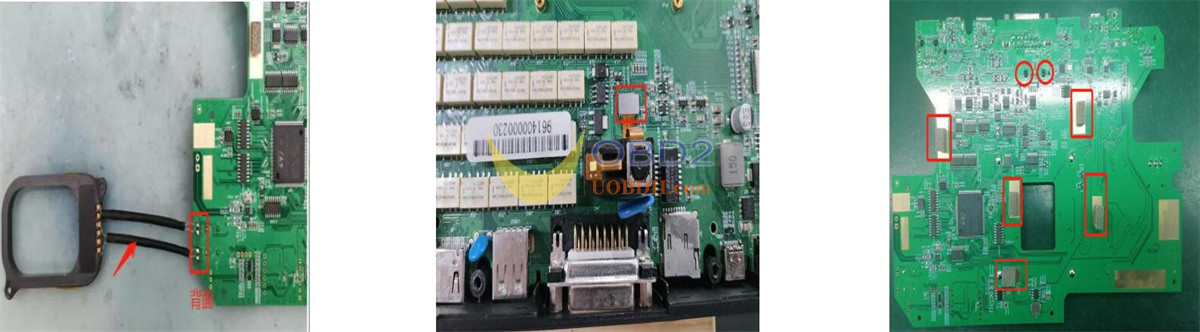
Peel off the acetate tape at the screen flex cable connection.
Remove the LCD screenand TP (touch panel) cable, and unplug the speaker cable.
Use a screwdriver to loosen thescrews securing the mainboard and the coil, then remove the mainboard and the coil.
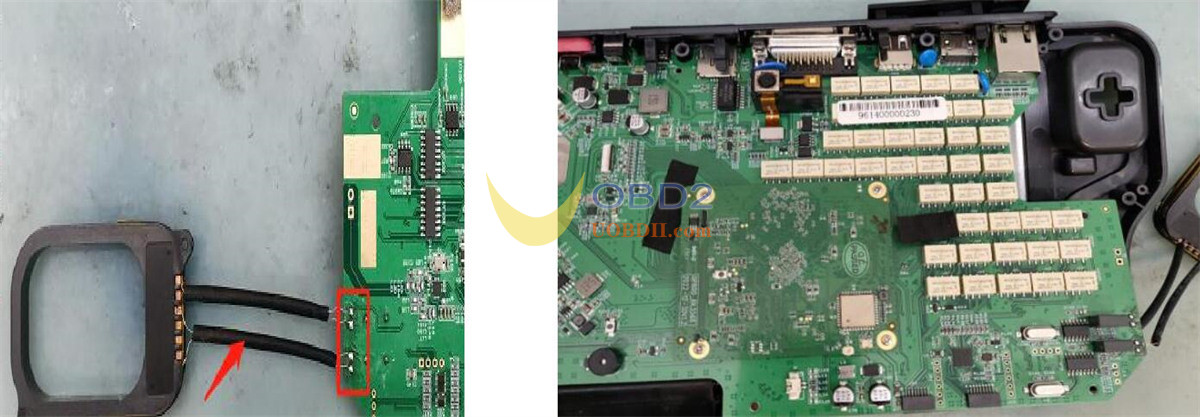
Step 5:
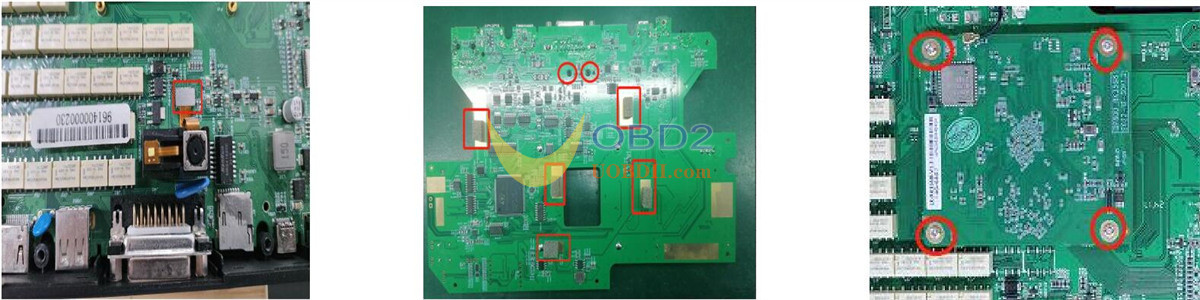
Set the soldering iron temperature to 350 ± 10°C and desolder the coil to remove it.
Unplug the camera flex cable, loosen the screws securing thecamera, and remove it
Peel off the adhesive at the bottom of the conductive foam and remove it. (Skip this step if the newmainboard already has conductive foam attached. Be careful when peeling off the conductive foam as it can easily be damaged.)
Disassemblyis complete
Installation
Step 1:
Take the new mainboard, install the camera, secure it with screws, and connect thecamera flex cable.
Attach the conductive foam.
Insert the Android board and secure it with screws.
Step 2:
Set the soldering iron temperature to 350 ± 10°C and solder the coil.
Keep the screen flex cable clear of the area where the main board will be installed. Alignthe mainboard with the housing connectors, and ensure the coil is installed before fully securing the mainboard to avoid pulling the wires and causing damage.
Install themainboard properly
Step 3:
Secure the mainboard with screws.
Secure the coil bracket with screws.
Connect the LCD screen flex cable and the TP flex cable (with the white line facing up).
After connecting, apply acetate tape to both the connector and the flex cable.
Connect the speaker cable and secure the antenna.
Step 4:
Insert the battery connector
Reassemble the back cover
Press the power buttonto turn on the device.
If it starts up normally, the replacement is successful.
Step 5:
Fasten the screws to the back coverusing a screwdriver, and put the rubber case back on.
The replacement is complete.
Note:
If the OBDSTAR G3fails to boot or has abnormalities after replacing the Android motherboard, contact after-sales support with your device serial number.
If the display is abnormal after replacing the display screen, please contact after-salesand provide your device serial number;
If replacing the VCI motherboard, contact your dealerto synchronize your account information. Provide the serial numbers of both the new and old VCI motherboard.
www.chinaobd2.com
How useful was this post?
Click on a star to rate it!
Average rating / 5. Vote count:

Some Friends don't know how to activate win7, when they receive the diagnostic software with win7 sytem. http://www.chinaobd2.com/upload/software/win7activation.zip download this Read more

Please ensure that you choose computer systems that meet our requirements for the installation. You will find adetailed listing in Read more

Frequent oil changes are perhaps the most important procedure you can do to maintain and prolong the life of your Read more

This article show a guide on how to use G-scan2
Please keep this link if you copy the post!