Diagzone Xdiag Subscription Renew, LAUNCH LTR-01 RF Sensor, Thinkdiag Renew , Scania SDP3 Installation
This post show you guide on how to remove and install PCU for HINO J05 engine.
Preparations:
Nexiq USB Link
2024.05 HINO Diagnostic Explorer DX3/DX2 Diagnostic Software Free Download
HINO Trucks EPC Electronic Parts Catalog 2018?2016 Free Download
REMOVING THE PCU
1 DISCONNECTING THE AUXILIARY BATTERY.
(1) Disconnect the auxiliary battery negative terminal.
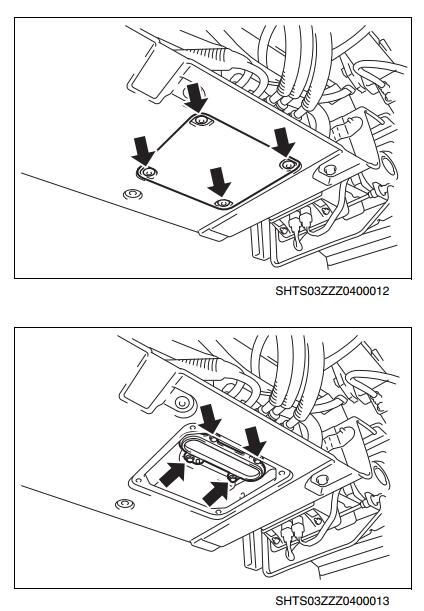
2 REMOVING THE SERVICE PLUG.
3 DISCONNECTING THE MOTOR CABLE AND 24V POWER CABLE.
(1) Unfasten clips (4 pcs.) to remove the under cover service hole cover.
(2) Remove the bolts (4 pcs.) and remove the inverter terminal cover.
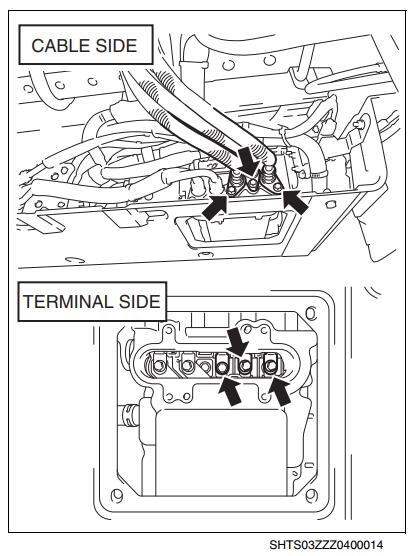
(3) Remove bolts (6 pcs.) and detach the motor cable.
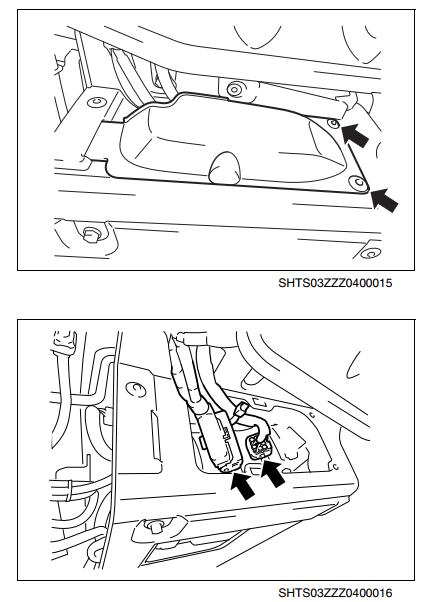
4 DISCONNECTING THE CONNECTOR.
(1) Unfasten the clips (2 pcs.) and remove the front panel.
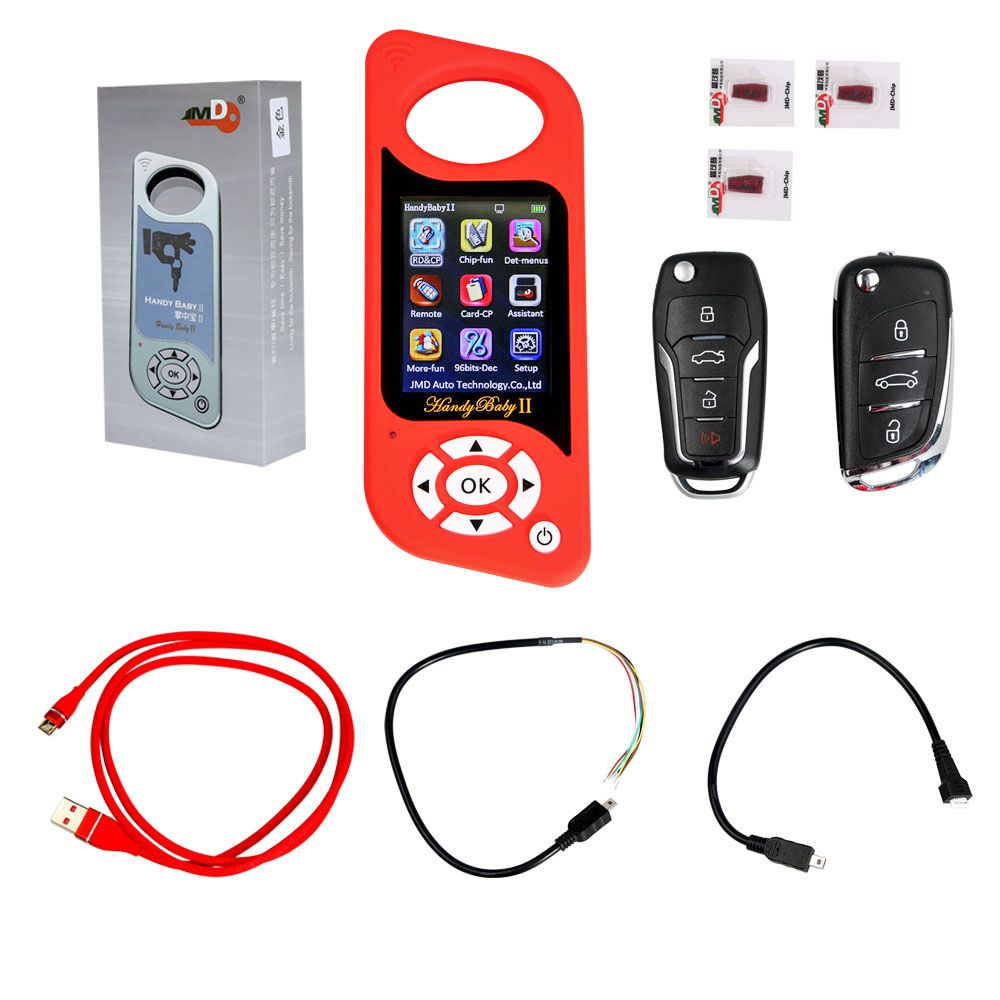
(2) Disconnect the connectors (2 locations).
MOUNTING THE PCU
1 MOUNTING THE PCU.
(1) Set the engine lifter on the PCU.
(2) Mount the PCU using the nuts (6 pcs.).
Tightening Torque:
115 N
How useful was this post?
Click on a star to rate it!
Average rating / 5. Vote count:
Handy Baby 2 II Key Programmer Hand-held Car Key Copy Key Programmer for 4D/46/48 ChipsNote: Language: English, SpanishThis Device can't work together Read more
Renault CAN Clip V175 and Consult 3 III For Nissan Professional Diagnostic Tool 2 in 1 Descriptions of Consult 3 Read more
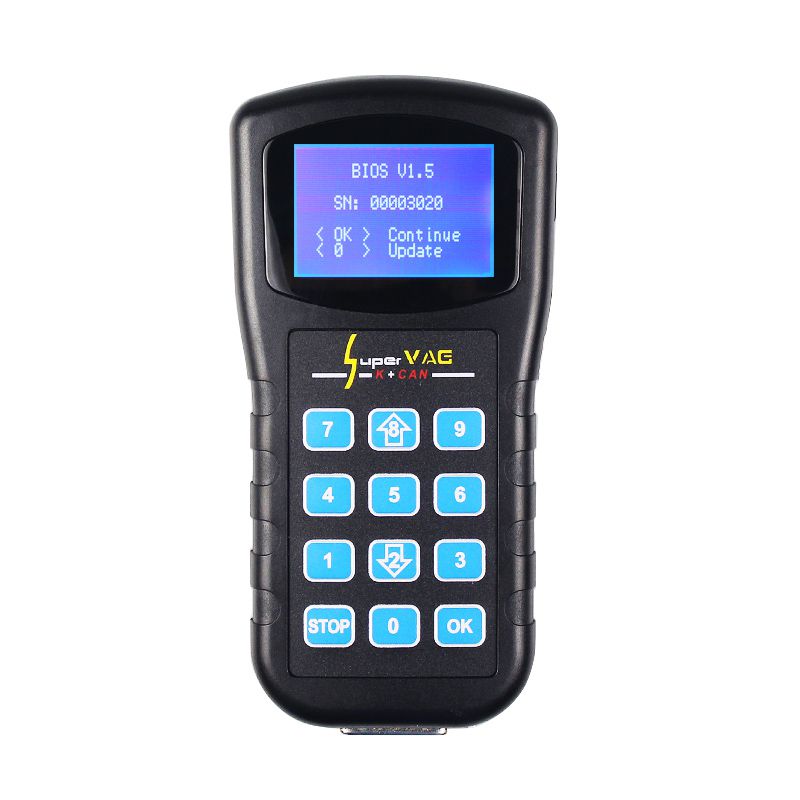
Super VAG K+CAN V4.6 Top 3 Reasons To Get Super VAG: Software Version: V4.6Supported Languages: English/ Spanish/ Italian/ Portuguese/ GreekUDS Protocol Read more
New CG100 Airbag Restore Devices Support Renesas Top 5 Reasons to Get CG100: 1. Operating Systems:XP/WIN7/WIN8/32bit/64bit 2. Including All Function Read more
Please keep this link if you copy the post!
Tags: cat