Diagzone Xdiag Subscription Renew, LAUNCH LTR-01 RF Sensor, Thinkdiag Renew , Scania SDP3 Installation
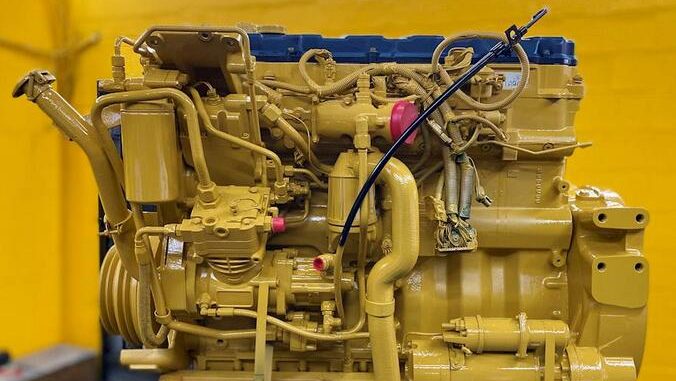
To perform a fuel rail pressure test using Caterpillar Electronic Technician (ET) 2024A, follow these steps:
Fuel Rail Pressure Test Procedure
Launch Caterpillar ET Software:
Ensure your CAT ET software (version 2024A or later) is installed and properly connected to the Caterpillar engine or equipment, such as the C9 engine.
Access Diagnostic Tests:
Navigate to the Diagnostic menu within CAT ET.
Select Fuel Rail Pressure Test:
From the Diagnostic Tests submenu, locate and select “Fuel Rail Pressure Test.”
Fuel Rail Pressure Test Screen:
The Fuel Rail Pressure Test screen will appear, providing you with various options and displays.
Fuel Rail Pressure Test Screen Layout
The screen layout typically includes the following areas:
Display Area:
Description: Names the parameter set for the fuel rail pressure test.
Prerequisite: Displays the required value that the parameter must meet for the test to proceed.
Actual Value: Shows the current actual value of the parameter listed in the Prerequisite column.
Status Parameters Area:
Lists parameters along with their current values and units of measurement relevant to the fuel rail pressure test. These parameters will vary depending on the specific Caterpillar product being tested.
Status Line:
Indicates whether the test is currently “ON” or “OFF”.
Control Buttons:
Start: Initiates the injector actuation pressure test.
Stop: Halts the ongoing test.
Increase: Raises the desired system pressure. This button may be disabled once the pressure reaches its maximum value, depending on the ECM settings.
Step Down: Lowers the desired system pressure. Similar to the Increase button, it may become disabled once the pressure value reaches its minimum allowable value, depending on ECM settings.
Performing the Test
Start the Test:
Click on the “Start” button to begin the injector actuation pressure test. This action will start the process of varying the pressure and recording the results.
Monitor and Adjust Pressure:
Use the “Increase” and “Step Down” buttons as necessary to adjust the desired system pressure according to the test requirements and observe the results in the display area.
Stop the Test:
When the test is complete or adjustments are finalized, click the “Stop” button to end the test procedure.
Review Results:
Review the results displayed in the Fuel Rail Pressure Test screen to ensure all parameters meet the specified criteria and that there are no indications of leaks or other issues.
Conclusion
By following these steps, you can effectively conduct a fuel rail pressure test using Caterpillar ET 2024A or a compatible version. This procedure helps in diagnosing fuel system performance and ensuring optimal operation of Caterpillar Machine Repair.
Related posts:
2023C Caterpillar ET Electronic Technician Diagnostic Software
How to Solve CAT ET Error 142 Communications Adapter Error
2024A Latest Version CAT Caterpillar ET Diagnostic Adapter III Cat Communication Adapter 3(Real Caterpillar ET3 Adapter III)
How to Use CAT Electronic Technician WinFlash Function
How useful was this post?
Click on a star to rate it!
Average rating / 5. Vote count:
Please keep this link if you copy the post!
