Diagzone Xdiag Subscription Renew, LAUNCH LTR-01 RF Sensor, Thinkdiag Renew , Scania SDP3 Installation
How to Install and Setup Xhorse Smart Key Box? Here is the guide step by step.
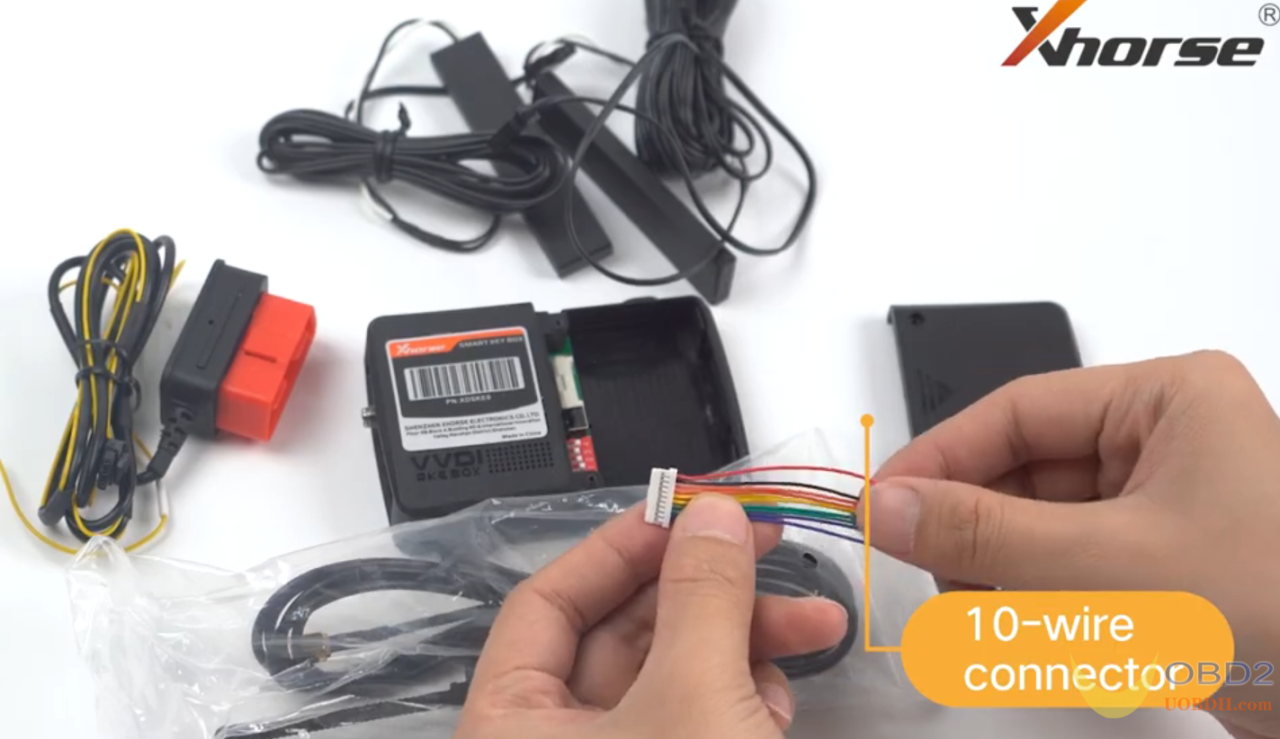
Xhorse Smart Key Box package including:
1. Xhorse smart key box (Remove two screws from the case, you can see the location to install the original remote and the learn button)
2. OBD power supply cable.
3. RF antenna
4. Two LF antennas(long and short)
5. 10-wire conncetor
Step 1: Soldering the PCB board
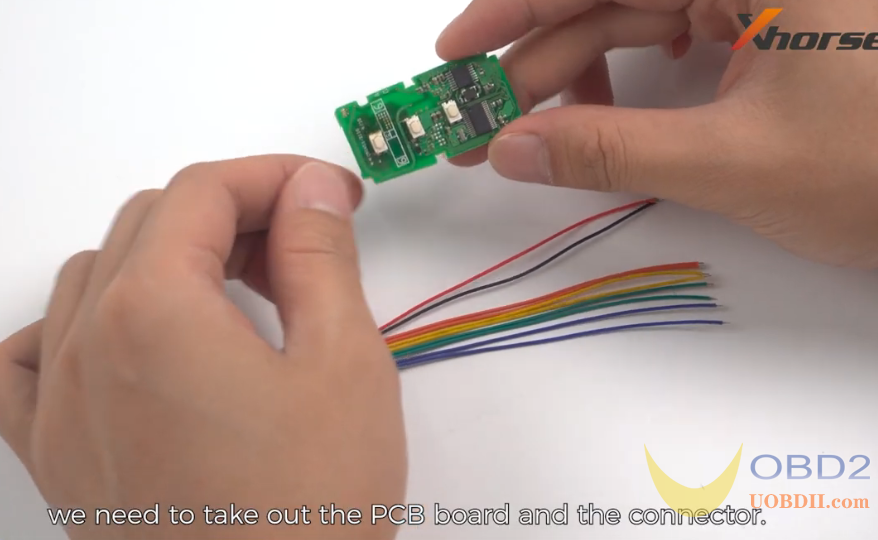
Firstly, we need to take out the PCB board and the connector. The read and black wire connect to the battery connector on the board. And the red wire connects to the positive side and the black to the negative side. The orange one connect to lock button. The yellow one connect to unlock button, The green to the trunk,and the blue to the panic button.
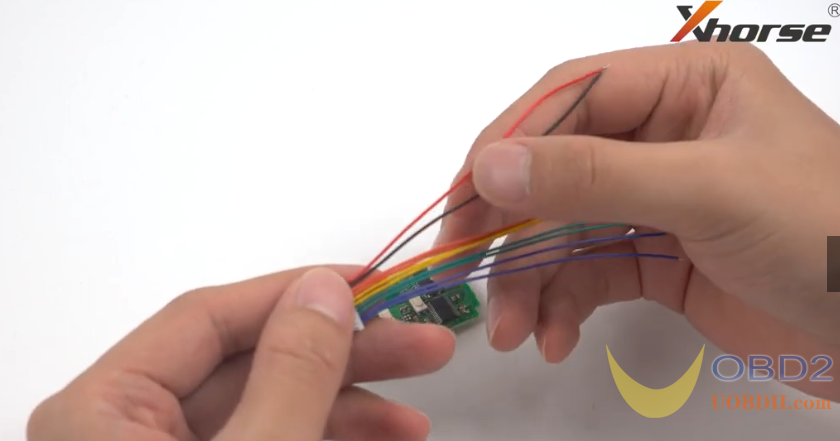
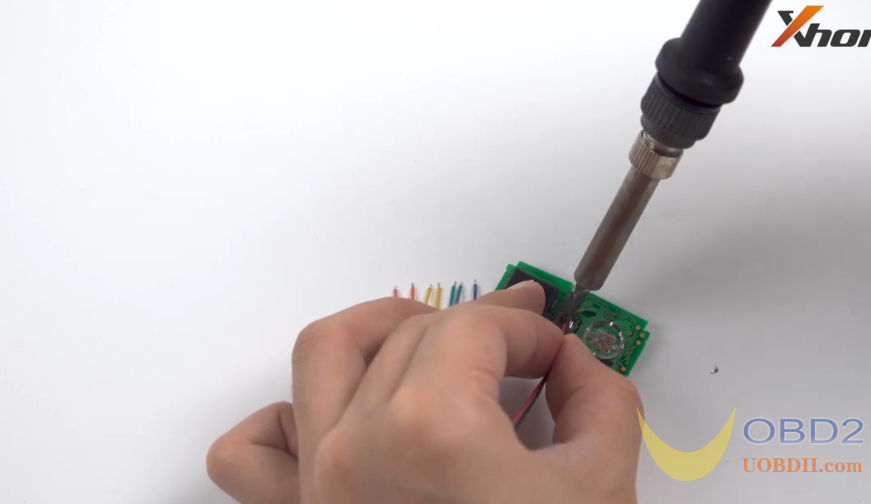
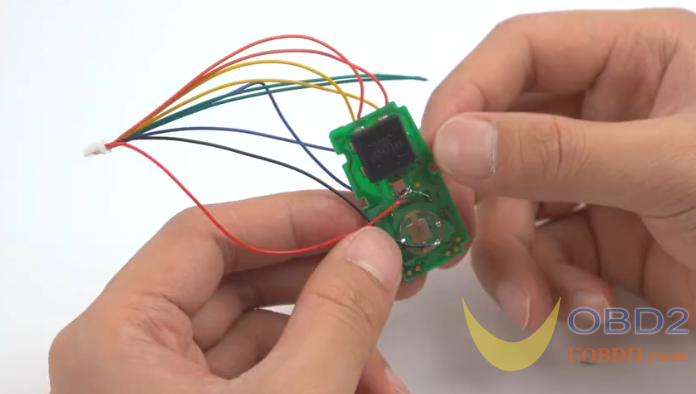
After soldering, we need to install it into the box.
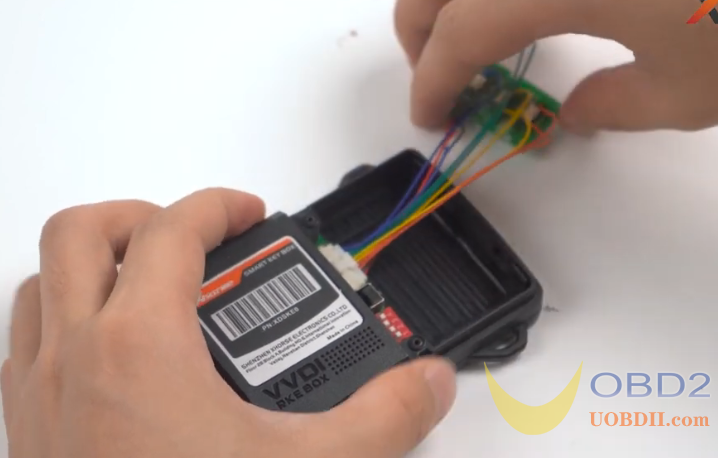
Step 2: Key Learning
Key learning can be with or without the PCB board in. So here wo remove the PCB board for clean illustration.
This learn button and beside is the DIP switch.

Just keep the DIP switch in the default mode.

Power the box with the 12V power supply.

Before key learning, you need to download the SMART KEY BOX APP.

You can se the QR code on the packing box.And find the “VVDI PKE BOX 445” option. 
And generate remote.long press the learn button. You’ll hear a beep. Press “Connect the Car” on the App and press the SN of the box to enter Learnning Mode.


Video Guide:
How useful was this post?
Click on a star to rate it!
Average rating / 5. Vote count:
Please keep this link if you copy the post!
