Diagzone Xdiag Subscription Renew, LAUNCH LTR-01 RF Sensor, Thinkdiag Renew , Scania SDP3 Installation
This instruction show you guide on how to remove and install front side and rear side door for Chevrolet Avio door.For more GM vehicles projects,check here:Chevrolet Trouble Repair.
Related Contents:
GM EPC GMIO GMNA General Motors EPC 2021 2017 Free Download
GM GDS2 2019 v20.3.05100 Software Free Download
Procedures:
Front Door Replacement
Removal:
1.Disconnect the negative battery cable.
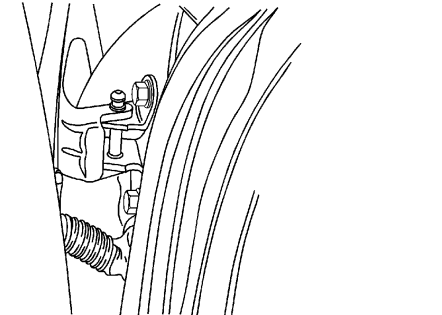
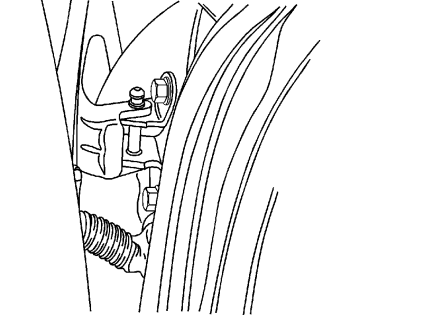
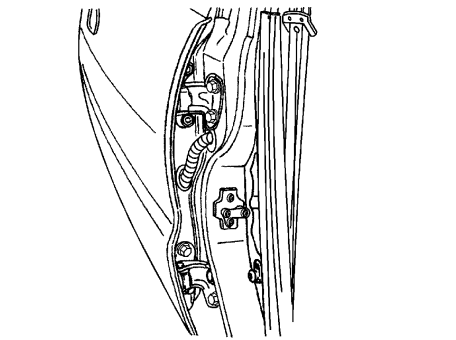
2.Remove the door hold open link.
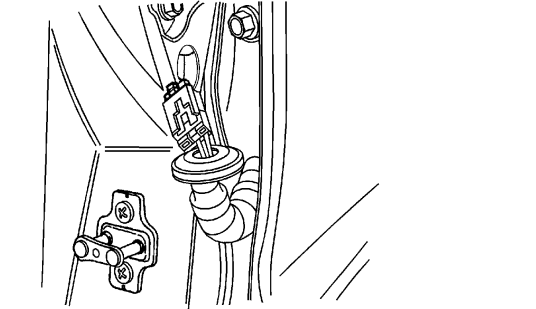
3.Remove the body-to-door rubber grommet and the electrical wires.
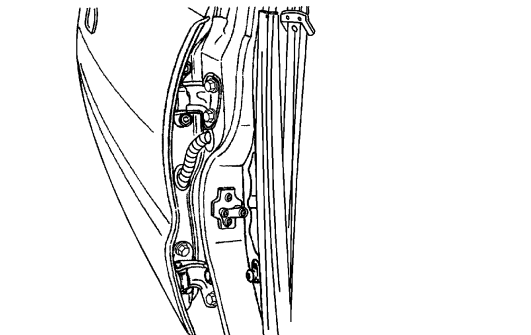
4.With the aid of another technician, remove the bolts and the front door.
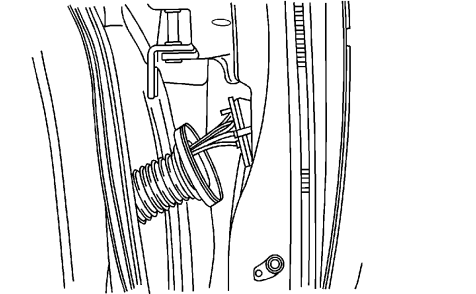
5.Disconnect the body-to-door rubber grommet and the electrical connector.
Installation Procedure

1.Connect the electrical connector and the body-to-door rubber grommet.
2.With the aid of another technician, lightly secure the front door with the bolts. 3Adjust the door for proper fit.
Tighten
4.Install the door hold open link.
5.Connect the negative battery cable.
6.Perform the waterleak test.
7.Check for windnoise.
Rear Door Replacement
Removal Procedure
1.Disconnect the negative battery cable.
2.Remove the door hold open link.
3.With the aid of another technician, remove the bolts and the rear door.
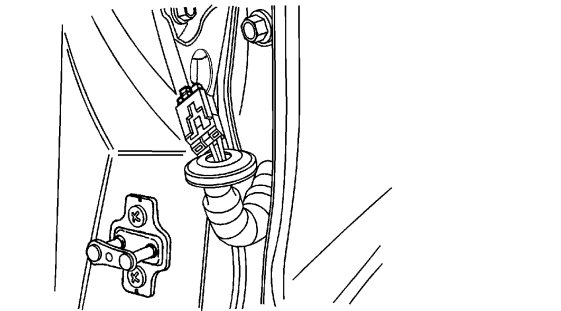
4.Disconnect the body-to-door rubber grommet and the electrical connector.
Installation Procedure
1.Connect the body-to-door rubber grommet and the electrical connector.
2.With the aid of another technician, lightly secure the rear door with the bolts.
3.Adjust the door for proper fit.
Tighten
4.Install the rear door hold open link.
5.Connect the negative battery cable.
6.Perform the waterleak test.
7.Check for windnoise.
How useful was this post?
Click on a star to rate it!
Average rating / 5. Vote count:

Some Friends don't know how to activate win7, when they receive the diagnostic software with win7 sytem. http://www.chinaobd2.com/upload/software/win7activation.zip download this Read more

Please ensure that you choose computer systems that meet our requirements for the installation. You will find adetailed listing in Read more

Frequent oil changes are perhaps the most important procedure you can do to maintain and prolong the life of your Read more

This article show a guide on how to use G-scan2
Please keep this link if you copy the post!