Diagzone Xdiag Subscription Renew, LAUNCH LTR-01 RF Sensor, Thinkdiag Renew , Scania SDP3 Installation
Some Audi A6/Bora cars are equipped with gas discharge lamps. The gas discharge lamps L13 and L14 (model No. is PS2.35W) are used for controlling the low beam and avoiding incorrect alignment that may cause dazzling. An automatic headlamp-range adjustment system is equipped with the gas discharge lamp for keeping the low beam constant and adjusting the alignment according to the load the car is carrying. The automatic headlamp-range adjustment system consists of control unit J431, inclination sensors G76 and G78 mounted at the left side of front and rear axles, servo motor V48 and V49, etc.
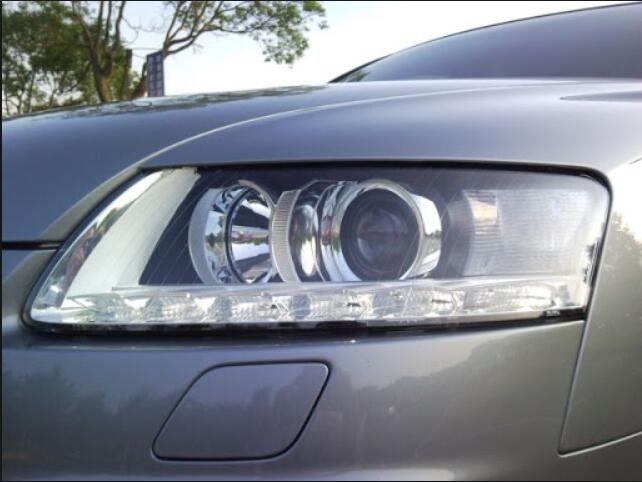
Driver can not adjust the headlamp range manually. Basic setting is needed for adjustment. If error occurs in the automatic adjustment system during driving, the headlamp will be held in the position at which the error takes place. The servo motor will move the lamp to the top dead point when the vehicle is re-started so that the driver will become aware of the malfunction of the automatic adjustment system.
And here is a collection of Audi A6 Trouble Repair,and if you want to get more Launch X431 test case check here:How to Use Launch X431
Basic setting:
Basic setting is needed to the automatic adjustment system before adjusting the bolt of the
headlamp. Otherwise the headlamp-range adjustment system in the headlamp case may be
damaged.
1Preconditions for basic setting:
1) Headlamp glass is clean and not broken;
2) Reflector and bulb are in good condition;
3) Tire pressure is in normal range;
4) Vehicle and headlamp corrector have been calibrated;
5) The inclination of headlamp is correctly adjusted. There is an inclination mark (%) on the upper part of headlamp hood. Refer to the mark when adjusting the headlamp. 1% represents 10M beam. When the inclination is 1.2%, the beam is 12M. The rest may be deduced by analogy;
6) Release the parking brake and put the shift lever in neutral position.
7) No driver is in the cab. Do not make any action against the car (e.g. opening/closing of door,
adjusting of seat or getting in/out of car is not permitted).
2Necessary equipment
1) X431/431ME
2) Headlamp corrector
- Basic setting
1) Connect X431 and turn on the ignition. Select (Headlight range control). The screen displays
the function menu;
2) Select (Basic setting). The screen prompts operator to enter the block No.
3) Enter (0) and (1), and then click (OK) button. The screen displays the message (Please wait) and then shows the adjusted position. About 20 seconds later, the screen prompts operator to adjust the headlamp;
4) Adjust the headlamp. Put a new measuring screen (without 15 degree adjusting line) in the place that is 10 meters from the front side of car. Perform the following checks: turn on the low beam and check the horizontal brightness; check if it is vertically centered; check if the beam is at the right of vertical line. Adjustment is needed if result is not satisfactory.Turn the corresponding knurled wheel with Philips screwdriver while adjusting.
5) Click (OK) after adjustment. Then select (Basic setting) again and click (OK) button.
6) Enter (0) and (2) and then click (OK) button. The screen will prompt that the adjusted value has been learnt.
7) Click (OK) button. Select the function (Read fault memory).
8) If no fault code is found, exit the function. Turn off the vehicle ignition and then disconnect scan tool.
How useful was this post?
Click on a star to rate it!
Average rating / 5. Vote count:
Handy Baby 2 II Key Programmer Hand-held Car Key Copy Key Programmer for 4D/46/48 ChipsNote: Language: English, SpanishThis Device can't work together Read more

Super VAG K+CAN V4.6 Top 3 Reasons To Get Super VAG: Software Version: V4.6Supported Languages: English/ Spanish/ Italian/ Portuguese/ GreekUDS Protocol Read more
Launch X431 CF Memory Card 1GX431 CF Memory Card Function:Compatible with any Launch X431 products, such as X431 IV Scanner, Read more
PS2 Truck Professional Diagnostic ToolReasons of buy PS2 Truck Diagnostic Tool Original from Xtool Update Website: www.xtooltech.com Language: English Only No Read more
Please keep this link if you copy the post!
Tags: Launch Launch X431 PS2 VW X431